How to Arrange a Family Photo Wall with Different Frame Shapes
A family photo wall with different frame shapes can feel personal, playful and beautifully layered. The trick is to treat every frame as part of one composition: balance the large images, repeat a few colours and give the smaller pieces room to breathe. A display that looks effortless usually began with careful measurements and a clear sense of the wall’s proportions.
Family snapshots often live alongside school portraits, travel photographs and tiny works made by the kids. Those varied memories suit a mixed-shape arrangement, provided the spacing stays consistent and the frames share a visual thread. The aim is a warm collection, not a crowded noticeboard.
Choose the right wall and scale
Start by measuring the available wall and viewing it from the doorway. In a compact Sydney terrace, the longest uninterrupted surface may sit beside a fireplace rather than above the sofa. Decide whether the photographs should fill that zone or sit within it, and keep a generous margin so the grouping feels deliberate.
As a useful starting point, the arrangement can occupy around two-thirds of the width of the sofa or console beneath it. If the photographs run down a passage, allow more breathing room between groups than you would on a lounge wall. These hallway display ideas show how scale and spacing change the effect in a narrow space.
Mix frame shapes without losing balance
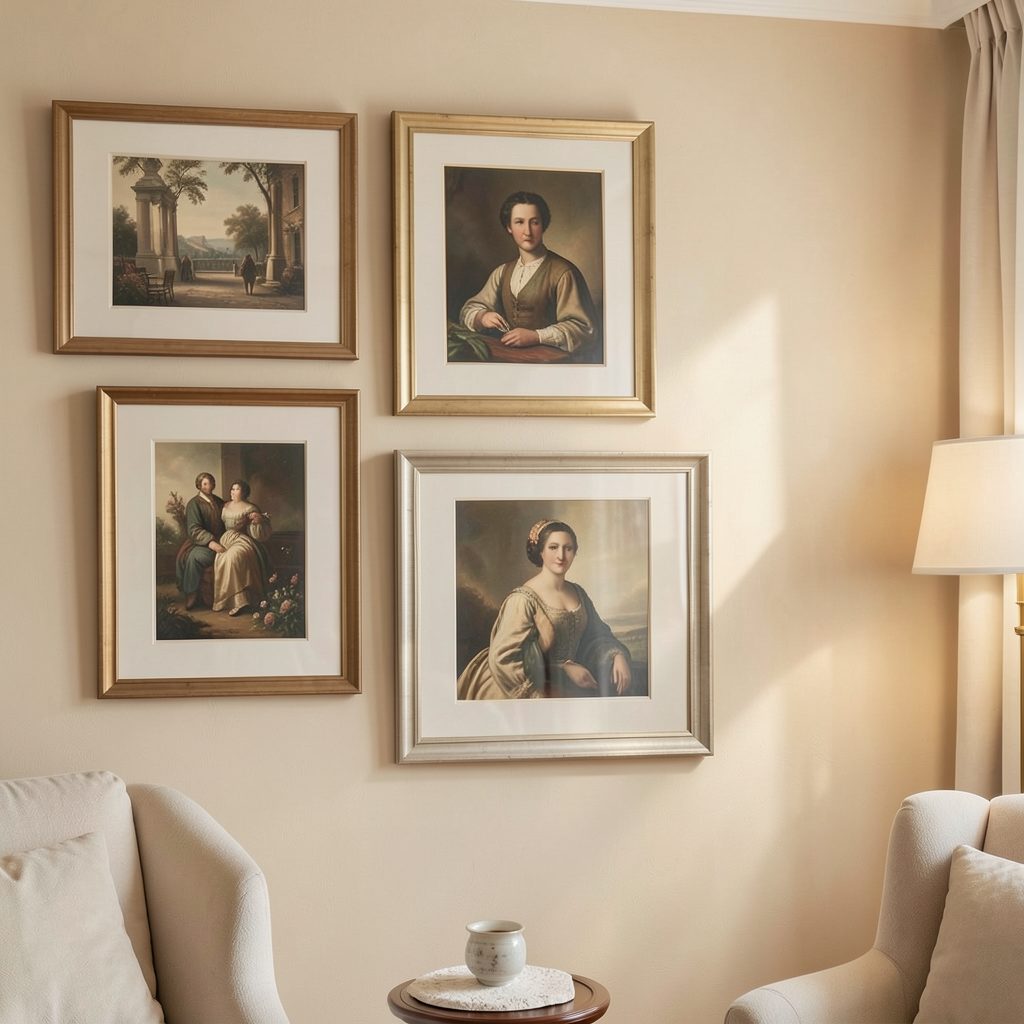
Build the collection around two or three frame sizes rather than treating every photograph as equally important. One larger portrait or landscape can anchor the display, with smaller square and oval frames forming supporting notes. Around nine to twelve pieces gives a family wall enough variety without turning it into a scrapbook.
Rectangles establish the grid; squares interrupt it; ovals and arched tops soften it. Place an oval between two angular frames or use one near the centre to prevent the arrangement from feeling too rigid. Keep the outer edges of the group roughly aligned, then adjust individual frames to make the visual weight even.
Frame finishes also need a common thread. Repeating black metal, white mouldings or natural timber across several shapes creates cohesion, even when the sizes differ. If a nearby bathroom needs its own display, bathroom art ideas explain why moisture-resistant materials matter there.
Plan the arrangement before the first hook
Sketch the layout on paper before touching the wall. A loose grid works well for most mixed-shape collections because it keeps the spacing predictable while allowing portraits, landscapes and unusual frames to share the same wall. A salon-style arrangement offers more freedom, but it benefits from a clear boundary and generous negative space.
Make paper templates at the size of each frame, including the visible mat if you are using one. Tape the templates to the wall, move them until the composition feels balanced, and photograph the arrangement from your normal viewing position. This is easier than correcting several holes after the pictures are already hanging.
Select a small number of images for each frame, then check them at close range. A busy snapshot can look muddy from across the room, while a simple crop of a familiar face often carries more emotional weight. Matting can isolate the subject and visually calm a mixed collection.
Hang the display level and securely
Set the centre of the arrangement at roughly eye level, usually 145 to 155 centimetres from the floor. A heavy central frame may sit slightly lower, but the display should not feel like it is looming over the furniture. Keep the spacing between frames consistent, commonly around five to eight centimetres, and adjust where an oval creates an awkward gap.
Use a level, a stud finder and anchors suited to the wall material. Plasterboard, brick and masonry all require different fixings. Two hanging points on a suitable large frame can distribute its weight and make it easier to level; ask a professional if the wall or wiring is uncertain.
For oval frames, mark the hook position from the template rather than assuming the frame’s centre equals its hanging point. Backing boards and hanging wires can shift the visual centre, so compare the outline on the wall with the frame once it is lifted. The extra minute saves an avoidable tilt.
If you rent a Melbourne apartment, check the tenancy agreement before drilling. Removable hanging strips can work for light frames, but they are unsuitable for heavier glass or timber frames. For temporary displays, avoid hanging heavy or fragile pieces from cords.
Make the display work beyond the photographs
Treat the photo wall as part of the room, not an isolated rectangle of images. Add a small piece of artwork, a botanical print or a handwritten note if the family wall feels visually flat. Leave some breathing room for future additions, such as a new school portrait or a holiday photograph, instead of squeezing everything in at once.
Australian homeware stores and online frame retailers offer slim black metal, pale timber and white mouldings, with many sizes available in standard photographic formats. Choosing frames that share a finish makes mixing shapes look intentional and keeps the collection easy to extend. Natural timber suits warmer interiors, while black or white frames create sharper contrast.
In Brisbane’s humid summers, sealed prints and moisture-resistant glazing are sensible choices for a display that receives plenty of light. For a compact powder room, powder room styling offers practical ways to make a small display feel considered without crowding the walls. Keep frames away from persistent damp, and wipe acrylic glazing with a soft cloth.
Many Australian families add Christmas, birthday and school-year snapshots to their displays, so a little spare capacity is useful. Keep a consistent gap and finish ready for the next addition; the arrangement will evolve without losing its sense of order.
The best family photo walls feel personal without becoming chaotic. Start with the strongest few images, choose a shared frame finish, and let the different shapes add character around a calm structure.
Choose one wall, sketch the layout and gather your frames before you begin. Explore more gallery-wall and apartment decorating guidance on Focus LDN, then subscribe for fresh ideas for making your home feel collected, personal and lived in.