How to make a statement wall in a bedroom using only black frames
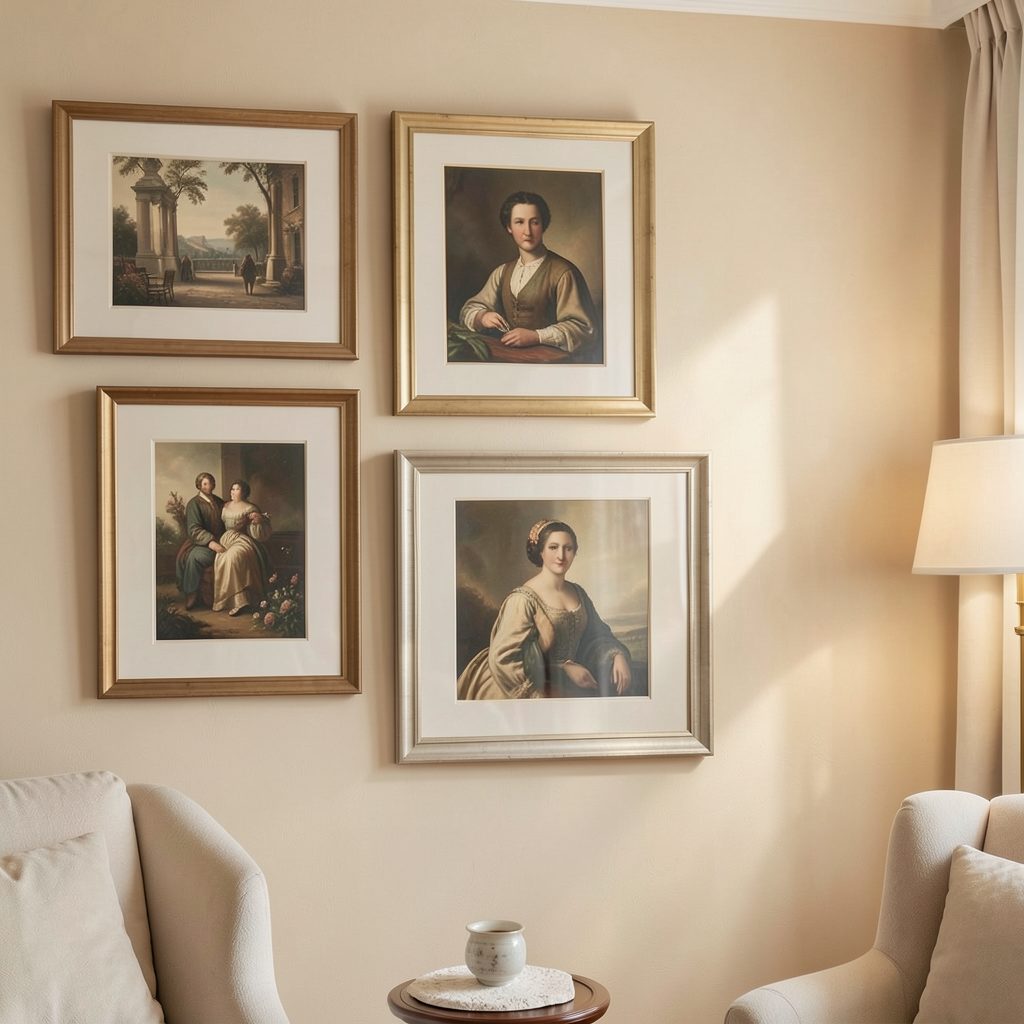
A statement wall built entirely from black frames gives a bedroom instant rhythm, even when the artwork mixes photographs, prints and painted studies. The frames provide the graphic note; the images keep it personal. That balance works especially well in compact Sydney and Melbourne apartments, where oversized furniture and busy architectural detail can be hard to accommodate.
Start with the wall rather than a shopping spree. Choose one larger piece, build a small collection around it and repeat the same black moulding and mat style. Cream, timber, rust or olive bedding will help the display feel collected rather than crowded.
Choose a wall with enough breathing room
Look for a blank surface visible from the doorway and clear of windows, door swings and tall wardrobes. In a rented apartment, check the lease and use fixings suited to the wall type, as plasterboard, brick and tiles require different anchors. Leave breathing room above the bed so pillows cannot hit the frames.
Australian summers can be fierce, and direct sun will fade prints and damage paper. Keep the display away from the strongest afternoon glare and use blackout curtains or a blind where necessary. UV-filtering acrylic offers useful protection for work exposed to long periods of daylight.
Measure the wall, the furniture in front of it and the ceiling height before ordering. Make paper templates at the actual size of each frame and tape them into place. This quick test reveals whether the arrangement needs one wide centrepiece or a taller, narrower composition.
Give the artwork one clear focal point
Begin with a hero image that suits the available width: a large portrait, a small landscape or a pair of related pieces. A2 and A3 prints are useful starting points in Australia, then smaller photographs can build contrast without making the display feel like a catalogue.
Frame consistency matters more than frame size. Choose one profile, finish and mat width, then vary only what supports the composition. This guide on choosing the right frame explains how mouldings and mounts affect the overall look, while a sample in your room can prevent a shiny or overly chunky style clashing with the bed.
Pick a layout before ordering: a centred grid feels calm, a salon arrangement feels relaxed, and a loose staircase can follow a sloping ceiling. Repeat one of these approaches rather than mixing several. Black frames keep different artworks connected, provided the spacing and internal lines remain consistent.
Set spacing, scale and alignment
For a relaxed salon display, leave roughly 5–8 cm between the outer edges of neighbouring frames. A tighter grid can use 2–3 cm, but consistency matters more than a fashionable measurement. The same mat width and frame depth often create more cohesion than matching artwork dimensions.
Aim for a visual centre around 145–155 cm from the floor. Above a bed, leave about 15–25 cm between the lowest frame and the headboard, adjusting for the angle of sight. Tall arrangements can sit slightly lower so they do not feel detached from the room.
Balance dark images with lighter ones and repeat a colour from the artwork somewhere else in the bedroom. Step back from the doorway, then check the wall from the pillow position. If one frame shouts, enlarge it, move it or replace it with calmer artwork.
Use a practical Australian buying plan
Compare best online frame options by profile depth, rebate and glazing rather than finish alone. Matte, satin and glossy black can look very different in Australian daylight, so examine samples in the room. UV-filtering acrylic is practical for lightweight prints; valuable originals need conservation glazing and archival mounts.
Simple black frames are available from Australian homewares stores such as Kmart and Bunnings, while specialist online sellers and print studios provide more unusual sizes. Check that every moulding has the same internal opening and that the backing fits. Compare prices in Australian dollars, including delivery, returns and glazing upgrades.
- Fix the frame profile, finish, mat board and backing before choosing artwork.
- Choose a hero piece that suits the measured wall, using A2 or A3 as a practical benchmark.
- Add two or three smaller works in contrasting scales rather than several near-identical prints.
- Confirm hanging hardware, wall compatibility, return terms and UV protection before paying.
Local galleries in Melbourne’s Collingwood and Sydney’s Surry Hills also offer a useful route to distinctive Australian work, and opening nights can make choosing original pieces feel special. Buying from artists or reputable print services supports local makers. For First Nations artwork, use a gallery or licensed supplier that can verify provenance and fair payment.
Finish the bedroom around the display
Keep the rest of the bedroom supportive. Repeat black in a bedside lamp, picture light or small tray, and use warm neutrals so the frames remain the strongest graphic element. Leave the bedside table relatively clear; visual clutter beside a precise wall arrangement can make the room feel fussy.
Warm LED lighting around 2700K flatters both black mouldings and paper. Aim the light across the artwork rather than straight onto glossy glazing, and check for reflections from opposite windows. Gallery owners often achieve impact through spacing and directed light, as these art display techniques demonstrate.
Once the wall is up, dust the glass gently, check each hook and move vulnerable pieces out of summer sun. Keep artwork away from damp bathroom splashback areas and avoid handling originals unnecessarily. Choose the wall tonight, tape the layout, order the hero frame first and build the remaining arrangement around it.