Art Placement Around a Corner to Create Flow Between Rooms
A well-placed artwork can do more than fill an empty wall. Positioned near a doorway or carried around a corner, it can guide the eye from one room to the next, making separate spaces feel intentional and connected. This approach works particularly well in Australian apartments, where compact layouts, open-plan living areas and long sightlines often place several rooms within view at once.
The key is to think of the corner as a transition rather than an awkward edge. A considered arrangement can link a living room with a hallway, connect a bedroom to an ensuite, or soften the shift between a kitchen and dining zone. Colour, framing, scale and spacing all help create a smooth visual rhythm without making the home feel overdecorated.
Why Corners Create Visual Continuity
When artwork is placed only on the largest wall, the eye tends to stop at the room’s boundary. Extending a composition onto the adjoining wall encourages movement through the space. Even a single print placed close to a corner can act as a visual hinge, especially when it is visible from both rooms.
This works best when the art relates to something beyond the immediate wall. A blue detail might echo upholstery in the lounge, while a warm terracotta tone can connect to timber cabinetry or a rug in the adjoining dining area. The relationship should feel subtle rather than perfectly matched.
In Melbourne terraces and narrow inner-city apartments, this technique can make a hallway feel less like a passage and more like part of the living space. In Sydney units, it can also help frame a view from the entry towards a balcony or entertaining area.
Map The Sightlines First
Stand in each connected room and identify the points where the artwork will be seen. An image that looks balanced straight on may feel too high, crowded or visually cut off when viewed from the side. Mark the strongest sightlines with low-tack painter’s tape before making any holes.
Corners benefit from a little breathing space. Keep the nearest frame far enough from the edge that it does not appear squeezed, generally around 100 to 150 millimetres depending on the artwork’s scale. If the wall turns sharply, use the corner as a pause between two related arrangements rather than forcing frames tightly across it.
Take account of furniture and door swings as well. A low console, open shelving or a nearby dining chair can alter how much of a print is visible. A practical gallery wall guide can help establish a clear anchor before smaller pieces are added around it.
Build A Visual Bridge Between Rooms
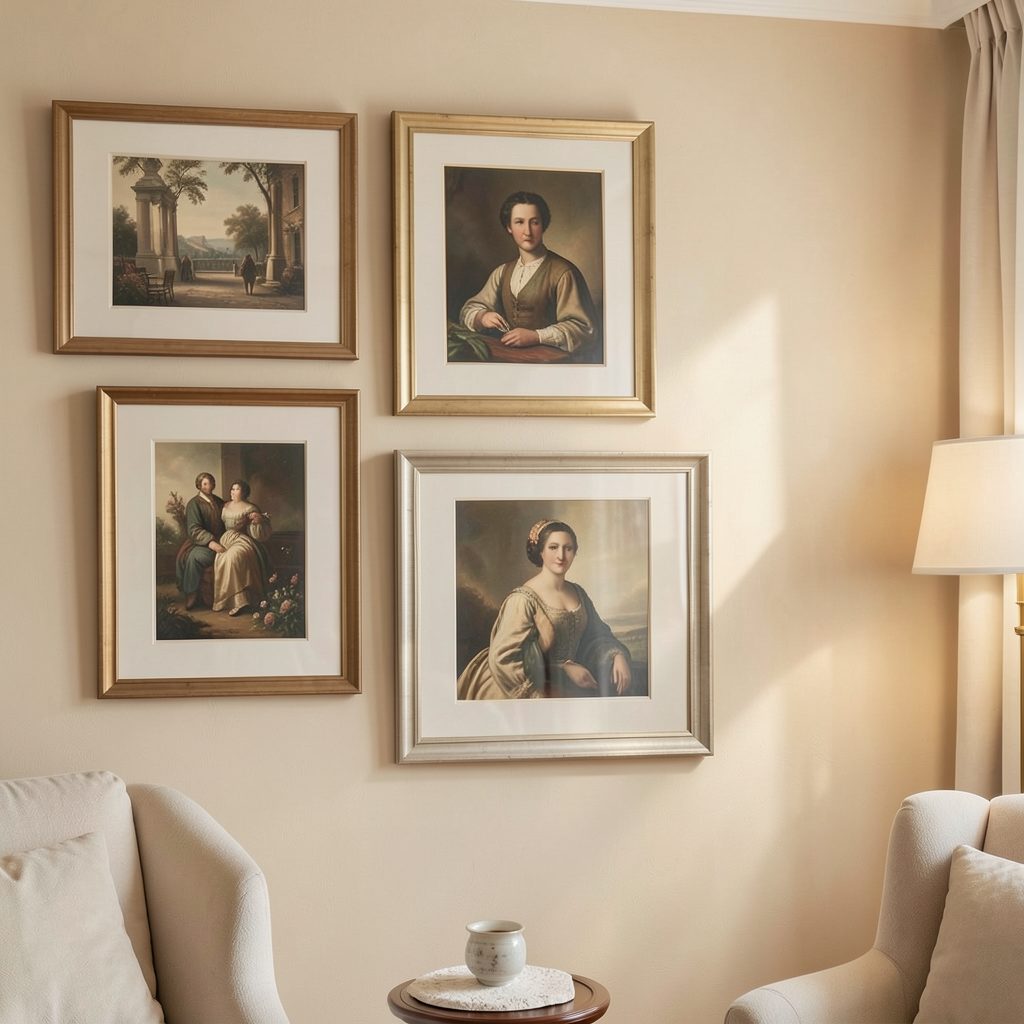
A corner arrangement does not need identical artwork on both walls. Repeating one element is usually enough to create cohesion: the same frame finish, a shared mat colour, a similar subject or a consistent visual weight. This gives each room its own character while preserving a connection.
For a gentle transition, place the larger anchor piece in the primary room and carry two or three smaller works towards the corner. The smaller works should reduce in scale or spacing as they approach the secondary room, creating a sense of movement rather than a hard stop.
In a compact Brisbane apartment, botanical prints can link a bright living area to a darker corridor. A monochrome series may suit a clean-lined Adelaide interior, while coastal photography can connect a pale dining space with a relaxed family room without relying on obvious beach-themed decoration.
Choose Frames That Work From Every Angle
Frame colour has a strong effect around a corner because the moulding is visible from changing viewpoints. Light oak and pale ash create a soft transition between rooms, while black frames define the route more firmly. Brass or aged metal can add warmth, but repeating too many finishes may make a small apartment feel unsettled.
Consider the architecture as well as the artwork. White walls do not always require white frames; a slightly deeper tone can give delicate prints enough presence. In a character home with decorative cornices, a restrained frame profile will usually sit more comfortably than an oversized contemporary moulding.
Use mats to create breathing room when several works are close together. Similar mat proportions can unify different sizes and subjects, allowing a family photograph, abstract print and line drawing to share one visual language.
Balance Light, Humidity And Wall Conditions
Australian sunlight can be intense, particularly in north-facing rooms and apartments with broad glazed doors. Keep valuable works away from direct afternoon sun, and use UV-filtering glazing where possible. Light-sensitive paper, watercolours and vivid textiles may fade quickly when placed beside a bright window or reflected glare.
Humidity also matters in coastal areas such as Sydney, Brisbane and Perth. Avoid hanging unprotected paper directly above a bathroom basin or in a poorly ventilated passage between a bathroom and bedroom. Prints should be properly sealed or glazed, and valuable pieces need enough airflow behind the frame to reduce moisture problems.
For plant-filled interiors, place greenery near rather than directly beneath artwork. A considered selection of low-maintenance plants can soften a corner, but watering splashes, condensation and growing leaves should never compete with the artwork or touch the frames.
Work With Rentals And Strata Rules
Renters should check their agreement before drilling, installing picture rails or attaching heavy works. Australian tenancy rules vary between states and territories, and some minor alterations may require written consent. Removable hooks can suit lightweight prints, but always check their load rating and test them on an unobtrusive section first.
Apartment owners also need to consider strata by-laws, particularly when artwork requires drilling into shared walls, tiled surfaces or fire-rated elements. A corner bordering a common wall may have restrictions that are not obvious from inside the room. Lightweight frames, leaning arrangements and existing fixing points can provide safer alternatives.
For a stable result, use the correct wall plug, hanging wire and fixing method for plasterboard, brick or masonry. Heavy mirrors and framed canvases should be secured with hardware designed for their weight, especially in homes exposed to movement, children or active pets.
Make The Arrangement Feel Deliberate
The most successful corner displays have a clear anchor. Begin with the piece that establishes the mood of the connected rooms, then add supporting works only where they improve the sightline or balance the wall. Leaving one section quieter can make the whole arrangement feel more refined.
Keep the centre of the main artwork close to eye level, usually around 145 to 155 centimetres from the floor to the centre of the piece. Above furniture, leave enough space for the artwork to relate to the object below without looking detached. The ideal gap will vary, but a modest 150 to 200 millimetres often works well above a console or sofa.
Practical Choices For A Smoother Transition
- Use one repeated frame finish across both sides of the corner.
- Place the largest artwork on the wall seen first when entering.
- Repeat one colour in cushions, ceramics or rugs rather than matching every print.
- Leave a visual pause at the corner instead of crowding frames into the bend.
- Use painter’s tape to test height, spacing and sightlines before hanging.
- Protect sun-sensitive works with suitable glazing and filtered window treatments.
- Choose secure, wall-appropriate fixings for heavy frames and rental-safe options for lighter pieces.
The arrangement should still look balanced when viewed from the kitchen, hallway and adjoining room. Walk through the home at different times of day, since morning glare and evening lamp light can change how the colours and spacing read.
A carefully planned display can make a modest floor plan feel more generous and connected. Start with one strong piece, carry its colour or framing language around the corner, and let the architecture determine where the composition pauses. For further ideas on stylish home displays, explore Focus LDN for practical inspiration across gallery walls, bedrooms and everyday interiors.
Take a photograph from each major sightline, adjust the layout with removable tape, and install the final pieces only when the flow feels natural. A few thoughtful artworks can turn an overlooked corner into a graceful link between the rooms you use most.