The best art spots in a tiny kitchen beyond the range hood
A tiny kitchen does not have to surrender its personality to its appliances. With careful placement, a print, photograph or small canvas can make the room feel considered without crowding the benchtop or interrupting the working triangle. In many tiny kitchens, the most useful art spots are the walls you pass every day, not the busiest cooking zone.
The aim is a display that feels deliberate from the entrance and remains easy to live with after dinner. Balance proportion, light and practical limits before choosing a frame, and make the artwork part of the room’s daily rhythm rather than an afterthought.
For Australian homes, compact layouts, tiled splashbacks and landlord conditions matter as much as composition. These are the places that work, the pieces that suit them and the details that protect both artwork and kitchen.
Start with the kitchen’s fixed zones
Map the fixed elements first: wall cabinets, benchtops, the refrigerator, pantry doors and the path between them. A long, uninterrupted stretch of wall often gives artwork more breathing room than several small gaps. In compact Sydney and Melbourne apartments, where kitchens open into living areas, art can make the boundary feel intentional.
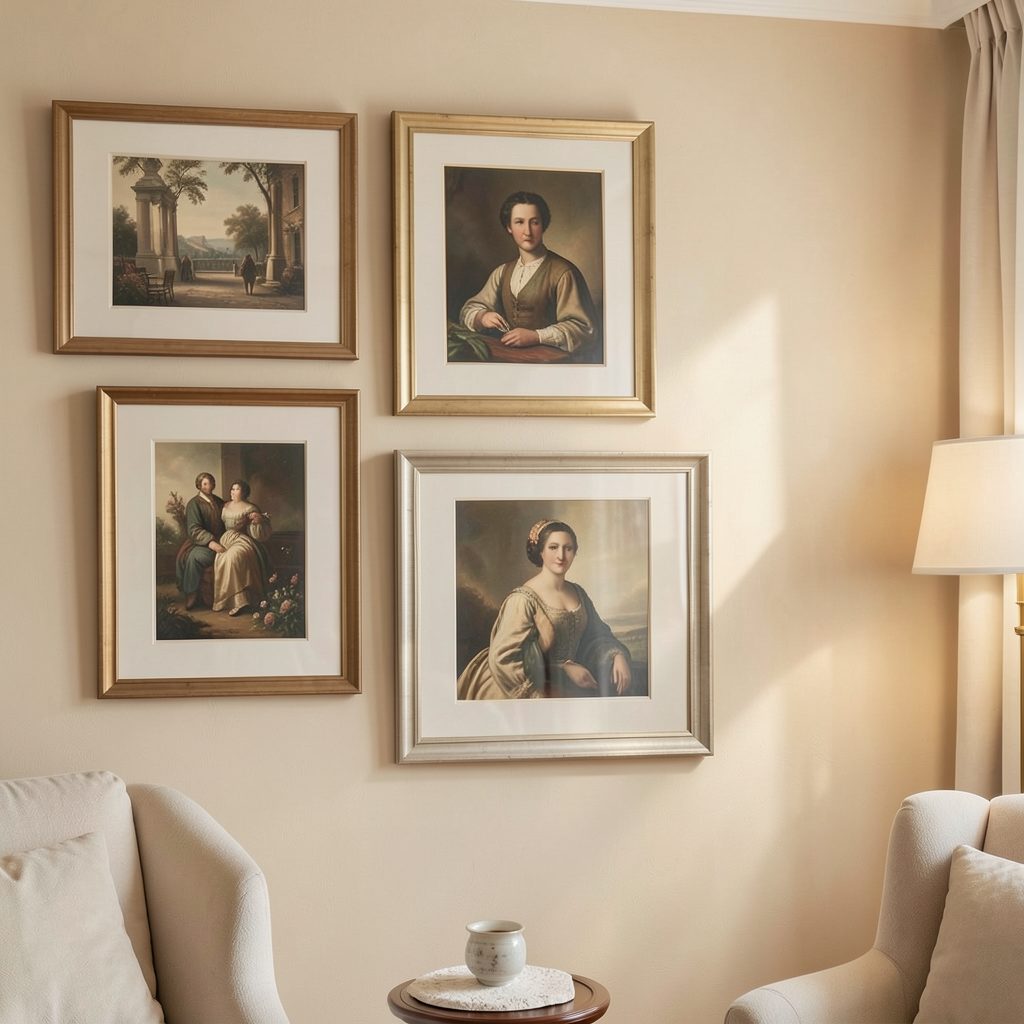
Next, check what can move. A blank section beside the fridge may be usable after allowing for door swings, while a spot above a narrow cabinet may be too low to read properly. Stand in the adjoining room and choose a position that stays visible without crowding the walkway. If you are combining several pieces, a gallery wall guide can help you set the spacing before committing to frames.
Choose materials that can handle the room
Heat, steam, cooking oil and cleaning spray affect artwork differently. Print paper can curl behind glass, timber frames can swell and glossy surfaces can cloud. A printed work behind perspex (acrylic) glazing is generally easier to maintain than an exposed original in a busy cooking space.
Humidity also shapes the choice. In humid coastal Queensland homes, stable framing, sealed edges and moisture-resistant glazing offer sensible protection. Keep valuable or sentimental pieces on a less demanding wall and save the cooking zone for replaceable prints. Favour a shaded position or use UV-filtering glazing when direct sunlight is unavoidable.
Make a blank stretch feel intentional
On a narrow wall, a single vertical print can create more impact than a crowded arrangement. Leave surrounding space so the artwork can breathe, and relate the frame’s proportions to the cabinetry. A horizontal work can suit the stretch above a bench, provided its lower edge sits clear of splash-prone surfaces.
For a grouped display, work from paper templates and painter’s tape before drilling. Bunnings offers picture-hanging hardware, masonry anchors and fixings for common Australian wall types, reducing guesswork. Use removable adhesive products only for a lightweight piece on a suitable surface, and check their load limits.
Use ledges and open shelves carefully
A picture ledge can turn a narrow section of wall into a miniature gallery. Use one shallow ledge for a small print and a ceramic object, or hang two modest frames from it rather than filling it with tiny pieces. Avoid placing a ledge directly above the cooktop, where heat and grease can travel farther than expected.
Open shelves offer another opportunity between upper cabinets or beside a window. Keep everyday crockery visible and introduce one small artwork, botanical study or postcard-sized print as a still-life element. Follow the range hood’s manufacturer-specified clearance, and keep open shelving outside the immediate cooking zone.
Place art where the room naturally pauses
Entrances, the end of a galley kitchen and the side of a breakfast nook are natural focal points. Art at the end of a galley can draw the eye through the space without narrowing the walkway. Before choosing a position, open every nearby cabinet, appliance and bin to check that nothing will be obstructed.
A wall beside a window can work when light falls across it rather than reflecting back at the viewer. Avoid hanging a piece over the window itself, where cords and glazing hardware interrupt the view. If sunlight strikes the wall directly, choose another spot or add a UV-filtering panel to reduce fading.
Coordinate colour, frames and textiles
Let the kitchen’s fixed finishes set the palette. Warm timber, pale cabinetry and a sage or charcoal splashback support different frame treatments; slim black frames create contrast, while natural timber keeps the display soft. The artwork can introduce the stronger colour the space lacks.
Textiles can ground the artwork. A washable, low-pile runner works if it sits flat without obstructing a cabinet door. A useful starting point is choosing a rug that suits the floor’s dimensions and traffic. When floor space is tight, prioritise the wall treatment and skip the rug rather than creating a trip hazard.
Frame sizing is easier with Australian A-series dimensions. A2 measures 42 by 59.4 centimetres and A3 measures 30 by 42 centimetres, practical formats for many narrow kitchen walls. Giving these measurements to an Australian framer can simplify the order and reduce custom cutting.
Make a simple plan before you hang
Measure the usable wall, not just the gap between cabinets. Place paper templates at eye level, view them from the room’s main approach and adjust until the artwork has space rather than looking pinned into a leftover corner. Confirm the fixing method for the wall’s construction.
- Measure each potential wall and mark the artwork’s exact position with masking tape.
- Set the centre around eye level, adjusting for the room rather than applying a fixed rule.
- Keep art clear of the cooktop, sink splash zone and the range hood’s manufacturer-specified clearance.
- Choose an A2, A3 or smaller format that fits without crowding the cabinets or benchtop.
- Check the wall for studs or masonry, then use anchors suited to the surface and the artwork’s weight.
- Never hang heavier artwork from adhesive strips, and keep valuable pieces off grease- and splash-prone walls.
If you rent, ask the landlord before drilling and photograph the wall for the handover condition. Keep the arrangement light enough for safe removal, and check the artwork in daylight and evening light before fixing the hardware permanently.
Start with one safe wall and one artwork you genuinely like. A considered single print can define a compact kitchen more strongly than several competing accessories, and you can build a collection around it as the room changes.
For practical guidance on arranging art, building gallery walls and refreshing compact interiors, explore Focus LDN and subscribe to the email newsletter for fresh decorating ideas.