Floating Frames That Flatter Thick Canvas Edges
Learning how to use floating frames to highlight thick canvas edges comes down to one small but visible distance. A floating frame stands away from the wall, leaving the canvas sides exposed and casting a shadow. On a substantial piece, that space becomes part of the composition rather than something to hide.
The result suits the clean, edited look common in Australian apartments, from Sydney converted spaces to Melbourne terraces. It also works well above a bed, beside a bath or as the anchor for a cluster of smaller works. The canvas can feel sculptural while the surrounding room remains restrained.
Getting the detail right requires more than choosing a slim moulding. Check the depth of the stretcher, the weight of the artwork and the way the frame will attach to the wall. Accurate measurements and a sound wall are the foundation of a tidy display.
Understand the Floating Frame Gap
A floating frame is built in layers. The face sits forward, a spacer holds it away from the artwork, and the back panel supports the canvas. The gap between the canvas and the wall is deliberate, often around 10–25 mm, although the profile and the size of the work determine the final proportion.
Thick canvases need particular care. A frame made for a flat print may have too little depth to clear a 40 mm stretcher, and the artwork may not sit correctly within it. Ask for a deeper frame or separate spacers rather than forcing the canvas into an unsuitable rebate.
Measure the outside width and height, including the stretcher bars, and note the depth at the deepest point. Australian framers often work in millimetres, while imported frame kits may use inches. Keeping both units on your notes prevents a frustrating mismatch, particularly when ordering online.
Match the Frame to Your Canvas
Give the visible edge a role. Gallery-wrapped canvases, painted sides and textured surfaces benefit from a frame with enough shadow to reveal their shape. A narrow black profile creates a crisp outline, whereas pale timber or off-white metal softens the transition between the canvas and the wall.
Sample colours in the room before committing. Warm white walls, pale oak and eucalyptus tones often sit comfortably beside thick neutral canvases, while a dark frame gives graphic energy. Check the frame beside the artwork during both morning and evening light rather than judging it under showroom LEDs alone.
Glazing matters too, especially in a sunny Brisbane or Perth apartment. Ask about UV-filtering acrylic for a west-facing room, and confirm that the canvas will not press against the glazing. Some suppliers offer anti-reflective options that reduce window glare without the weight of glass.
Build a Balanced Gallery Wall
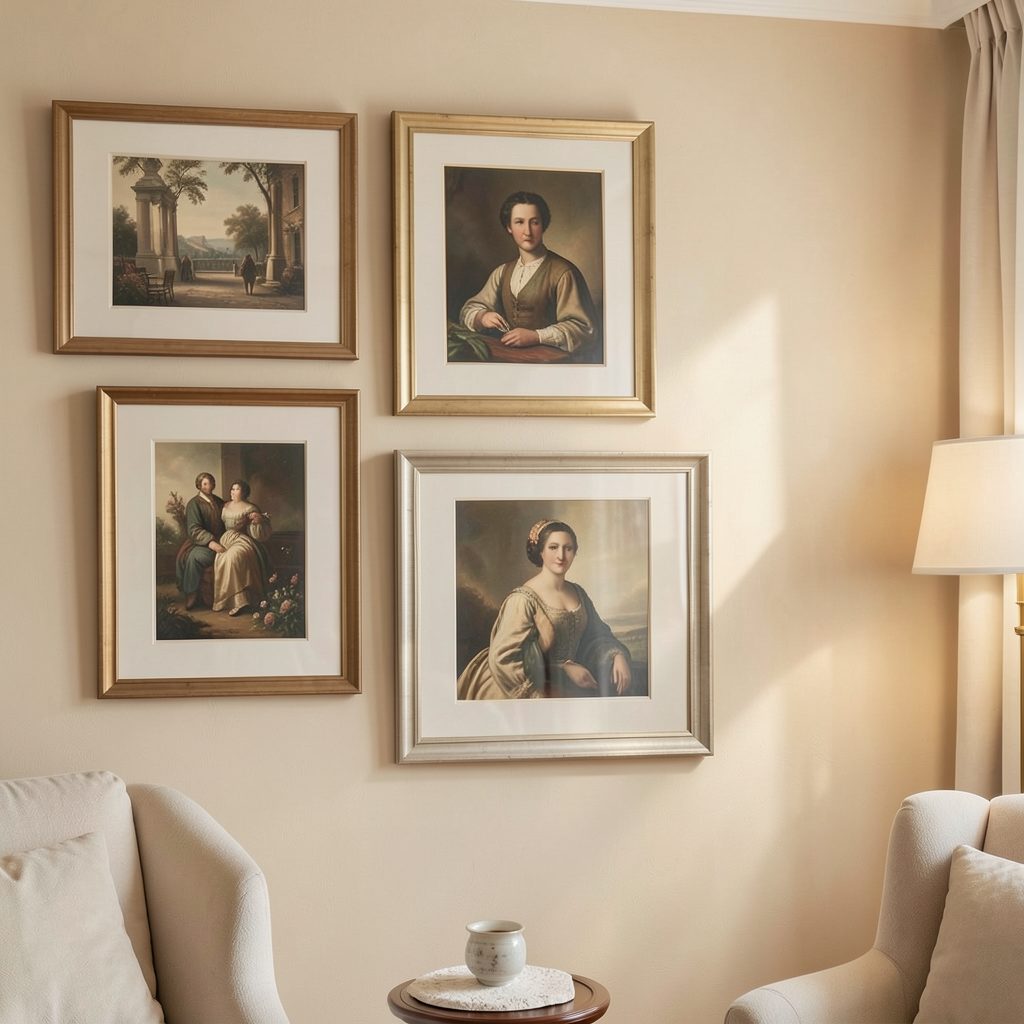
Mixing depths can make a gallery wall lively, but it can also disrupt the alignment. Work with a common front plane, then vary the width and height of the frames. Keep the lower edges visually level if the pieces form a row, or use one larger canvas to anchor a looser arrangement.
A mirror can extend the impression of a display without adding another canvas. The guide to using mirrors creatively shows how reflective pieces can introduce light and balance a room. Place one opposite, not directly beside, the artwork so it returns a different view rather than competing for attention.
Sketch the arrangement at full scale before you hang anything. Mark the wall with removable tape, step back from the doorway and check the balance from the places you usually sit. In a strata apartment, check your lease and body-corporate rules for drilling, particularly around communal areas.
Get the Installation Right
Use a level, suitable fixings and a wall that can carry the load. A long spirit level or laser level makes alignment much easier, while masonry anchors are necessary for brick veneer walls. Do not use plasterboard plugs as though they will hold the same weight in a solid brick wall.
Before drilling, spend time choosing the best wall and checking what the room already needs. Look for an uninterrupted run that relates to the furniture, keep artwork clear of heaters and avoid damp patches near a bathroom. The frame may be the focus, but its position should still make sense at eye level.
Check the hanging system before the frame arrives. For larger canvases, the weight may need two fixings, and the strap or wire should sit at the designed point. Ask whether an oversized frame can travel flat within Australia, since bulky corners and insufficient packaging can turn a local purchase into a transport headache.
Bring the Display to Life
Let the artwork lead, then build the room around it. In a bedroom, repeat one colour from the canvas in a cushion or throw and add a tactile element such as a woven lamp. In a bathroom, choose moisture-resistant accessories and keep textiles well clear of the splash zone.
Lighting can make the exposed sides feel dimensional. A picture light with a warm-white beam between 2700K and 3000K suits many Australian interiors, while directional light should skim the edge enough to reveal its depth. Try the fitting before the artwork goes up, since shadows change throughout the day.
For wider ideas, browse the Queensland Art Gallery | Gallery of Modern Art in Brisbane and the Art Gallery of South Australia in Adelaide. Notice how the frames relate to the walls and how the artists’ chosen objects work together.
Choose one canvas, measure its stretcher and decide on the depth of the float before you shop. Bring those measurements to a reputable local framer, then install the piece on a level wall so the shadow becomes a deliberate part of the room. Subscribe to Focus LDN for more practical ideas on gallery walls, frames and stylish apartment living.