How to layer art on a shelf above a radiator
Layering art on a shelf above a radiator can turn an awkward heating zone into a display, but it needs more care than an ordinary picture ledge. Leave enough space from the heat to avoid warping, fading and premature damage.
The best layering combines different frame depths, widths and heights while staying connected to the room. A few well-chosen pieces can make a stronger feature than a crowded run of small images, especially on a narrow shelf or in a compact apartment.
Australian conditions make those choices particularly relevant. Older Sydney terraces often have hydronic radiators and brick walls, while many Melbourne apartments use reverse-cycle heating instead. In Brisbane, humid air can affect adhesives and untreated frames, so stable materials and secure supports deserve attention.
Measure the ledge, check the radiator instructions and plan before buying. With that preparation, the shelf can display framed prints, photographs and small objects without interfering with the heater or reducing clear space.
Start with the heat and the wall
Identify what kind of heater sits below the shelf. Panel and hydronic radiators become very hot, while reverse-cycle split systems do not create the same radiant heat at the wall. Treat a radiator shelf as a heat zone, follow the maker’s clearance guidance and never use the heater as a support. For a split system, keep vents and service access clear.
Check the wall and shelf fixing. Brick or rendered walls may need masonry anchors, while timber-framed walls can use a stud or approved hollow-wall anchor. Support the shelf with a level ledger or bracket rated for the load, and keep valves, controls and airflow clear.
Plan the composition before you buy
Start with one anchor frame that establishes the scale. Place it toward the back, add medium-sized frames in front and finish with smaller pieces at the edges or lower down. This staggered height creates depth without relying on lots of frames, which is especially useful on a short ledge.
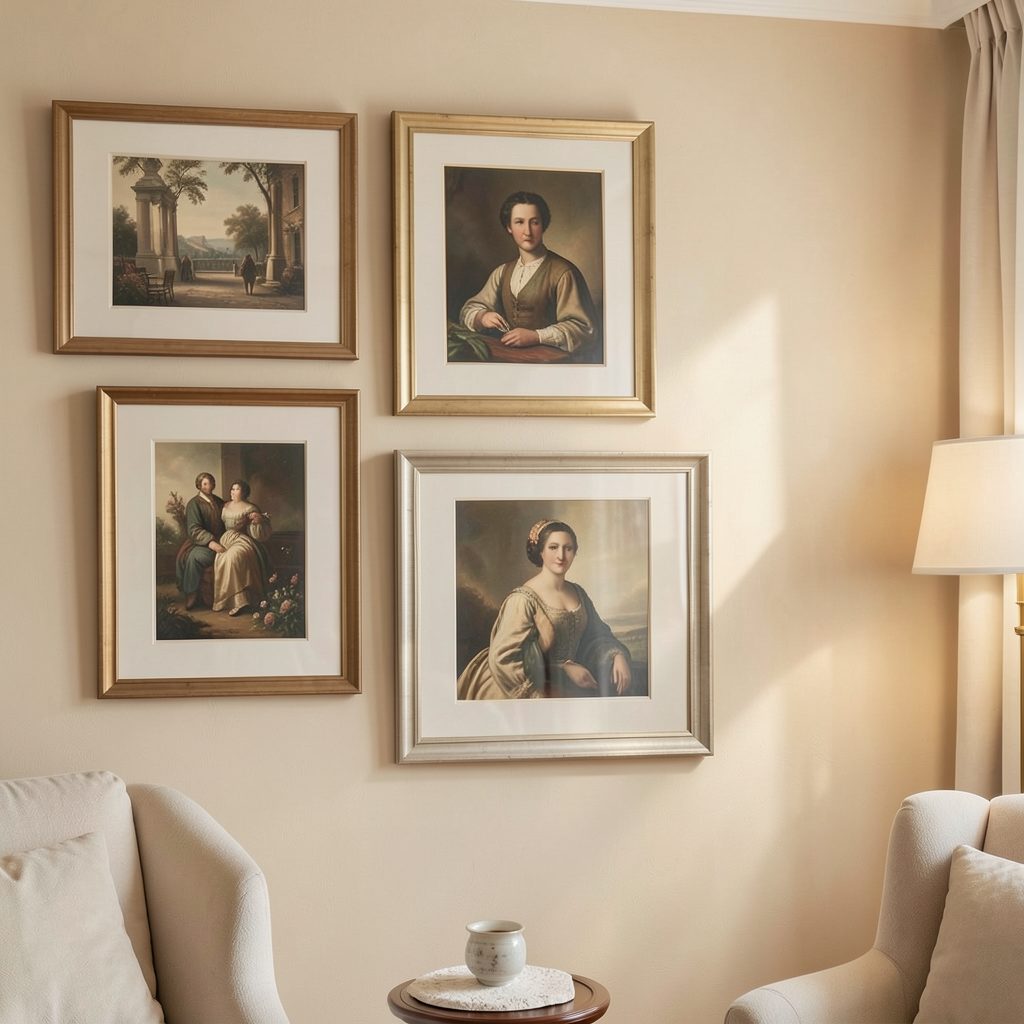
Sketch the layout at actual size, including the visible gaps. Aim for a clear rhythm of verticals, horizontals and empty space rather than equal spacing everywhere. If you want a gallery-style approach, the guide to seven-frame wall ideas offers a useful lesson in balancing a varied group.
Choose a restrained palette if the room is busy, or repeat one accent colour if the shelf needs more character. Test the grouping against the wall colour and nearby furniture so it reads as part of the room, not an isolated row.
Choose frames and objects that handle heat well
Heat rises directly from a radiator, so leave a generous gap and avoid resting paper or canvas against a warm wall. Prints benefit from a mat and stable backing; original paintings, works on paper and textiles need especially conservative placement. Valuable pieces should be assessed by a qualified conservator.
Clear acrylic supports or small risers let frames lean without pressure on the artwork. Acrylic glazing is light and less likely to shatter if bumped, although it can scratch; glass gives a clean finish but adds weight. Timber frames need sound joints and finishes because repeated heat can dry older materials.
Keep heavier pieces at the back and use a discreet anti-slip putty on the underside of each frame. The fix should touch the frame rather than the painted wall, and it should never cover the glazing or artwork.
Compare the main layering styles
The right method depends on the ledge depth and the number of pieces you own. A narrow shelf benefits from overlapping frames, while a deeper ledge can support stepped rows and one or two small objects. Check that every angle remains stable before committing to the arrangement.
| Layering method | Best for | Main benefits | Watch-outs |
|---|---|---|---|
| Leaning frames | A simple ledge or two to four pieces | Quick to arrange and easy to refresh | Frames need reliable anti-slip supports |
| Overlapping frames | Narrow shelves and a denser display | Creates depth and uses limited width | Avoid covering key images or frame edges |
| Raised mixed-height grouping | Deep ledges and varied frame sizes | Builds a strong visual rhythm | Check stability and shelf load |
For a slim radiator shelf, overlapping frames usually create the most generous effect. Keep the lowest frame clear of the radiator’s upper edge, preserve the maker’s clearance and leave some bare ledge so the display does not look compressed.
Make the display suit an Australian interior
In a Sydney terrace, pale timber, warm white walls and simple black frames can sit comfortably with original brick or rendered finishes. In a Melbourne apartment, a restrained arrangement may work better in a compact living room, particularly when reverse-cycle heating means the shelf is not actually over a radiator. Check apartment or body-corporate rules before drilling.
Brisbane’s humidity makes solid fixings and moisture-resistant frame finishes sensible choices. If the display is becoming the beginning of a broader collection, build your own gallery can help you develop a coherent visual direction before filling the shelf.
Australian framing suppliers commonly stock A3 and A4 sizes, so standard mats and frames can make planning easier. Look for sizes that fit the ledge after allowing for frame edges, rather than buying first and hoping to squeeze everything in later.
Secure the frames and protect the wall
Clear acrylic brackets, gallery putty and purpose-made anti-slip pads keep frames in position. For an active home, add a locking bracket to valuable or frequently touched pieces. Test each support before arranging the full composition, and check it periodically as the temperature changes.
Dust settles quickly in layered gaps. Use a soft brush around frame tops and a lightly damp cloth on the shelf, after confirming moisture will not reach the artwork. Remove the frames before cleaning behind the radiator, and follow the heater instructions for servicing.
Avoid masking tape, sticky hooks or foam pads on painted walls; they can lift colour or leave residue. If the wall is freshly decorated, allow the paint to cure before adding fixings, especially in a humid period.
Build a display you will want to keep
Treat the shelf as one focal point rather than adding every small object available. One restrained ceramic, a tiny stack of books or a single botanical accent can balance the frames, but keep objects away from heat-sensitive materials and out of the radiator’s air path. If the ledge is very shallow, artwork alone will look cleaner.
Photograph the finished arrangement from room height and at night. Evening light often reveals a lopsided gap or a frame that blends into the wall. Adjust the composition now, then check it seasonally as Australian winter heating from June to August gives the shelf its strongest seasonal context.
Choose the anchor frame, measure the clear space above the radiator and gather your supporting pieces before arranging the final layer. Explore home decor inspiration for more framing and gallery-wall guidance, then subscribe to Focus LDN’s email for fresh edits that help you create a considered home.