How to Arrange a Diagonal Gallery Wall for Maximum Visual Impact
A diagonal gallery wall turns a flat stretch of plaster into a path for the eye. Rather than lining every frame along one invisible rail, pieces climb from lower left to upper right, creating movement across artwork, photographs and small objects. The effect works best when it feels deliberate rather than scattered, so planning the arrangement matters as much as choosing the frames.
In Australian homes, the display must suit varied architecture and light: narrow Federation terraces in Sydney, warehouse conversions in Melbourne, bright Queensland apartments and compact Perth rooms. Measure in centimetres, consider strong afternoon sun or coastal humidity, and check body corporate rules before fixing anything into a shared wall. Removable hanging systems also give renters a practical route to the same polished effect.
Set the visual direction
Start with one large anchor piece near the visual centre of the wall. A diagonal can still feel balanced if the largest frame sits slightly below the midpoint, with smaller works stepping upward around it. Decide whether the movement should rise from left to right or fall in the opposite direction, because a consistent direction makes the display easier to read.
Visit contemporary gallery spaces for examples of varied scale and spacing, then translate those qualities into a domestic arrangement rather than copying a museum wall. Keep the final grouping focused enough to recognise from across the room; six to nine pieces often create enough movement without making a modest apartment wall feel busy.
Map the diagonal on the wall
Tape a paper template to the wall in the position you want the anchor frame. Use painter’s tape to mark the outer edges, then draw a faint pencil line through the top-left and bottom-right corners of the overall group. Each subsequent frame can be positioned against that diagonal, offset by the width of its mat or mount.
As a starting point, leave 5–8 centimetres between the outer edges of neighbouring frames. Photograph the template, step back and check it from the doorway and from a seated position. Paper templates are safer than repeated wall markings because they let you adjust the rhythm before making holes, particularly in rooms with pendant lights that alter the perceived centre line.
Choose frames with a common rhythm
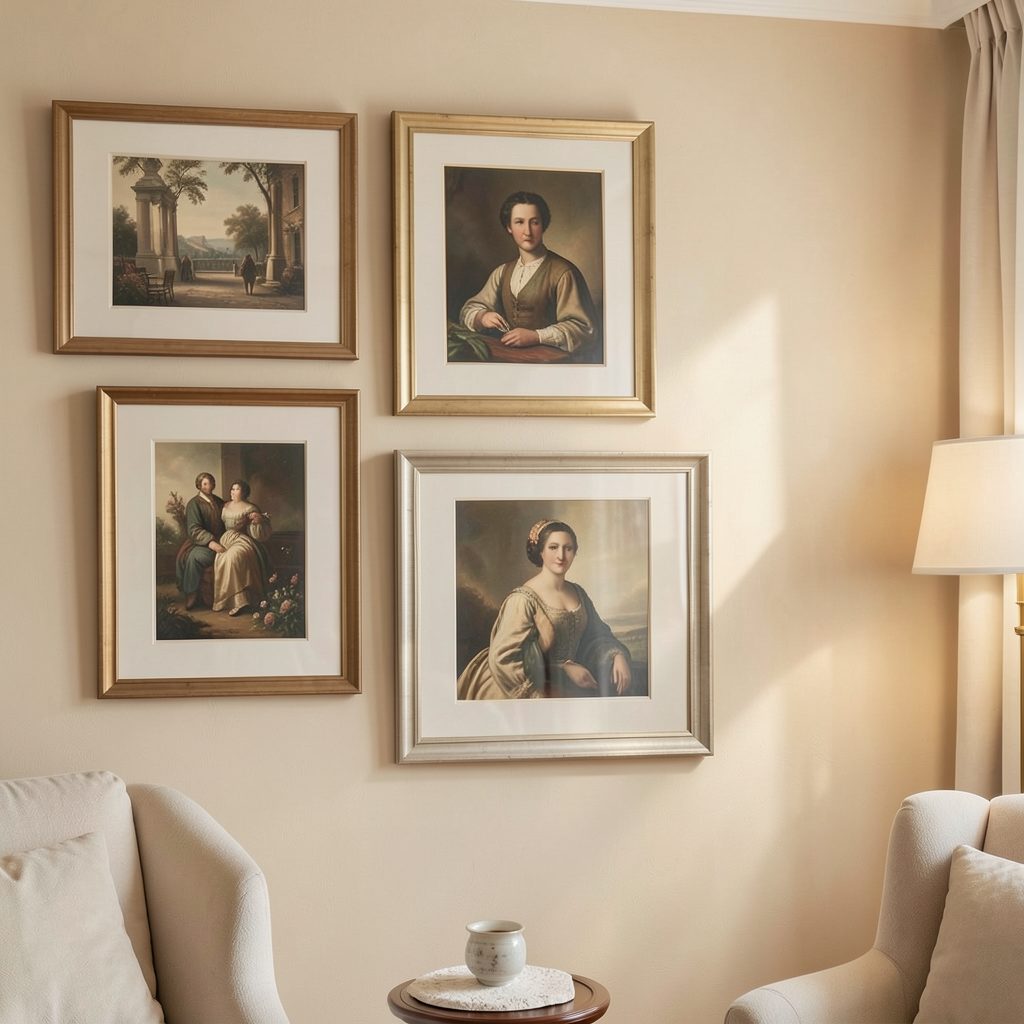
Build the selection around one repeated visual cue, such as mat colour, timber finish or metal profile. Then vary scale and subject while keeping enough consistency to make the diagonal feel connected.
Frame direction
- Keep most mouldings slim so the rising line remains visible.
- Repeat one mat colour across different formats.
- Balance ornate frames with simple, narrow profiles.
Artwork balance
- Pair one dominant piece with quieter supporting works.
- Mix warm and cool tones across the slope.
- Leave breathing room around tightly detailed images.
Before purchase, place every frame in the same room and view it under evening light. The Australian market includes limited-edition prints by local and Indigenous artists, so compare artist information, dimensions and provenance. Check that frame and print quotations include GST, as retail prices and online delivery costs can vary considerably.
Hang the arrangement with precision
Use a laser level to mark a true horizontal reference, then use the paper template to restore the intended diagonal. Even a small error repeated across several frames will disturb the effect. Mark every fixing point with a pencil before drilling, and use wall anchors specified for plasterboard, masonry or timber studs.
For brick or stone walls in Sydney terraces and Melbourne conversions, choose masonry bits and avoid embedded services. Apartment owners should also check whether the surface is common property or subject to heritage or strata controls, because approval requirements differ by building and state. Rated adhesive hangers can work for light frames, although their weight limits and removal instructions must be followed carefully.
Install the largest frame first and confirm it is level. Work outward along the diagonal, comparing each outer edge with the pencil line rather than relying on individual measurements alone. Check the spacing from several angles, photograph the finished arrangement and make any final adjustments before adding the smaller pieces.
Use light to reveal the diagonal
A diagonal gains depth when brightness changes gently from one frame to the next. Aim picture lights or wall washers at the centre of the arrangement rather than every individual piece, so highlights travel along the rising line instead of creating harsh, separate pools.
In a north-facing Brisbane room, control direct sun with a blind or UV-filtering film, as fading is cumulative and irreversible. Coastal humidity can also affect paper, mounts and unfinished timber, so avoid exposed bathroom walls and leave some distance from windows. In a dim hallway, a warm LED strip above the frames can reveal the layout, but conceal the source from normal eye level and test it after dark.
Adapt the display to Australian conditions
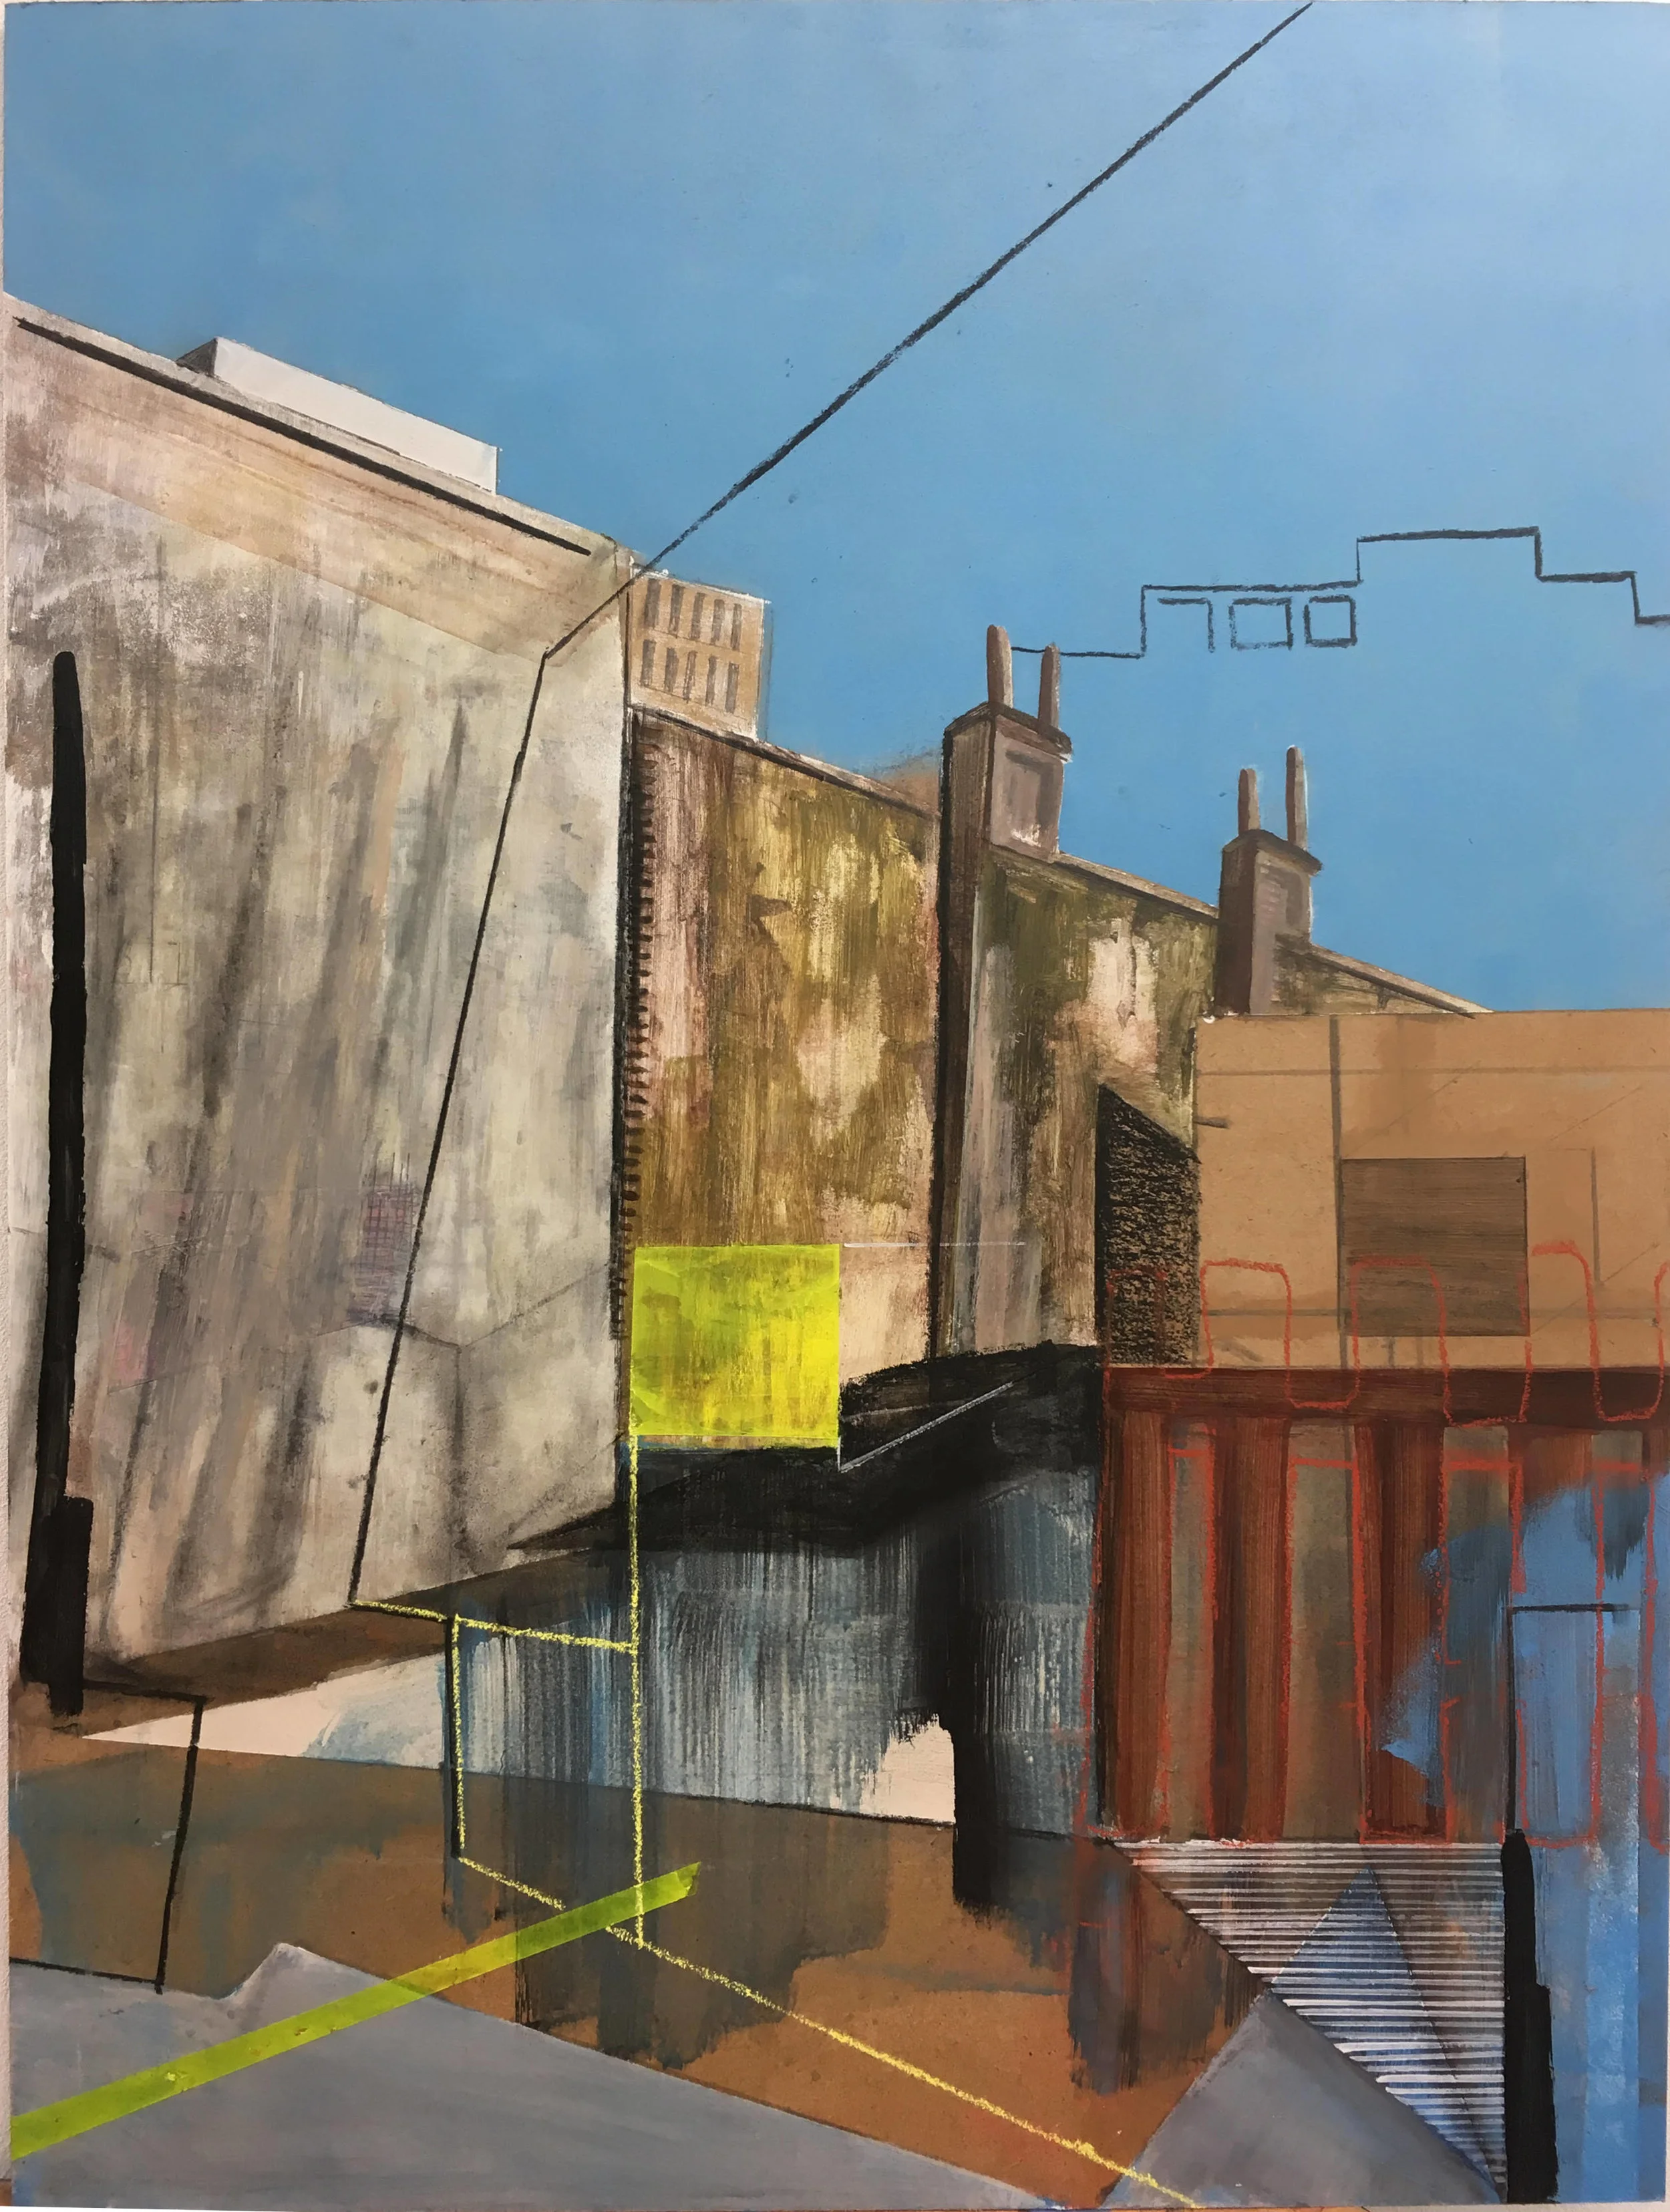
Australian gallery art often features local landscapes, bold colour and coastal or architectural imagery. A practical gallery art guide can help you assess scale and visual weight before buying; display each work with enough border to keep it from competing with the upward movement of the group.
For framed works, use acid-free mounts and avoid walls where steam and damp can reach the paper. Check consumer protections when ordering prints or frames: the Australian Consumer Law provides automatic guarantees for goods of acceptable quality, so retain invoices and ask about returns or transit damage. Suburban and regional homes can use the diagonal above a sofa or console, turning unused vertical space into the room’s focal point.
Finish with a personal, evolving display
A successful arrangement should reflect the people living with it rather than follow a symmetrical formula. Hang the pieces at a comfortable viewing height, generally about 145 centimetres to the centre of the main frame, then step back and make small adjustments until the diagonal feels relaxed. Leave enough flexibility for new work to replace an old piece without redesigning the entire wall.
Bring the display together with one unframed object, such as a small ceramic vessel or a shallow ledge. Then subscribe to Focus LDN for practical decorating ideas, gallery-wall layouts and fresh inspiration for stylish home living, delivered to your inbox.