Displaying Oversized Art In A Small Studio Apartment
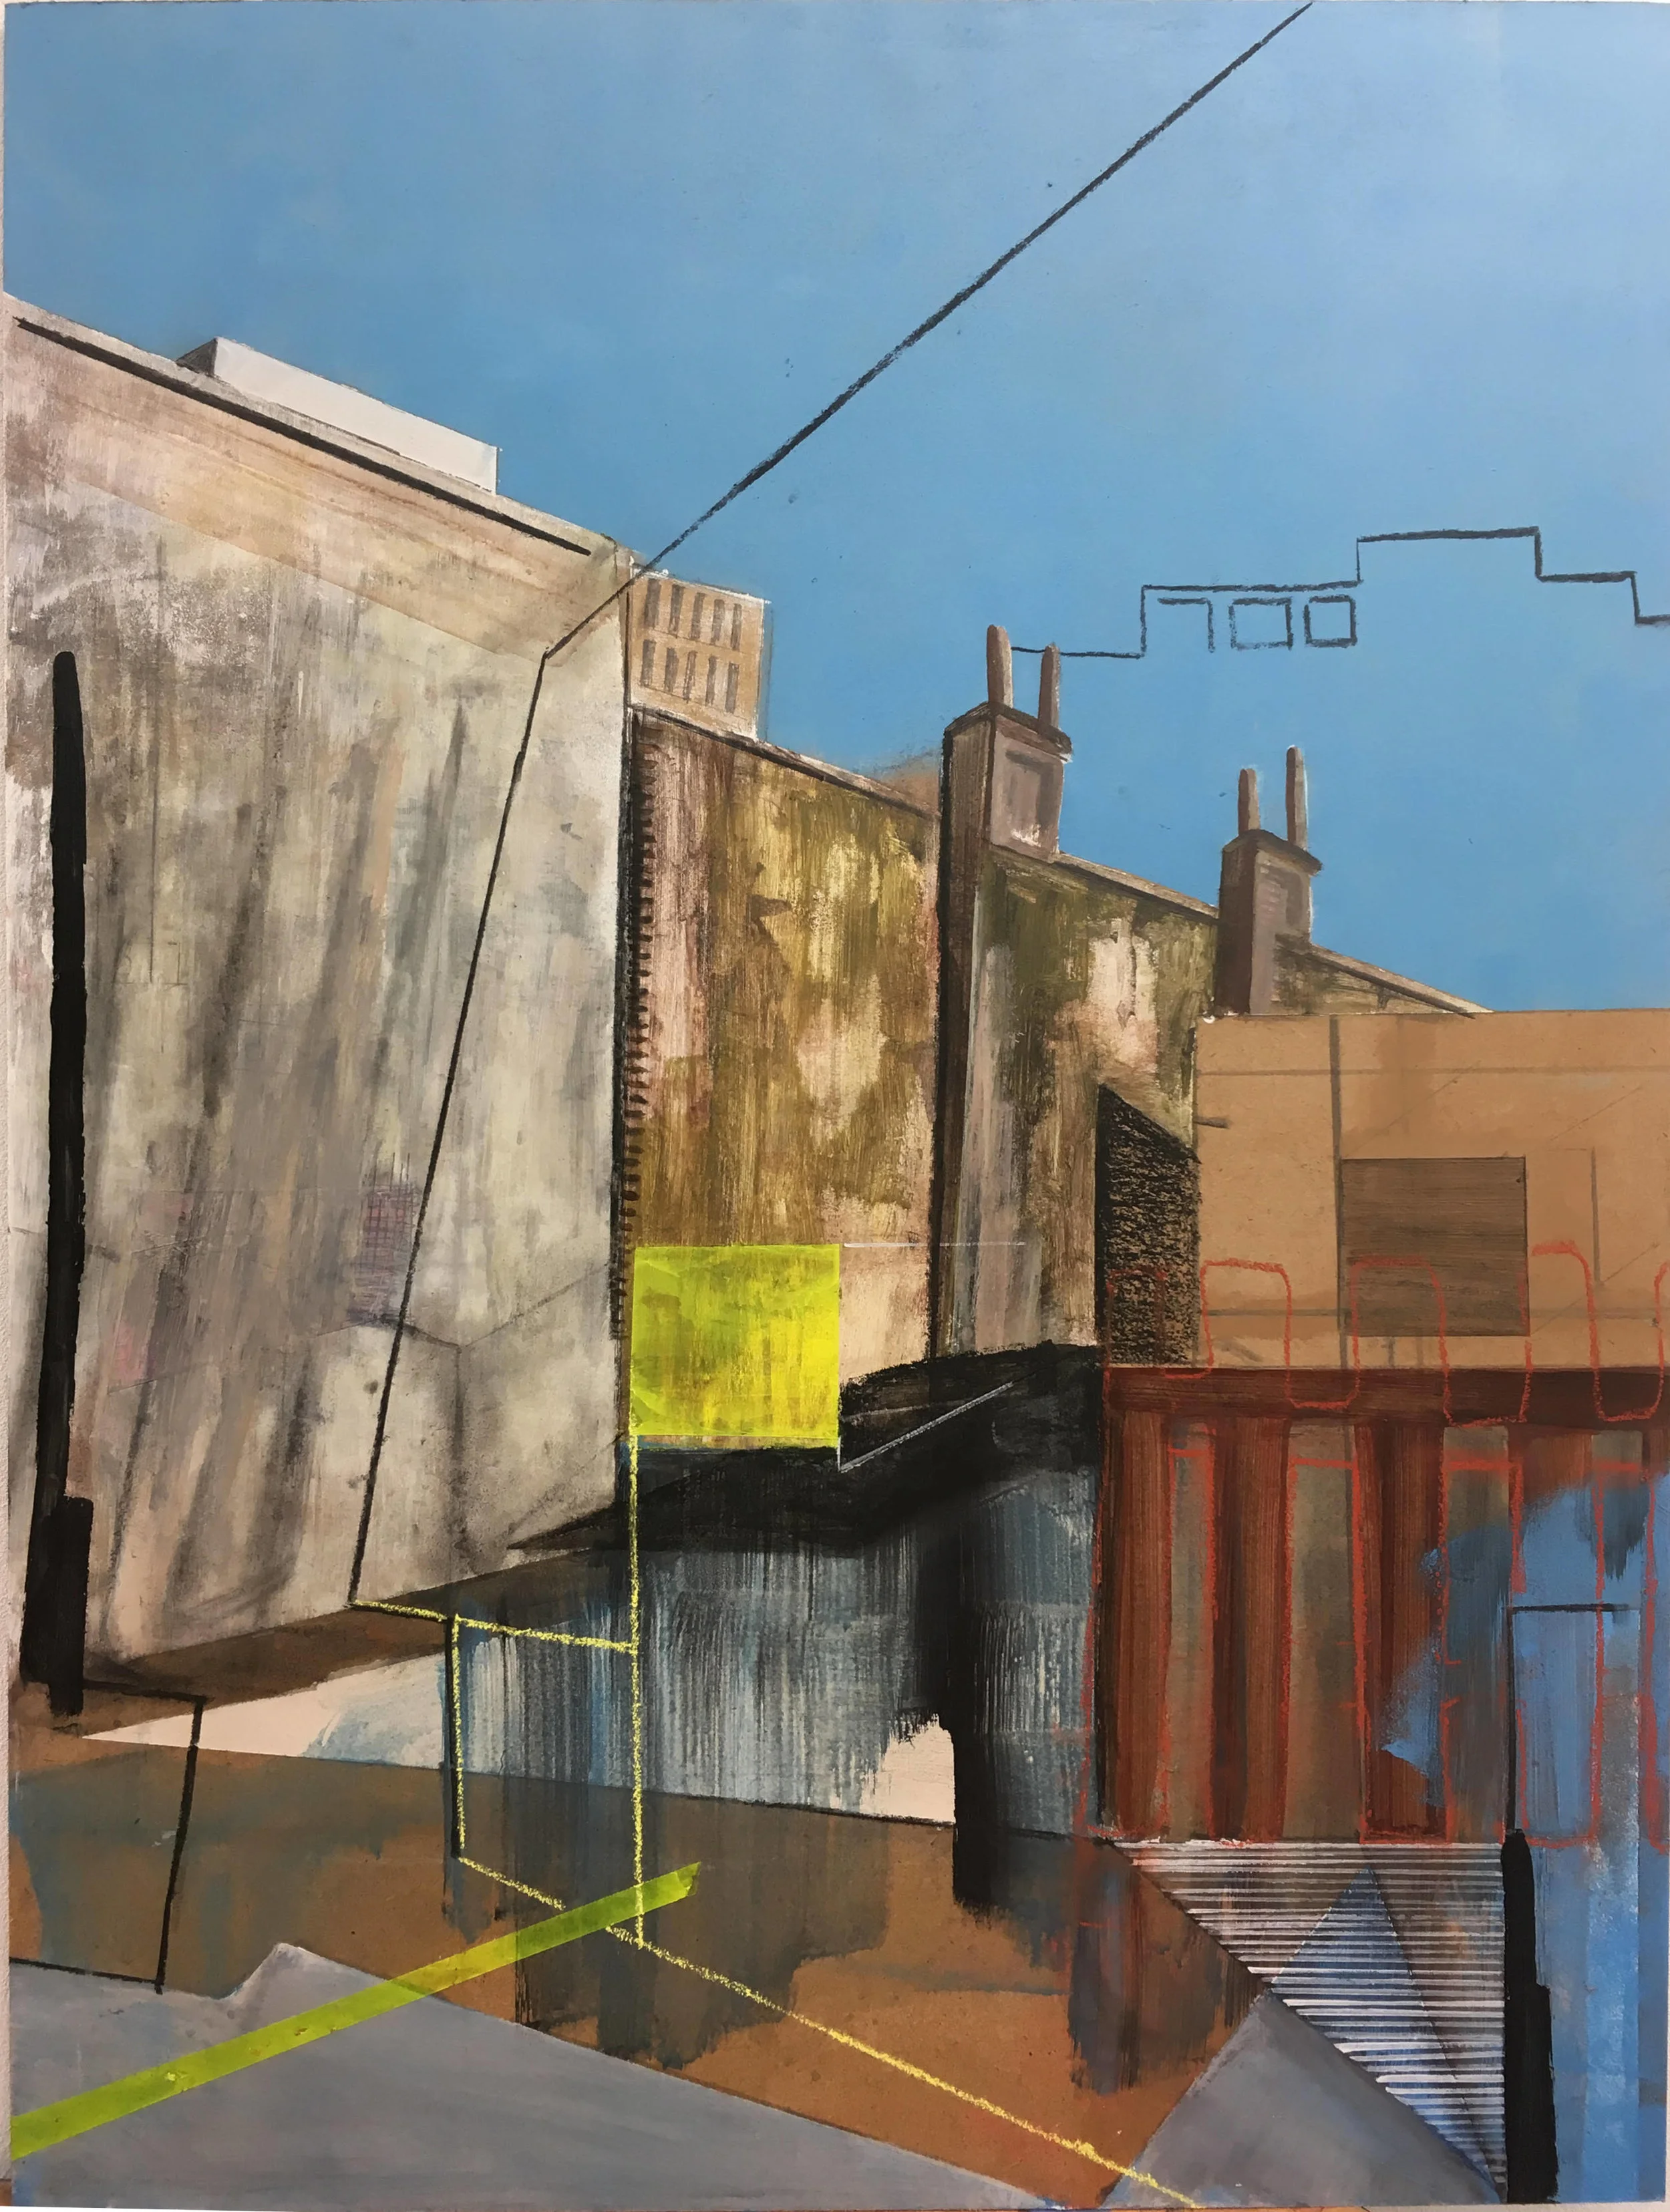
A single large artwork can give a compact studio the presence of a much bigger home. Rather than filling every wall with small pieces, one generous canvas or framed print creates a strong visual anchor, defines a living zone and brings personality to an open-plan layout. Learn more about How To Choose 3.
The trick is to make the artwork feel intentional rather than cramped. In a studio, the bed, sofa, dining table and kitchen are often visible at once, so scale, sightlines and negative space matter as much as the image itself. The right placement can make a small room feel edited, calm and gallery-like.
Australian apartments bring a few extra considerations. Strong western sun in Melbourne or Sydney can fade unprotected paper, while Brisbane humidity may affect certain materials. Renters may also need to work around strata rules, fragile plasterboard and the practical limits of a typical unit.
Make One Wall Do The Work
Choose the wall that is naturally visible from the entry, sofa or bed. A large artwork works best when it has a clear role, such as marking the lounge area or giving the sleeping zone a finished backdrop. Avoid placing it where an open cupboard door, television or tall plant competes with the composition.
In a narrow studio, the biggest uninterrupted wall is usually the safest choice. A horizontal landscape can make a short room feel wider, while a tall portrait suits a high wall beside a doorway or wardrobe. If the room has an awkward corner, use the artwork to turn that limitation into a deliberate focal point.
Think of the piece as furniture in visual terms. It needs breathing room around its edges, just as a sofa needs space around its arms. Leaving a strip of wall visible on every side generally makes an oversized work look considered rather than squeezed in.
Measure For A Clean Fit
Before buying, tape the proposed dimensions directly onto the wall with painter’s tape. Include the frame, stretcher bars and any hanging hardware in your measurements. Stand at the opposite side of the studio and check whether the outline feels balanced from the main viewing positions.
For a sofa, the centre of the artwork often sits around eye level when seated, with the lower edge roughly 15 to 25 centimetres above the back. Above a bed, leave enough clearance for pillows and bedding. In a rental, check whether the wall can support the weight and whether removable hanging systems are suitable for the paint finish.
A heavy frame may require a stud, masonry anchor or professional hanging service. Australian hardware stores such as Bunnings carry useful wall fixings, but the correct product depends on the substrate and the artwork’s weight. When in doubt, ask a framer or installer rather than relying on a single adhesive strip.
Build A Cohesive Artwork Zone
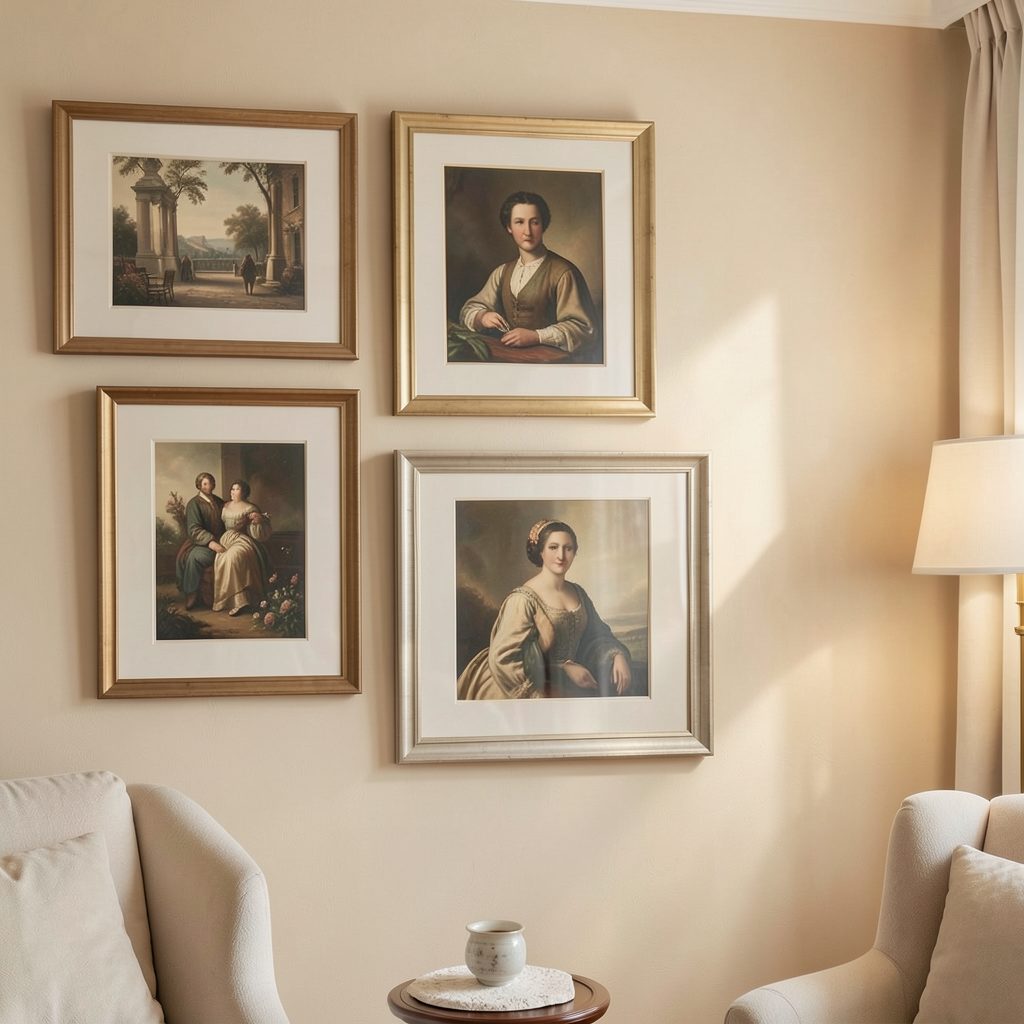
Oversized art does not have to stand alone. A slim picture ledge below it, a low console or a small bench can create a layered display without adding much visual bulk. Keep supporting objects restrained so the main piece remains dominant.
If you want to combine a large work with smaller prints, begin with the largest piece and build outward. Our guide to layering artwork can help you vary height, depth and scale without making the wall feel busy. In a studio, two or three supporting elements are usually enough.
Use repeated colours to connect the artwork with bedding, cushions or a rug. A black line in the frame might echo a tap or lamp, while a rust, ochre or eucalyptus green tone can link the print to Australian light and natural materials. This creates cohesion without matching every object exactly.
Select Frames That Feel Light
A broad artwork in a chunky dark frame can look dramatic, but it may also absorb valuable visual space. Slim timber, painted wood or simple aluminium frames are often better for a compact interior. The finish should support the artwork and the room rather than become a second focal point.
For a minimalist studio, a pale oak frame can soften white walls, while black can sharpen a monochrome print or photographic work. If the apartment has exposed brick, concrete or timber flooring, choose a frame that acknowledges those textures. Selecting frames becomes easier when you consider the whole room instead of the artwork in isolation.
Glazing also affects the result. Museum-style acrylic is lightweight and safer in a rental, although quality acrylic can cost more. UV-filtering glazing is worthwhile for valuable works or walls receiving direct Australian sun. Avoid hanging delicate works in steamy bathroom areas unless the materials are specifically designed for moisture.
Use Light And Colour Carefully
Observe the wall throughout the day before finalising the position. A work that looks balanced in morning light may receive harsh afternoon glare near a west-facing window. Sheer curtains, blinds or UV glazing can protect colour while keeping the room bright.
Track lighting and adjustable wall lights can make a large piece feel like a private gallery. Aim the beam across the artwork rather than directly at it to reduce reflections. In a small studio, a warm, dimmable light is especially useful because it can define the artwork zone at night without flooding the entire room.
Colour can change the apparent size of a piece. A pale artwork against a light wall feels quiet and expansive, while a deep-toned canvas creates a stronger boundary. For renters who cannot repaint, use the existing wall colour as part of the composition and add contrast through the frame or nearby textiles.
Choose With Your Layout In Mind
The best oversized art is proportionate to the studio’s actual furniture, not simply the wall. A large work above a tiny two-seat sofa can make the seating feel undersized, while a modest print above a broad bed may appear lost. Measure the furniture first and aim for a relationship that feels visually stable.
Australian design markets offer plenty of options, from local photographic prints and First Nations artworks to limited-edition posters by independent illustrators. Buying locally can simplify delivery to a Melbourne, Sydney or Brisbane apartment and make custom framing easier. Check provenance and artist information carefully, especially when purchasing cultural works.
Compare the most common display approaches before committing:
| Display approach | Best for | Main advantage | Watch out for |
|---|---|---|---|
| One framed canvas | A clear focal point | Fast, calm impact | Can dominate a narrow wall |
| Large photographic print | Rental-friendly styling | Flexible and often lightweight | Needs quality glazing |
| Diptych or two-panel work | Wider walls and open plans | Adds movement without a gallery wall | Gaps must be measured precisely |
| Artwork on a picture ledge | Frequent renters | Easy to change and layer | Requires a secure, level ledge |
| Canvas with a slim frame | Soft contemporary interiors | Adds warmth without bulk | Protect from strong direct sun |
A Practical Selection Checklist
- Measure the wall, furniture and viewing distance before shopping.
- Check sunlight, humidity and wall construction at the chosen location.
- Match the frame’s visual weight to the room’s flooring, joinery and hardware.
- Keep secondary décor simple so the oversized piece remains the anchor.
- Use UV protection or fade-resistant materials for bright Australian interiors.
When the scale is right, a single statement artwork can make a studio apartment feel more spacious, personal and complete. Browse Focus LDN for further artwork display ideas, framing guidance and stylish home-living inspiration, then subscribe to the email list for fresh decorating stories delivered to your inbox.