Choosing frames that work with wainscoting and picture molding
Wainscoting and picture moulding already give a room a strong architectural rhythm. The lower panels, dado rail and higher picture rail can frame artwork beautifully, but the frame’s scale, finish and position must respect those lines. A good choice should feel connected to the room rather than pasted onto it.
Begin with measurements and the character of the existing timber, then work outward to colour, proportion and layout. For more practical gallery guidance, keep the artwork’s subject in view while treating the surrounding moulding as part of the composition.
Measure the wall before the frame
Measure the height of the dado rail, the ceiling line and the picture moulding, and note where doors, switches and light fittings fall. Photograph the wall from the doorway and record the wall colour in daylight. These observations reveal the usable band for hanging and prevent a frame from making a divided wall feel busier.
Most pictures look best above the wainscoting rather than scattered across its panels. Try keeping their lower edges roughly 150–200 mm above the dado rail, adjusting for the room’s proportions, and align the group with the horizontal trim. Painter’s tape can test the footprint before any holes are drilled. Leave room to lift a frame past picture moulding without scraping the plaster.
Sydney and Melbourne terraces often have dado rails around 900–1,100 mm high, with picture rails closer to the ceiling. These proportions suit a generous central artwork or a compact gallery arrangement rather than a row of small frames. Check the actual room, since renovations can change heights or remove trim.
Read the existing moulding
Read the moulding’s material, width and paint finish before shopping. Glossy white timber calls for a crisp frame; matte paint suits broader profiles; dark stained timber works with warm-toned frames, while black creates graphic contrast. Compare a subtle near-match with one deliberate contrast rather than copying the trim exactly.
The available space should influence profile size. In a narrow band, a slim 15–25 mm frame preserves air around the work. A large panel on a broad wall can carry a 40–60 mm frame, provided it does not compete with the dado rail. Where timber is original, leaving it exposed and framing the art quietly often works better than repeating its colour.
Frame moulding can relate to other lines in the room. If the living area includes bookcases, repeat a narrow profile or align the gallery wall’s edges with shelving uprights. Advice on balancing open shelving helps when artwork and storage share one wall zone.
Fit the frame to the artwork and colour
Choose a format that gives the artwork enough presence, then fit it to the wall rather than forcing the wall around the piece. A single large frame can anchor a broad panelled section; two smaller works may suit a narrower area without crowding the rail. Connect the frame to the artwork, wall or timber: warm oak suits earthy prints, while black gives graphic work definition.
The Australian market makes A-series paper sizes convenient. Local framing shops and retailers such as Bunnings stock frames for common A3, A2 and A1 formats, while canvas sizes vary. Measure the actual print, including its border or mat, and check the external frame size before ordering. Custom framing can provide a proportion ready-made sizes cannot.
Leave the wall breathing
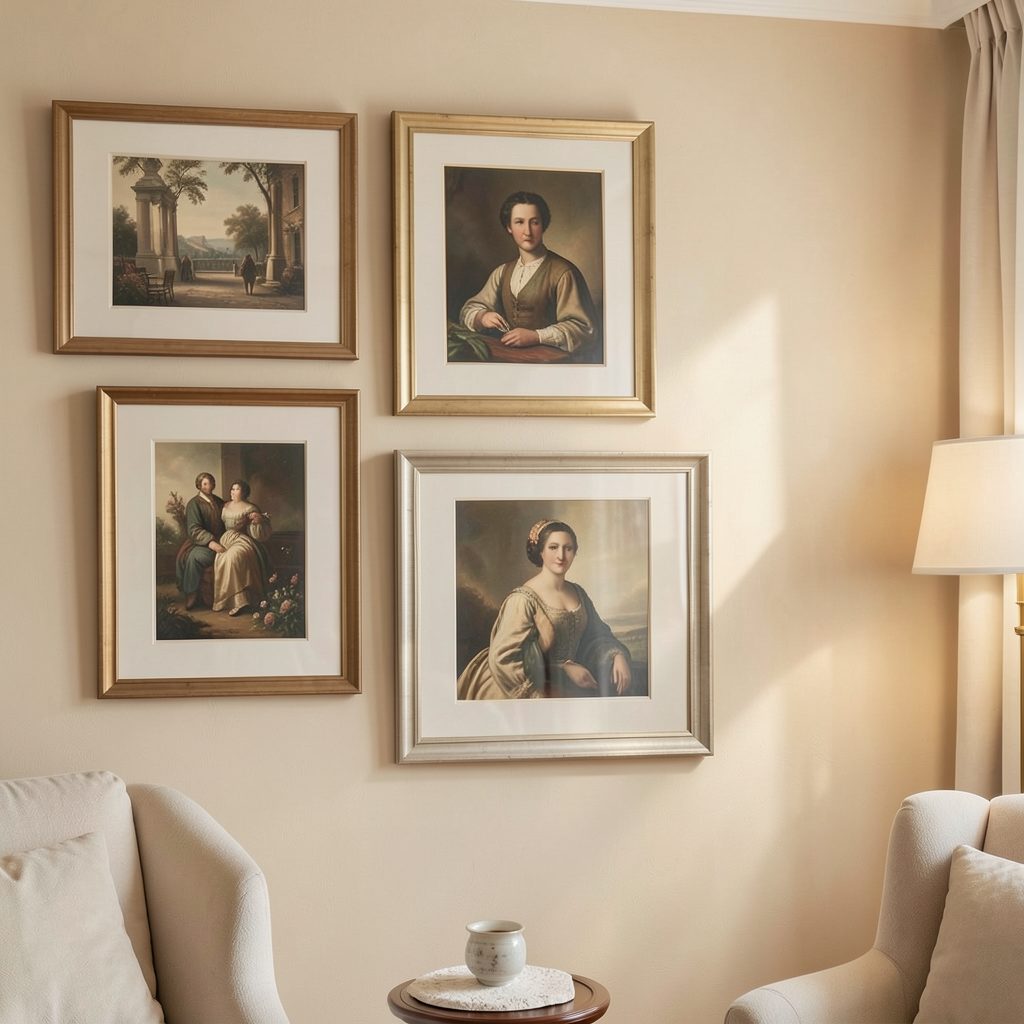
Leave deliberate space between frames and from the surrounding architecture. Around 50–80 mm usually keeps a pair readable; wide mouldings need extra space so their edges do not merge. Keep the group clear of the dado and picture rails if those lines would cut awkwardly through it. Consistency matters more than strict symmetry: aligning top edges can calm a varied collection, while an irregular layout works when gaps are even.
Think about the room’s daily use while planning the layout. Keep a hallway group clear of door movement and protruding furniture; a bedroom arrangement above a low bed can feel balanced if the frames remain narrow. In an open-plan apartment, test the group against adjoining lounge or dining sightlines. Echo the room’s horizontal dado line through alignment rather than adding extra décor.
Hang it safely and check the rules
Match the hanging method to the frame’s weight and the wall’s construction. Plasterboard, masonry and timber studs need suitable fixings, and security hooks are worthwhile for glazed or valuable work. Fit two D-rings so the wire stays level. Old pine capping may be brittle, so have a qualified installer assess it rather than driving screws into it blindly.
Tenants should obtain the property manager’s approval before drilling, even when the holes will be filled. Apartment owners should check body corporate by-laws, particularly for displays in common corridors, entry areas or shared walls. Strata schemes can set rules for fixtures and common-property appearance, so an artwork plan may need committee approval.
Heritage controls matter in older Australian housing. A New South Wales State Heritage listing can cover significant internal fabric, while council heritage overlays often focus on exterior alterations; Melbourne properties may sit under a Heritage Overlay with interior requirements. Check the property’s status and apartment rules before removing or repainting original moulding. Keeping original joinery visible protects its character.
Test the arrangement in the room
Test the arrangement before committing to frames. Mark the proposed outer edges with painter’s tape, view them from the main entrance, then check the spacing at night. Strong afternoon light and warm evening lamps can make a frame disappear in one setting while it dominates in another, so compare the profile, mat and colour under both.
Collect frame samples and lean them against the wall, including one that echoes the moulding and one that contrasts with it. Look at the whole room rather than each picture in isolation. If a group feels too formal, shift the alignment or change one frame size rather than adding more décor; the trim already provides a framework.
Choose one wall, record its measurements and gather two or three frame options before ordering. Test the arrangement in daylight and lamplight, then install with suitable fixings. A frame that respects the room’s proportions turns those architectural details into an intentional part of the display rather than an obstacle to work around.