Pairing black-and-white photography with warm wood furniture
Monochrome imagery has long been favoured by interior stylists for its ability to add depth without competing with surrounding colour. Paired with the natural richness of timber, it creates interiors that feel both grounded and quietly dramatic. Across Australian apartments and renovated workers' cottages, this combination has become a signature look for those wanting a curated, gallery-style atmosphere.
In Sydney and Melbourne, where compact floor plans often dictate furniture choices, the right pairing of art and furniture can transform a small room. Warm wood tones bring organic warmth that softens the clinical sharpness of black-and-white prints, while the prints themselves prevent timber-heavy interiors from feeling overly rustic.
Australian hardwoods such as Spotted Gum, Blackbutt and Jarrah are celebrated for their honeyed and reddish undertones, which contrast beautifully against grayscale tones. These species are widely available through major retailers and timber specialists, making them accessible choices for everything from bed frames to side tables.
A few core principles of contrast, tone and proportion will help you achieve a result that feels intentional rather than accidental. The sections below walk through the essential decisions that shape a successful pairing in real homes.
Why black-and-white and warm timber work together
Colour theory offers a clear explanation for the pairing. Warm wood carries red, orange and yellow undertones, while grayscale imagery sits at the visual opposite end of the warmth spectrum. The eye reads this contrast as balanced, especially when the photograph features soft mid-tones rather than stark high-contrast subjects.
Texture plays a supporting role. A polished timber sideboard reflects light differently to a matte oak floor, and these subtle shifts highlight the tonal range of a black-and-white print. In inner-Brisbane apartments where natural light is often filtered through sheer curtains, the resulting interplay can feel almost cinematic.
There is also a psychological appeal. Timber evokes nature and durability, while monochrome photography evokes timelessness and reflection. Together, the combination reads as sophisticated without feeling cold, which suits the relaxed-yet-polished aesthetic favoured in many Australian homes.
Selecting timber tones that complement your prints
The undertone of your timber matters more than the exact species. Cool honey tones, such as those found in Tasmanian Oak, pair well with moody, low-key photographs featuring deep shadows. Warmer, rustier timbers like Jarrah or Merbau benefit from prints with bright highlights and plenty of white space.
Consider the existing timber already present in the room. Australian homes often feature floorboards in Blackbutt or mixed hardwoods, and the photograph-frame pairing should echo rather than clash with these tones. A common mistake is choosing a frame finish that competes with the floor, creating visual clutter.
If you're introducing new timber furniture, test swatches against your print under both daylight and evening lamp light. Australian afternoon sun can shift warm woods significantly, so viewing samples at different times of day prevents tonal mismatches once the piece is in your living space.
Frame styles and how they change the look
Thin black frames tend to disappear against dark areas of a print, allowing the imagery to dominate. Thicker natural wood frames double down on warmth but can read as busy when the photograph already contains strong tonal lines. The choice depends on whether you want the art or the furniture to lead the conversation visually.
For a quiet, cohesive look, gallery-style thin metal frames in brass or black offer a neutral bridge between the photography and the timber. Brass in particular picks up the warm amber undertones common in Australian hardwoods, tying the elements together without adding another competing colour.
Floating frames, where the print appears to hover within a recessed timber border, work particularly well above rustic or hand-finished furniture. Readers interested in going deeper will find the technique broken down at how-to-use-3, which covers the practical steps from measurement to hanging.
Spacing and layout in real Australian rooms
Compact rooms call for compact arrangements. In a Sydney studio, a single A2 print above a timber console often does more work than a multi-frame cluster. The negative space around the image gives the eye somewhere to rest, and the timber surface below benefits from a little breathing room as well.
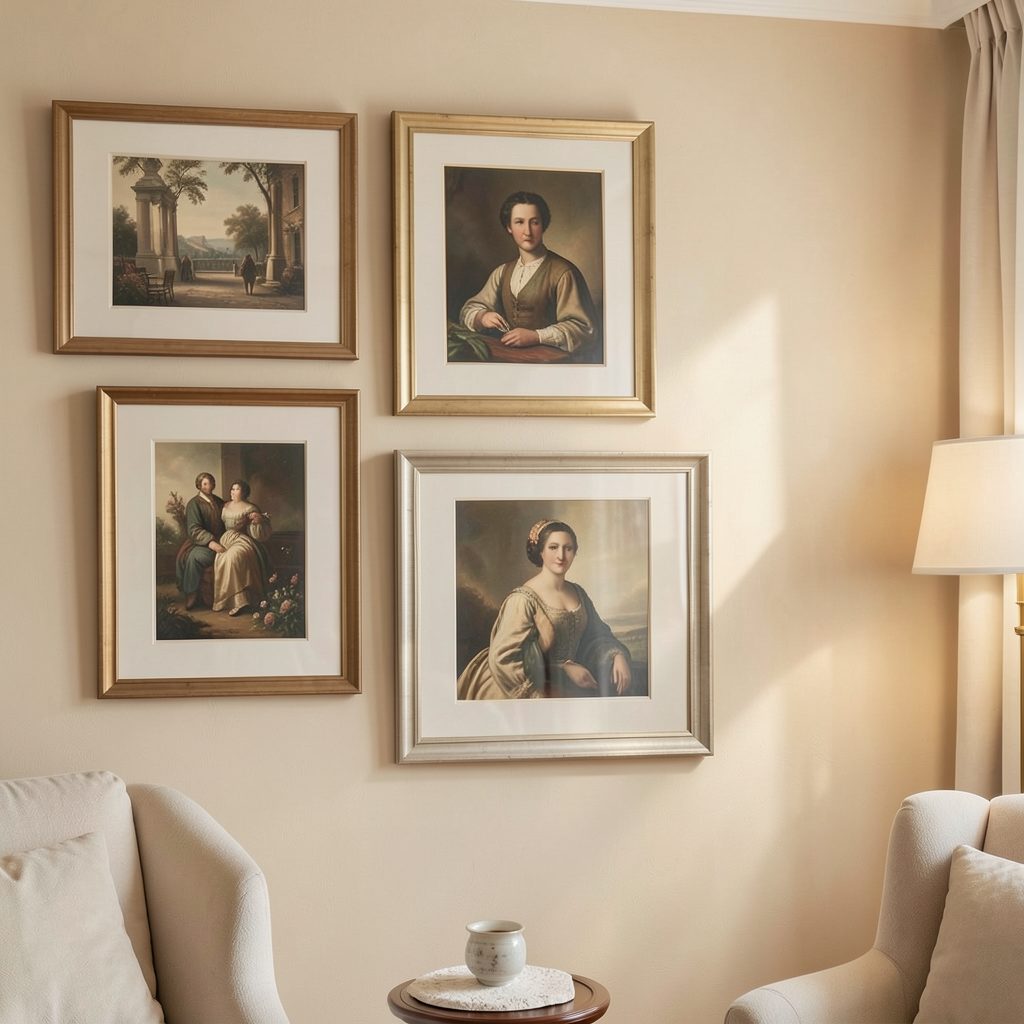
Larger homes, particularly renovated Queenslanders or Victorian terraces in Adelaide, can support gallery walls with more density. Even then, keeping at least ten to fifteen centimetres between frames prevents the arrangement from feeling cluttered and lets each piece of timber furniture retain its own presence.
Mind the height. Photographs generally hang at eye level, around 145 to 155 centimetres to the centre of the frame. Beside tall timber bookshelves, prints can sit slightly higher without feeling disconnected, but always preview the layout with painter's tape before committing to wall fixings.
Lighting considerations for the pairing
Timber and photography both reward directional light. Avoid placing either directly opposite a window, where harsh midday sun will fade prints and bleach timber over time. North-facing windows in southern Australia are usually safe, while east and west exposures benefit from sheer treatments during peak hours.
Picture lights offer a gallery-style focal point, particularly effective above a timber sideboard or media unit. Choose warm 2700K bulbs rather than cool 4000K alternatives; the cooler temperature clashes with timber's natural glow and can flatten the tonal depth of a black-and-white print.
Indoor-outdoor flow is a defining feature of Australian homes, and lighting should support rather than fight this. Layering lamp light at varying heights keeps the pairing visible after sunset, when many coastal properties lose natural daylight quickly.
Practical styling pointers for the pairing
A few simple habits keep the pairing looking fresh long after installation. The recommendations below cover both initial decisions and ongoing care.
- Choose one dominant timber per room to anchor the eye
- Pair moody low-key prints with rustier reddish hardwoods
- Mix frame widths only when the artwork varies significantly in scale
- Hang prints at eye level, around 145 to 155 centimetres to centre
- Use warm 2700K bulbs in any picture or accent lighting
- Keep ten to fifteen centimetres between grouped frames
- Apply a quality hard-wax oil to timber pieces every twelve to eighteen months
Try bringing these ideas together in your own home and notice how much a single print can change the feel of an existing timber piece. A surprising amount of impact comes from simple adjustments to frame weight, print size and nearby furniture placement.
For a closer look at how additional surface treatments can support this aesthetic, the guide on introducing texture shows several complementary techniques. Save the article, share it with a friend planning a refresh, and subscribe for more ideas on blending photographic art with the warmth of natural timber.