Styling a Dormer or Alcove with a Low Ceiling Gallery Wall
A dormer or alcove can be one of the most characterful areas in a home, yet its unusual proportions often make decorating feel difficult. A sloping roof, shallow wall, or low head height can quickly overwhelm a conventional arrangement of large frames.
The right gallery wall treats the architecture as an advantage rather than an obstacle. Instead of forcing a standard grid into a cramped space, use compact artwork, controlled spacing, and a visual line that follows the shape of the room.
Whether the space belongs to a bedroom, reading nook, hallway, or bathroom, the aim is to create a layered display that feels intentional. The artwork should add personality without making the ceiling seem lower or the alcove feel crowded.
Measure The Architecture First
Begin by measuring the usable wall rather than the entire recess. Note the width between side walls, the height at the lowest point, and the angle or curve of any sloping ceiling. Mark window trims, shelves, electrical outlets, and furniture that may affect the display.
A paper template is useful for testing the arrangement. Cut rectangles to represent each frame and attach them temporarily with low-tack tape. This makes it easier to identify awkward gaps and ensures that the lowest artwork will remain visible above a bed, desk, or bench.
Keep the central viewing area close to eye level, but adjust it for the room’s function. In a seated reading nook, the artwork can sit slightly lower. Above a headboard or console, leave enough breathing space so the display does not appear attached to the furniture.
Build A Low Profile Composition
A low ceiling calls for visual restraint. Choose several small and medium pieces instead of relying on one oversized canvas. Portrait-oriented prints can emphasize height, while a few horizontal works help fill the wider parts of a dormer without extending too far toward the ceiling.
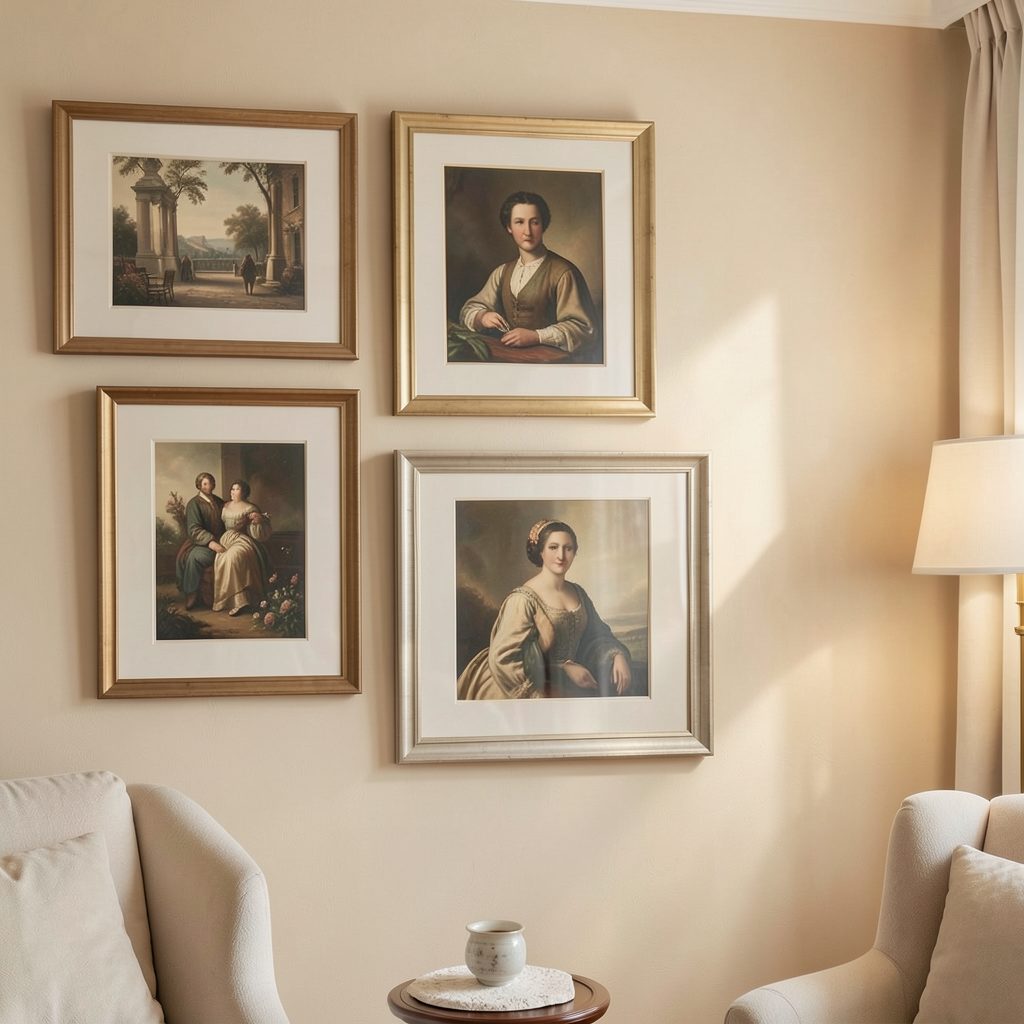
An irregular salon-style arrangement often works better than a rigid rectangular grid. Follow the natural slope with a stepped edge, allowing the top row to rise gradually. Keep the bottom edge relatively consistent if the wall sits above furniture; this creates order while still accommodating the architecture.
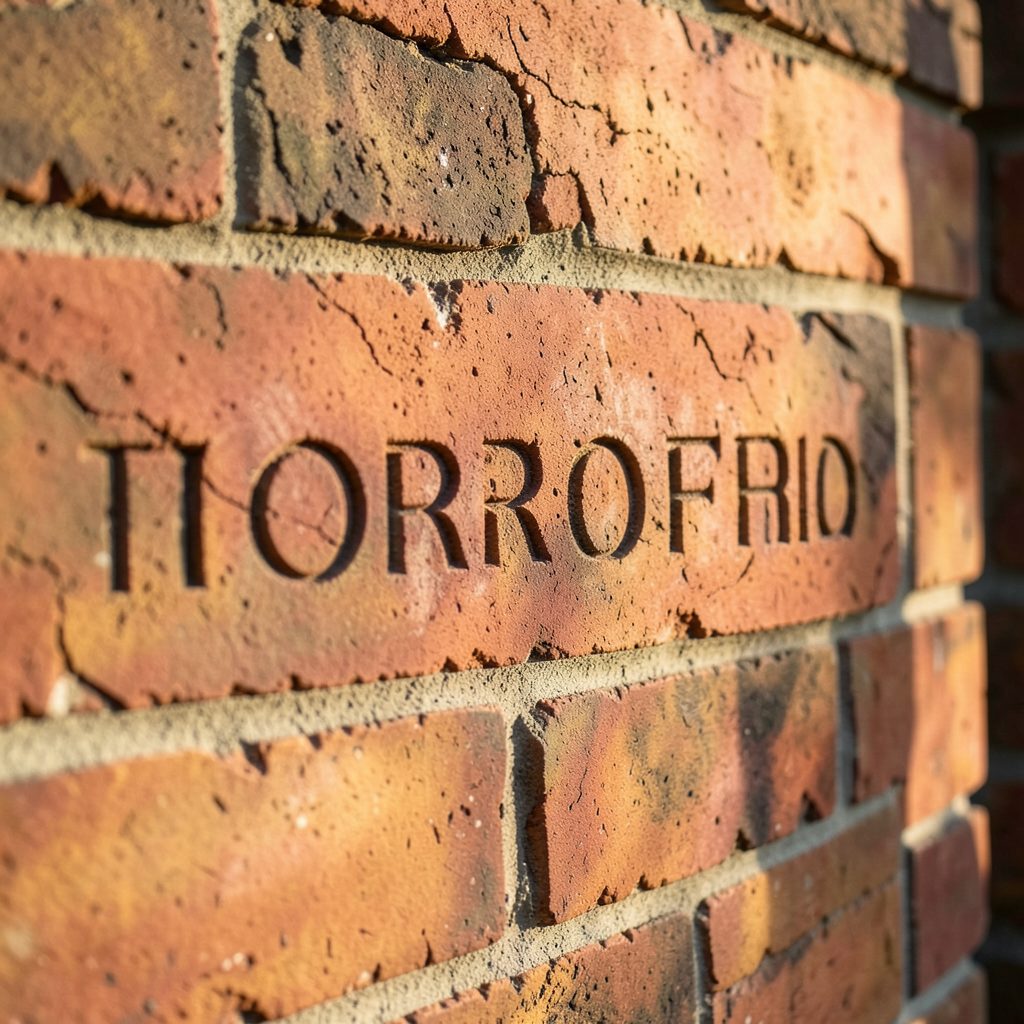
Materials can add interest without adding bulk. A small brick engraving can bring tactile character to a mixed-media display, especially when paired with paper prints, line drawings, or restrained photography. Keep thicker objects toward the lower or wider part of the alcove, where they are less likely to make the ceiling feel compressed.
Select Frames That Support The Room
Frame color has a major effect on how open the alcove feels. Pale oak, light ash, white, and slim natural wood frames blend gently into a neutral wall. Black frames provide definition and suit monochrome artwork, though too many heavy borders may create a boxed-in appearance.
Matching every frame is not essential, but a limited visual language helps the collection feel cohesive. You might combine two frame finishes while repeating one mat color, or use varied artwork inside identical slim frames.
| Display approach | Best for | Visual effect | Spacing guidance |
|---|---|---|---|
| Slim matching frames | Small dormers and narrow recesses | Calm and unified | Keep gaps consistent |
| Light wood with white mats | Bedrooms and relaxed interiors | Soft and airy | Use slightly wider gaps |
| Black frames with monochrome art | Modern alcoves | Graphic and structured | Keep the composition compact |
| Mixed frames and media | Eclectic reading nooks | Collected and personal | Repeat one color or material |
| Floating or clip frames | Very shallow walls | Minimal visual weight | Avoid overcrowding the edges |
If the wall is already patterned, keep the frames simple and let the artwork provide the variation. On a plain wall, a mix of frame profiles can add depth, provided the palette remains controlled.
Use Mats And Spacing Carefully
Matting creates a visual pause between the artwork and its frame. This is especially valuable in a low-ceiling gallery wall because it prevents small images from looking busy. White, warm ivory, and soft gray mats can make modest prints feel more substantial without requiring larger frames.
The proportions of the mat matter. A narrow border suits a bold graphic image, while a generous mat gives delicate drawings or photographs room to breathe. For a useful reference on selecting the right proportions and tones, consult this matting guide.
Spacing should be close enough to read the wall as one composition, but not so tight that the frames merge visually. Around five to eight centimeters often works for small pieces, while larger works may need a little more room. In a sloped recess, consistent gaps along the angled edge are more important than forcing every frame into perfect alignment.
Work With Color And Light
A gallery wall does not need to match every detail in the room. Instead, select two or three recurring tones from the existing decor, such as a muted blue from bedding, terracotta from a rug, or green from nearby plants. Repeating these shades across different artworks will connect the display to the wider interior.
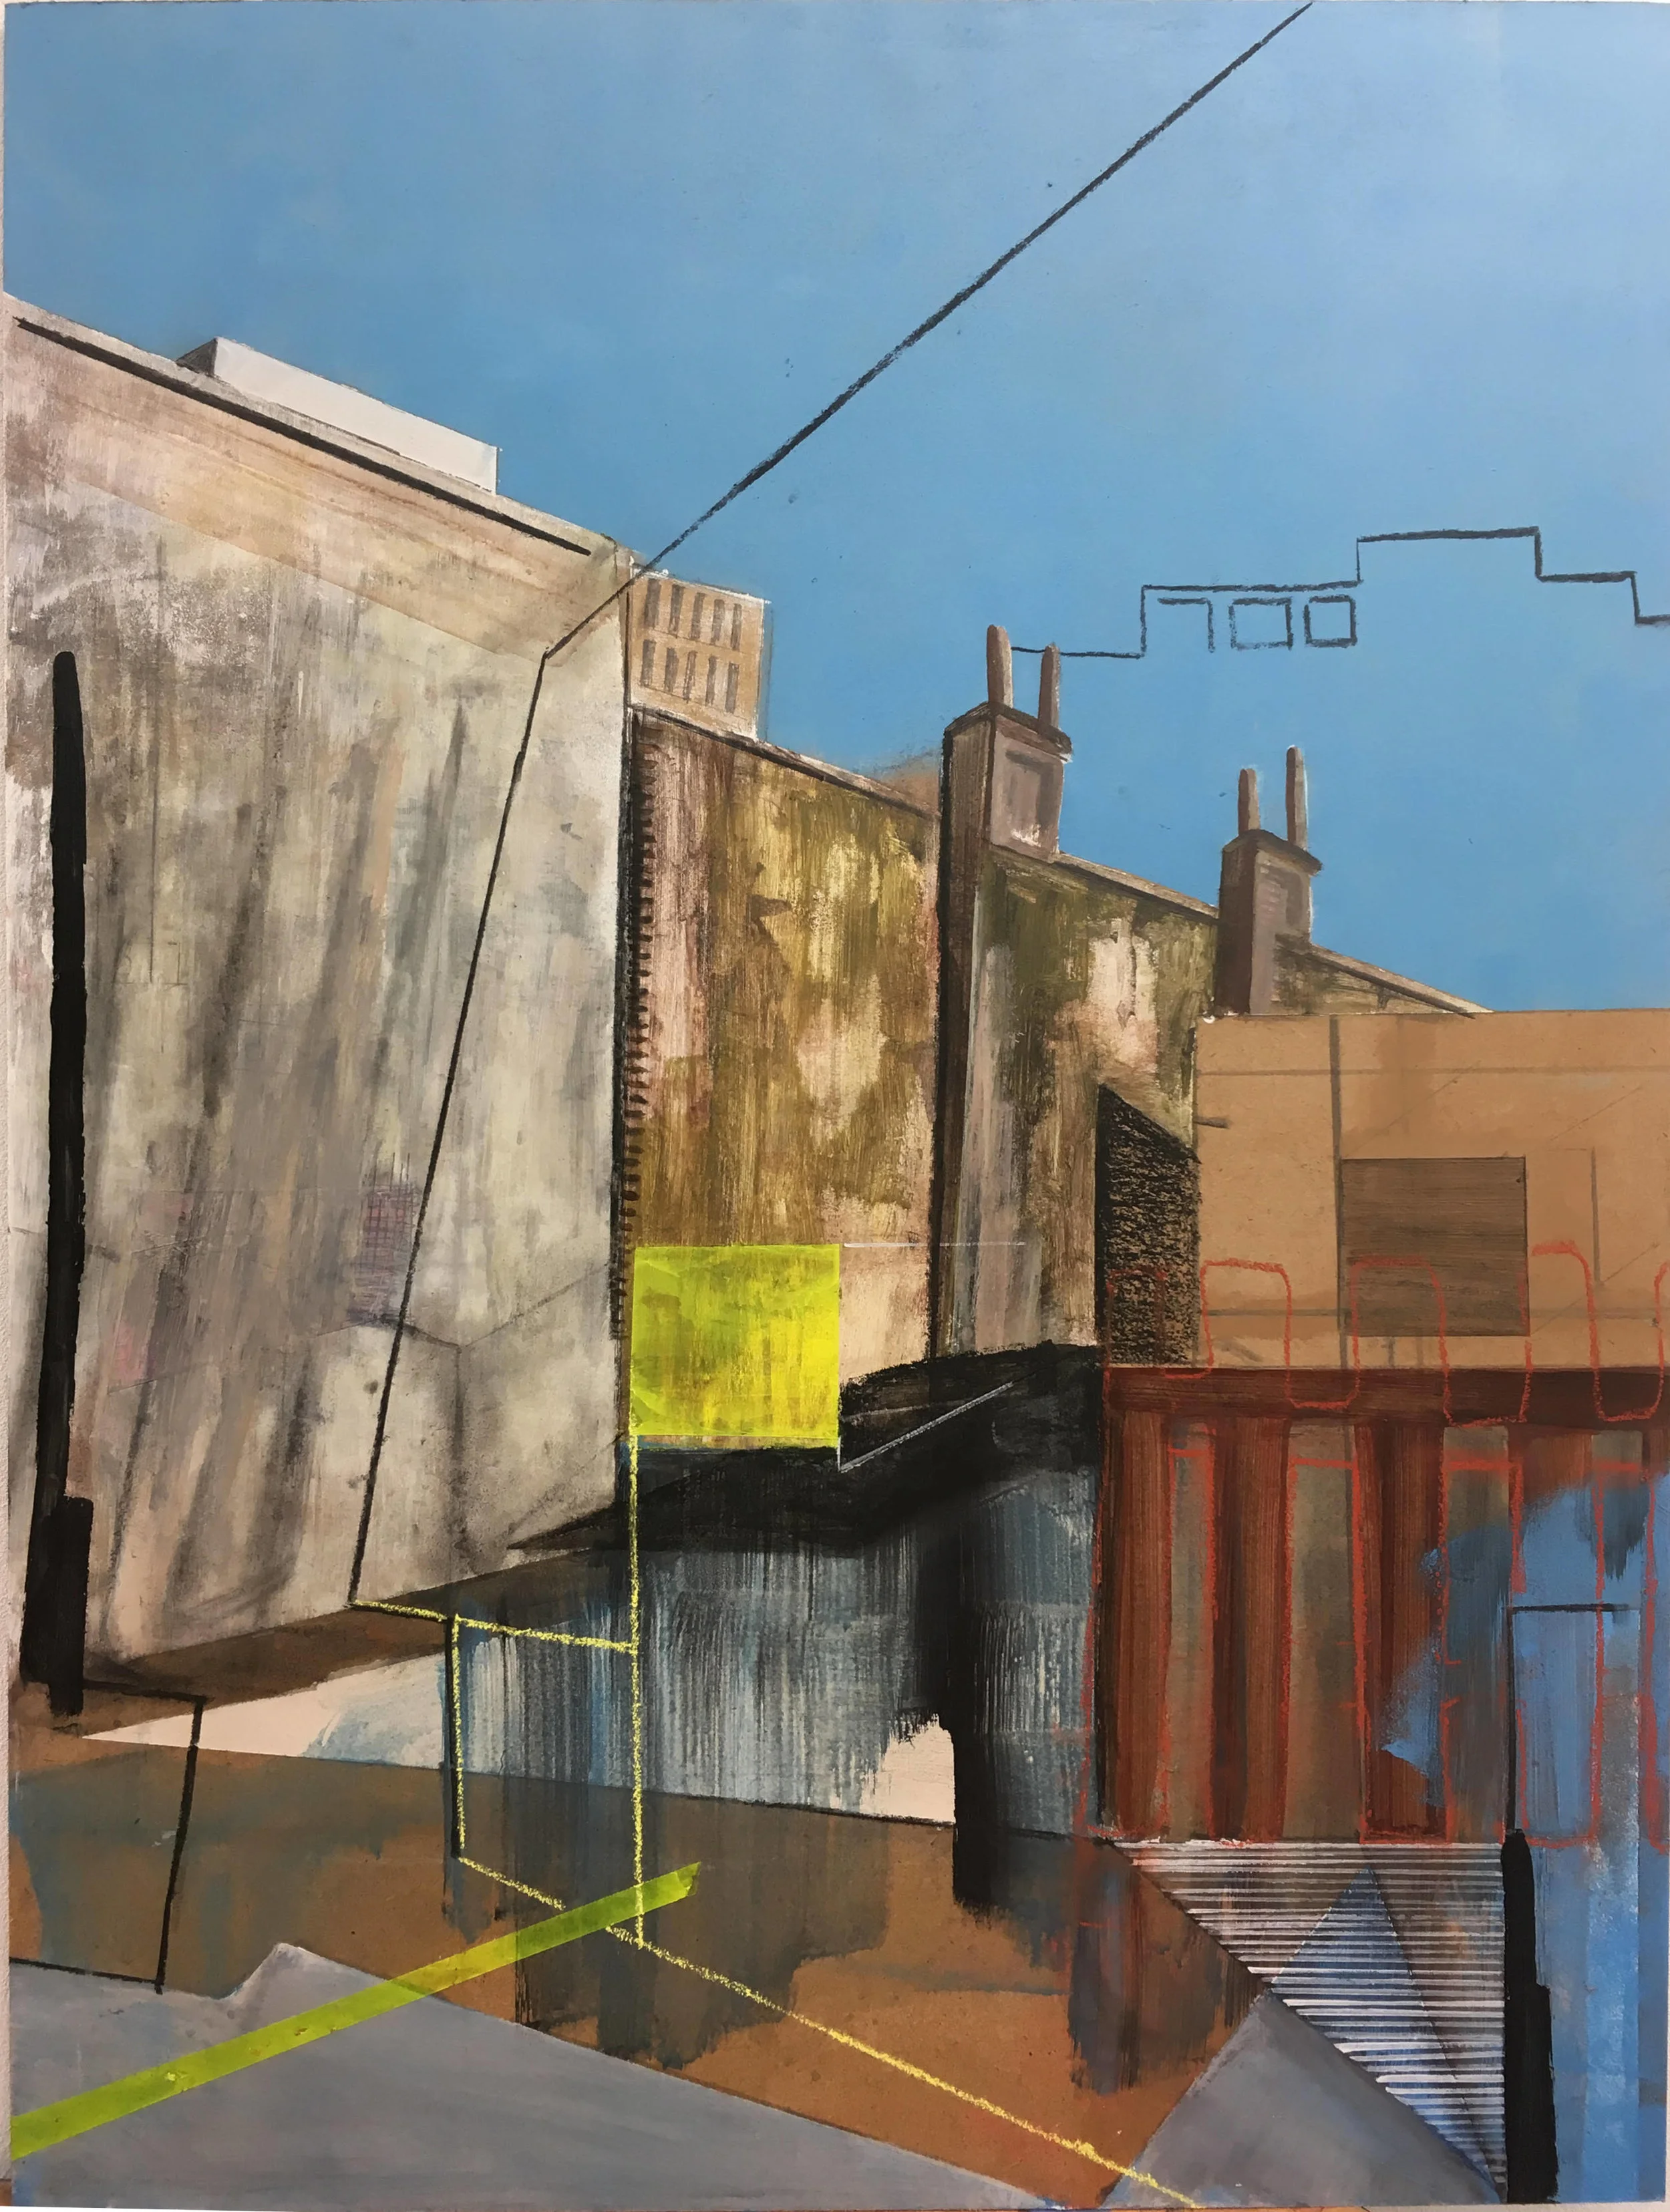
For a minimalist look, use mostly neutral images with one distinctive accent piece. A dormer bedroom might suit soft landscapes, botanical studies, and abstract shapes, while a hallway alcove could handle stronger typography or architectural photography.
Lighting deserves equal attention. Avoid placing frames where direct sunlight can fade delicate prints, particularly beside a roof window. A small picture light, directional wall light, or adjustable ceiling spot can illuminate the arrangement without creating glare. Warm bulbs generally make timber frames and muted artwork feel more welcoming.
Install With A Clear Hanging Plan
Before drilling, photograph the taped layout and label each paper template. Check the hanging hardware against the wall type, especially in older properties where plaster may be fragile. Lightweight frames can use suitable picture hooks, while heavier pieces require anchors positioned securely in the wall.
Use the strongest visual anchor near the center or widest part of the alcove. Arrange supporting works around it, with smaller pieces stepping toward the lower ceiling line. If the recess is above a bed or seating area, keep projections shallow and avoid frames with sharp corners.
Details That Keep The Display Balanced
- Limit the collection to a manageable number of works so the wall retains negative space.
- Repeat one frame material, mat color, or artwork theme throughout the arrangement.
- Keep the lower edge aligned above furniture while allowing the upper edge to follow the ceiling slope.
- Test the display in daylight and evening light before making the final fixings.
- Leave enough clearance around windows, vents, shelves, and access panels.
The finished wall should feel connected to the room’s architecture, not pasted over it. A few carefully selected pieces will have more impact than a crowded collection competing with a low roofline.
Choose artwork that reflects the mood you want from the space, prepare the arrangement on paper, and install it slowly. With thoughtful scale and spacing, even the smallest dormer or alcove can become a polished focal point worth spending time beside. Subscribe to Focus LDN for more ideas on gallery walls, artwork display, and stylish home living.