Selecting the perfect size art for a narrow bathroom wall
A narrow bathroom wall can make even a beautiful print feel cramped, while an oversized canvas can dominate the room. When selecting the perfect size art for a narrow bathroom wall, proportion matters more than filling every available centimetre. The aim is a display that feels deliberate from the doorway and remains comfortable in everyday use.
This is familiar in Australian homes, particularly the compact powder rooms found in Sydney sandstone terraces and Melbourne’s Victorian and Art Deco apartments. Aussie renovators often combine tiled splashbacks, chrome tapware, frameless shower screens and wall-hung vanities in spaces measured in centimetres, not metres. Those clean, hard finishes call for artwork with enough breathing room.
Start with the wall’s usable width rather than the room’s total floor area. Check where the splashback, door, vanity, towel rail and power outlets reduce the space, then choose a frame that complements the bathroom rather than competing with it. Scale, moisture resistance and mounting method should be decided together before anything is bought.
Measure the usable wall, not just the room
Use a tape measure to record the full wall, then mark the areas that cannot hold art. A common Australian layout places the toilet beside a vanity and leaves only a slim strip beside a shower screen. Treat that strip as your art zone, and measure its width at the narrowest point rather than at the front edge of a cabinet.
Also note the vertical limits. The ceiling, a tiled feature band, the shower enclosure and the swing of the door can all change where a frame can sit. Leave clearance for cleaning and avoid a position where someone brushing their teeth will repeatedly brush the glazing with their shoulder.
A quick paper template taped to the wall is more useful than a small screen image. Stand at the bathroom doorway, mark the proposed outline in masking tape, and view it from the hall. This simple check reveals whether the artwork looks calm, crowded or visually disconnected before you commit to a print or custom frame.
Choose proportions that follow the wall
For a genuinely narrow wall, a vertical format usually creates the most balanced effect. It echoes the wall’s height without pushing into the fixtures, and it is easier to position above a toilet or beside a vanity. A square work can also work when there is slightly more width; a wide landscape needs unusual restraint on a slim wall.
As a starting point, let one artwork occupy about 60–75% of the usable width and leave visible space around it. On an especially tight section, work closer to 50–60%. These are guides rather than rules, but they prevent the common mistake of treating every gap as a place that must be filled with another object.
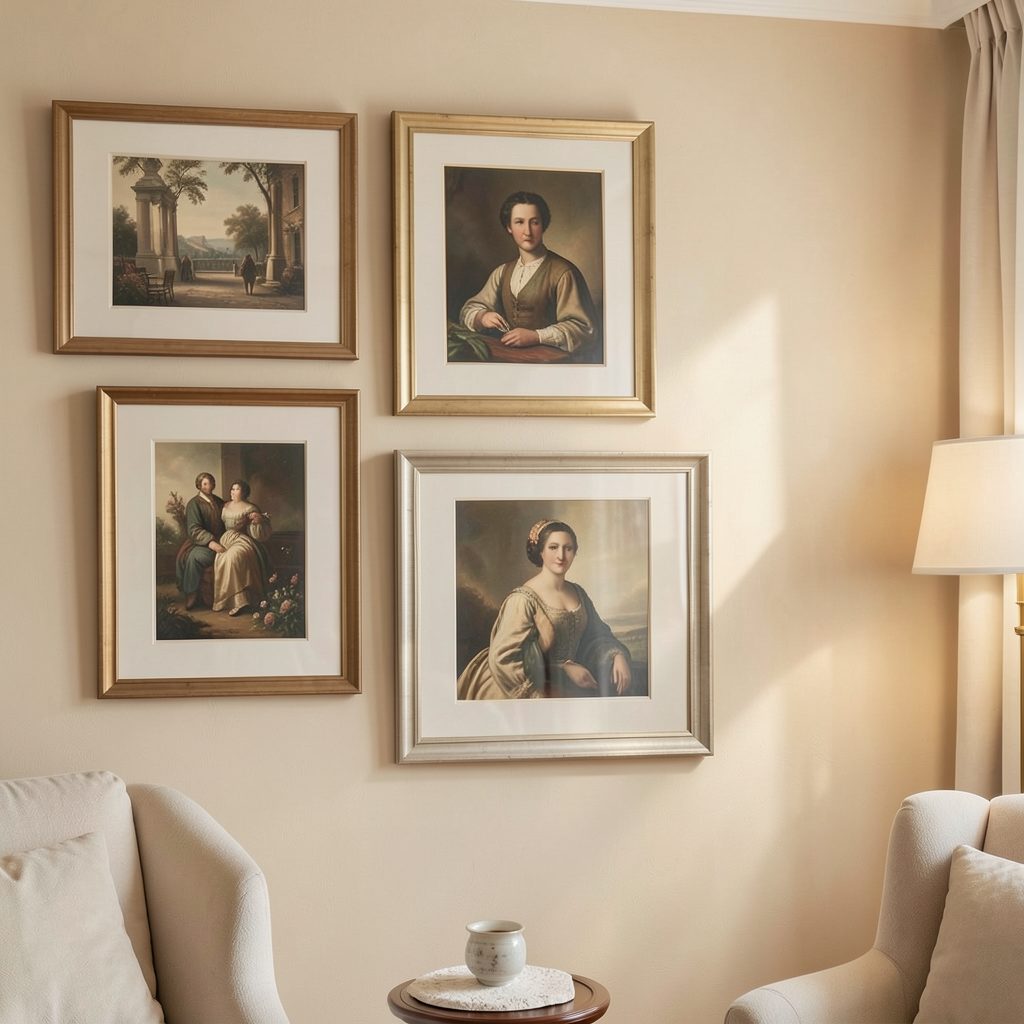
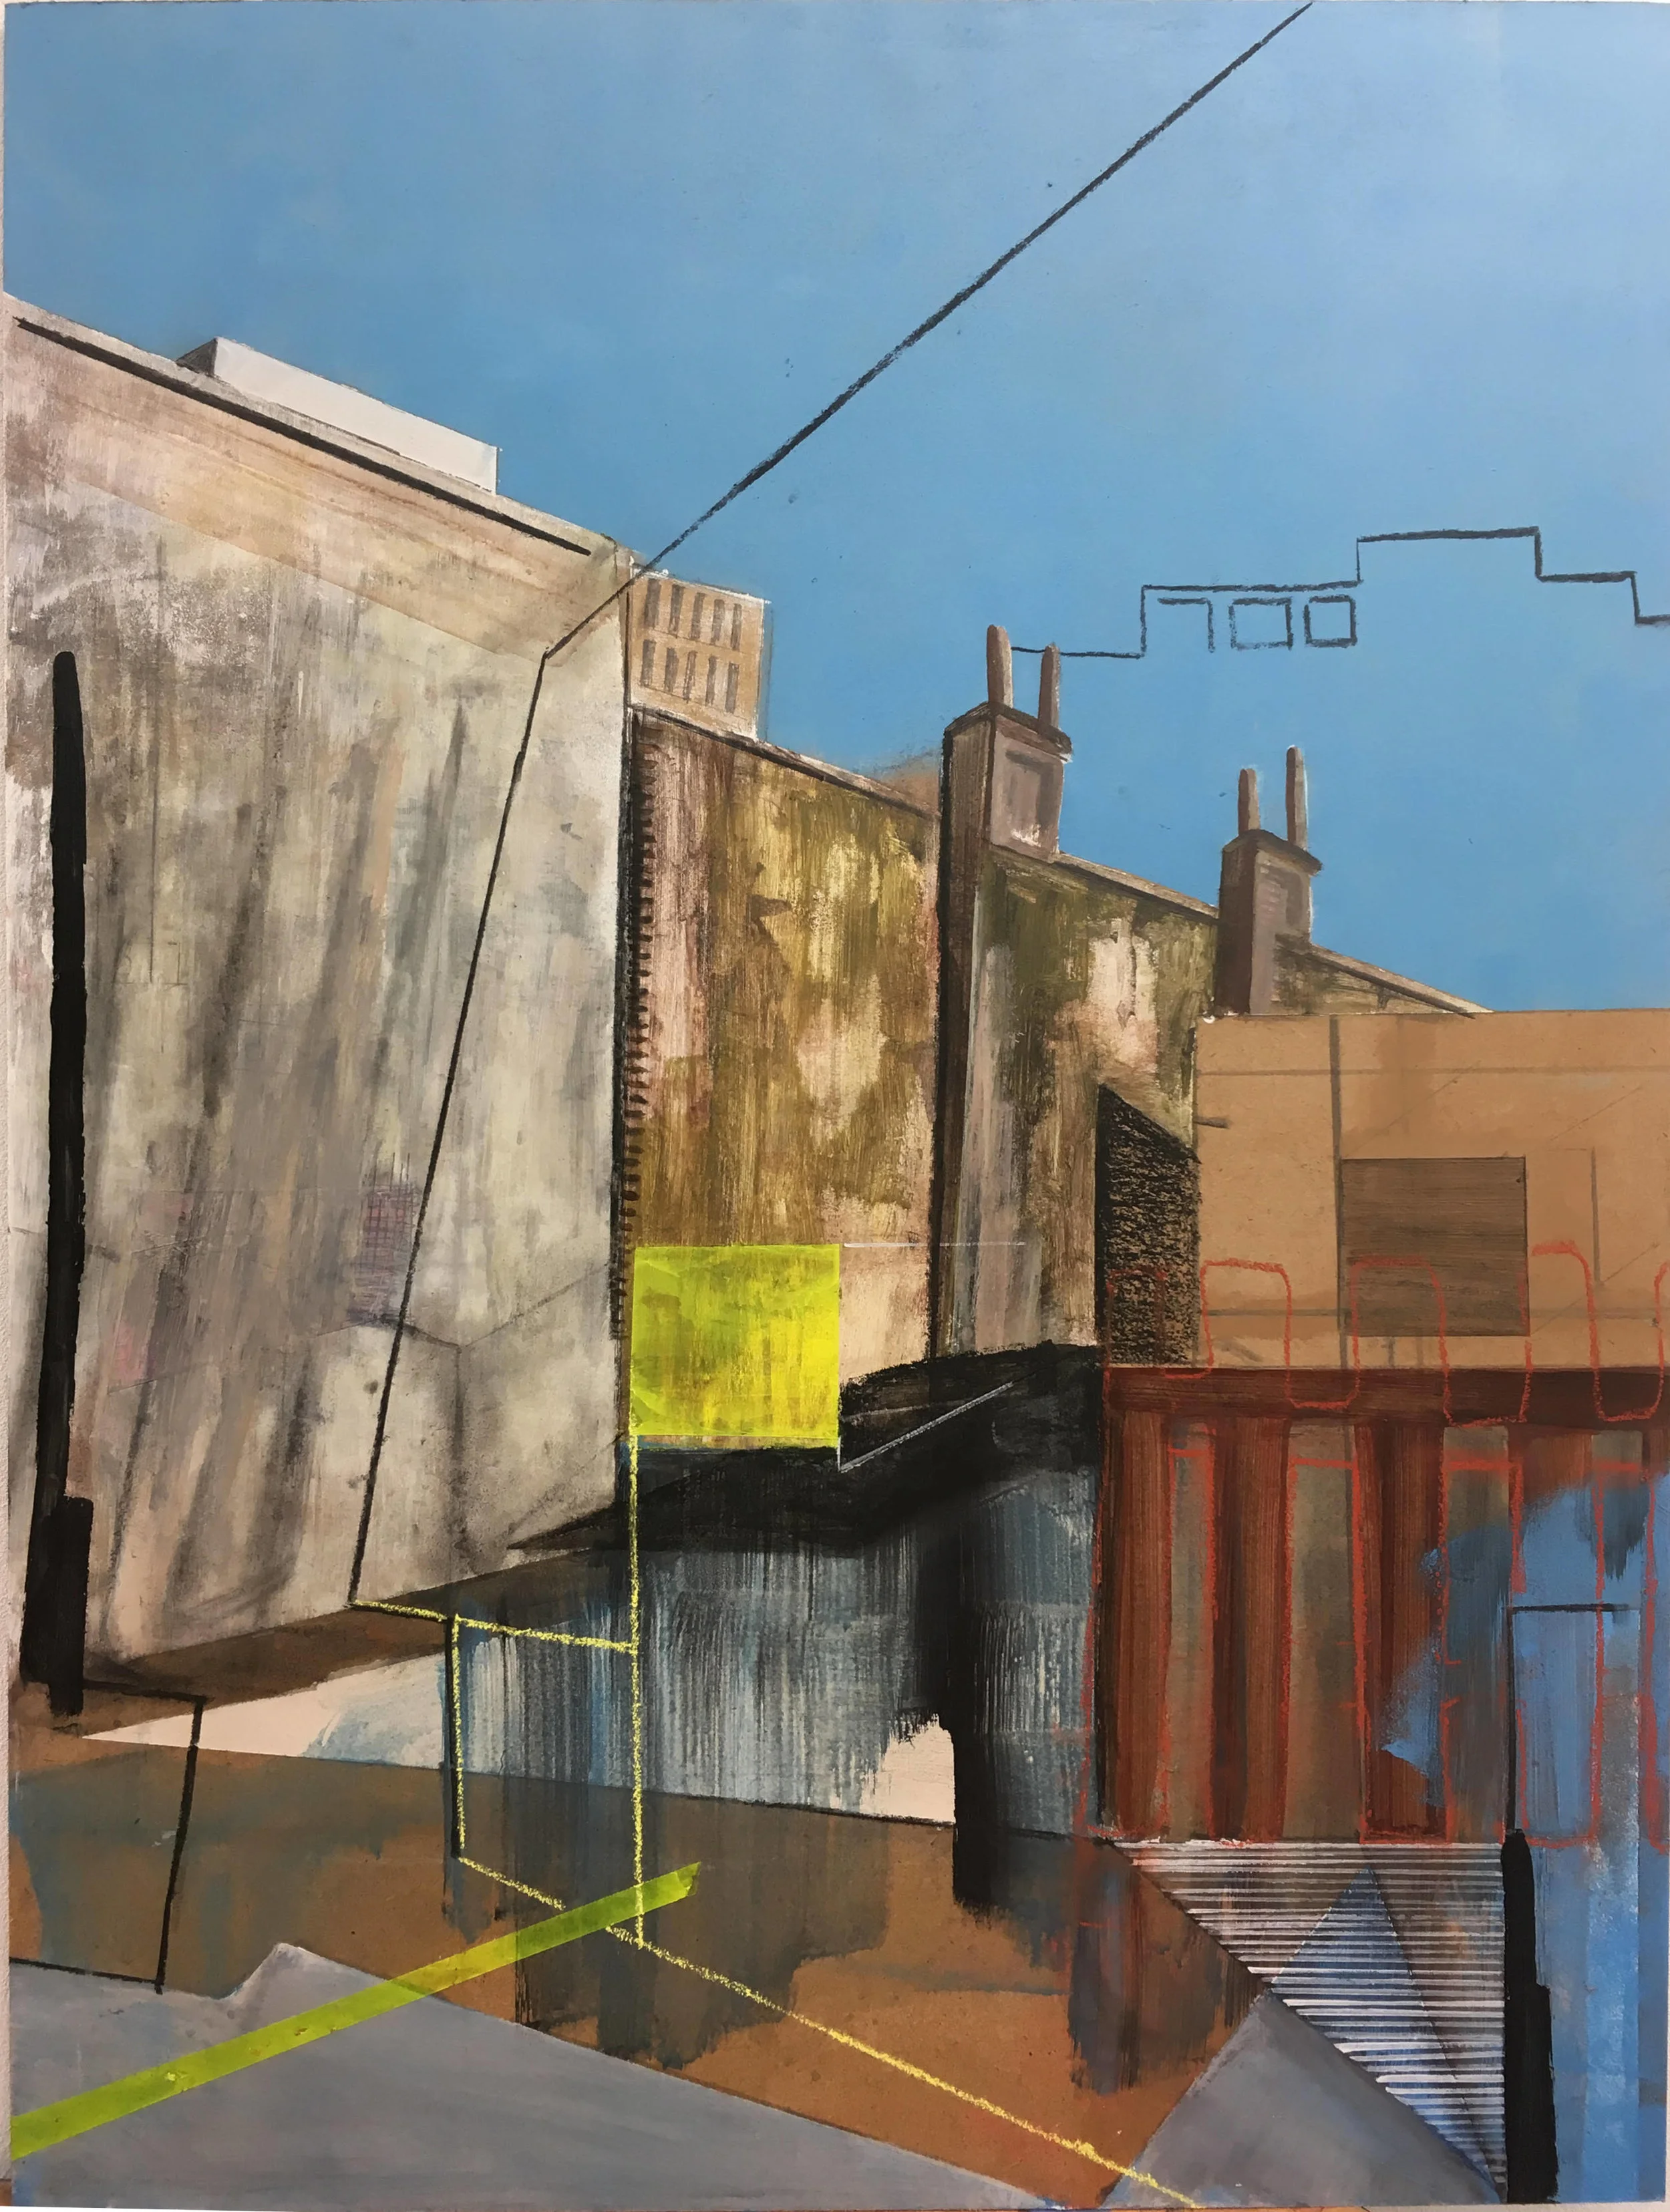
Consider one strong composition before multiple pieces. Two coordinated works can create a diptych, provided their combined width still leaves breathing room and the gap between them is narrow enough for them to read as one unit. When buying original work, the gallery art guide offers useful context on choosing pieces suited to Australian interiors.
Frame for humidity, distance and safety
Bathrooms work hard against paper. Splashing water, steam and condensation can cause curling, fading or mould, especially during humid Australian summers. Choose a sealed giclée print on water-resistant paper or canvas, with UV-filtering acrylic glazing rather than unprotected glass. It can be wiped safely and is lighter to hang in a retrofit wall.
A slim frame in black, warm timber, brushed metal or soft white will sit comfortably beside most tiles and tapware. Ornate frames can look fussy at this scale. Australian shoppers can find simple flat-pack frames at Bunnings or Kmart, while a local framer can adjust the reveal, glazing and depth for a more polished result.
Lighting and placement matter as much as the frame. Position a single piece roughly 10–15 cm above a splashback, provided it does not clash with the tile line, and keep it clear of the shower’s direct spray. For coordinated displays elsewhere in the home, these in-home gallery ideas can help maintain a consistent visual rhythm.
Compare the main sizing approaches
Use these starting sizes for a narrow wall around 55–75 cm wide, then adjust for the actual clearances and the artwork’s proportions. The dimensions describe the finished framed piece, not just the image.
| Layout | Best for | Starting size | Main consideration |
|---|---|---|---|
| Single portrait | A very narrow or tall wall | 30 × 40 cm or 40 × 60 cm | Keep the width at roughly 50–65% of the usable area |
| Single square | A narrow wall with some breathing room | 30 × 30 cm or 40 × 40 cm | Check the height carefully above a vanity or toilet |
| Paired vertical | A taller wall where one piece feels too small | Two 25 × 30 cm works with a 5 cm gap | The combined width must still feel generous |
| Stacked pair | A tall, uninterrupted wall | Two 30 × 40 cm works with a 5–8 cm gap | Allow for the total height and secure mounting |
The key is to judge the complete footprint. A pair should not look like two unrelated pictures competing for attention, and a single substantial work is often cleaner than several small frames. For a narrow wall, vertical or stacked arrangements usually preserve more usable floor and wall space than a long horizontal row.
Make a practical, moisture-smart choice
Make the decision in a simple order: measure, mock up, choose the format, then select a bathroom-ready frame. Buying art first almost guarantees a sizing compromise later. If the budget is limited, a standard A3 or A2 print is widely stocked by Australian framing shops and can still look considered when the mat and proportions are handled well.
- Measure the clear width in centimetres and mark every fixture or outlet.
- Choose a vertical or square format for a tight wall, adding pieces only as one coordinated group.
- Specify sealed artwork, UV acrylic glazing and a frame that can tolerate a damp room.
- View the template from the doorway before ordering, then check it again in different light.
Buy the frame to fit the art, not the other way around, and include the mat or mount in the overall measurement. For custom pieces, confirm the finished outer dimensions, glazing type and hanging hardware before ordering. If renting, use damage-free mounting rated for the frame’s weight and avoid plasterboard anchors that may not suit the wall.
Subscribe to Focus LDN for more practical ideas on gallery walls, artwork placement and stylish Australian homes, then turn your measurements into a display that feels calm from the first glance. A well-scaled piece can make the narrowest bathroom feel intentional, welcoming and distinctly yours.