How to Use a Picture Rail in a Period Apartment
A picture rail can make a period apartment feel considered rather than crowded. It preserves the tall proportions of rooms with ornate cornices, pressed-metal ceilings or generous plasterwork, while giving artwork a clear horizontal line to follow. Instead of drilling into every wall, you can suspend frames from discreet hooks and adjustable cords.
This approach works especially well in Australian heritage apartments, from Victorian terraces in Melbourne to sandstone conversions in Sydney and character flats in Hobart or Adelaide. The aim is to respect the building’s original details while creating a display that feels relaxed, current and suited to everyday living.
Reading The Architecture
Start by studying the room before buying hardware. Look for the junction between the wall and cornice, the condition of the plaster, existing mouldings and the strongest natural light. In a three-metre-high room, a rail placed too low can make the walls feel divided; one installed too close to the ceiling may disappear into the decorative trim.
Many period apartments already have a timber moulding that can support a display system, but never assume it is structurally sound. Flaking paint, hairline cracks and loose plaster indicate that the rail needs checking before it carries framed art. In a rental, use an existing rail where possible and review the lease or strata by-laws before adding anything permanent.
The Australian climate also matters. Strong western sun in Perth, hot summers in Brisbane and bright north-facing rooms in Melbourne can fade prints and textiles. Keep especially delicate works away from direct afternoon light, or use UV-filtering glazing for valuable pieces.
Choosing Rail And Hanging Hardware
Traditional picture rails are usually timber, painted to blend with the wall or picked out as a subtle architectural detail. Slim metal systems offer a cleaner gallery feel and can suit a minimalist apartment, although a polished brass or aged bronze finish may sit more naturally with original joinery. Choose a rail with a stated load rating rather than relying on appearance.
Use adjustable picture hooks, nylon-coated wire or flat hanging cord so each frame can sit at a slightly different height. Two hooks on a wider work distribute weight more safely and prevent the frame from twisting. Before committing to a large composition, browse this practical frame selection guide to compare materials, glazing and proportions.
For Australian homes, check the local availability of replacement hooks and cords at hardware chains, specialist framing shops and independent art suppliers. A Sydney or Melbourne framer may also cut conservation mounts for works that need protection from humidity, dust or intense sunlight.
Setting The Right Vertical Line
The rail should relate to the architecture, not to the height of the furniture beneath it. As a starting point, position it roughly 30 to 45 centimetres below the cornice, then step back and assess the room as a whole. In a very tall apartment, a slightly lower rail can make the display more visible without compromising the sense of height.
The centre of the artwork group should generally sit around eye level when you enter the room. This may mean the top frame hangs well below the rail while a longer cord brings the composition down. Leave enough distance above a sofa, sideboard or bedhead for the pieces to feel connected, usually around 15 to 25 centimetres.
A Practical Measuring Checklist
Measure twice before ordering the rail or cutting hanging cord. Record the width of the wall, the height of the furniture and the position of doors, windows, heaters and ceiling fans.
- Mark the rail height with removable painter’s tape
- Measure the full width of the intended artwork group
- Check each frame’s weight and hanging hardware
- Leave clearance for doors, curtains and cleaning
A paper template can reveal awkward gaps before you lift a drill or unpack a framed work. This is particularly useful in narrow terrace rooms, where a composition that looks balanced on the floor may interrupt a doorway once raised.
Building A Layered Arrangement
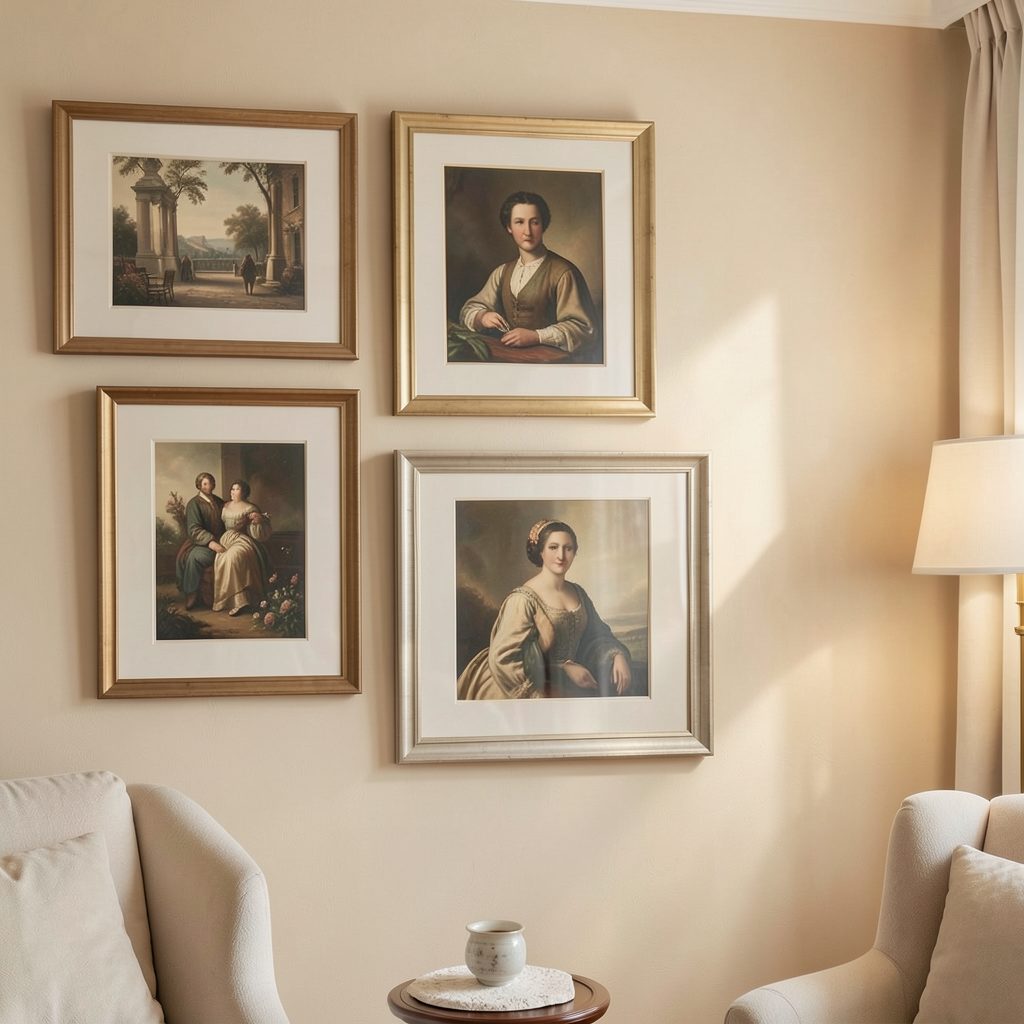
A picture rail gives you freedom to combine different frame sizes without making the wall feel overly formal. Begin with one larger anchor piece, then add smaller works around it. Aligning the outer edges creates a crisp gallery effect, while varied heights and overlapping sightlines produce a softer collected look.
Keep the gaps between frames deliberate. Around 5 to 10 centimetres usually feels cohesive, though larger rooms can handle more air. If the works have different visual weights, place darker or heavier frames lower in the arrangement and lighter pieces higher up. A restrained palette of oak, black, white or aged metal helps a mixed collection feel unified.
Ways To Keep The Display Light
The most successful arrangements leave some wall visible. Negative space allows decorative plaster, tall skirting boards and original architraves to remain part of the design.
- Mix one large work with two or three smaller pieces
- Repeat a colour found in the rug, curtains or upholstery
- Use mount boards to give small prints more presence
- Keep the rail and cords visually quiet
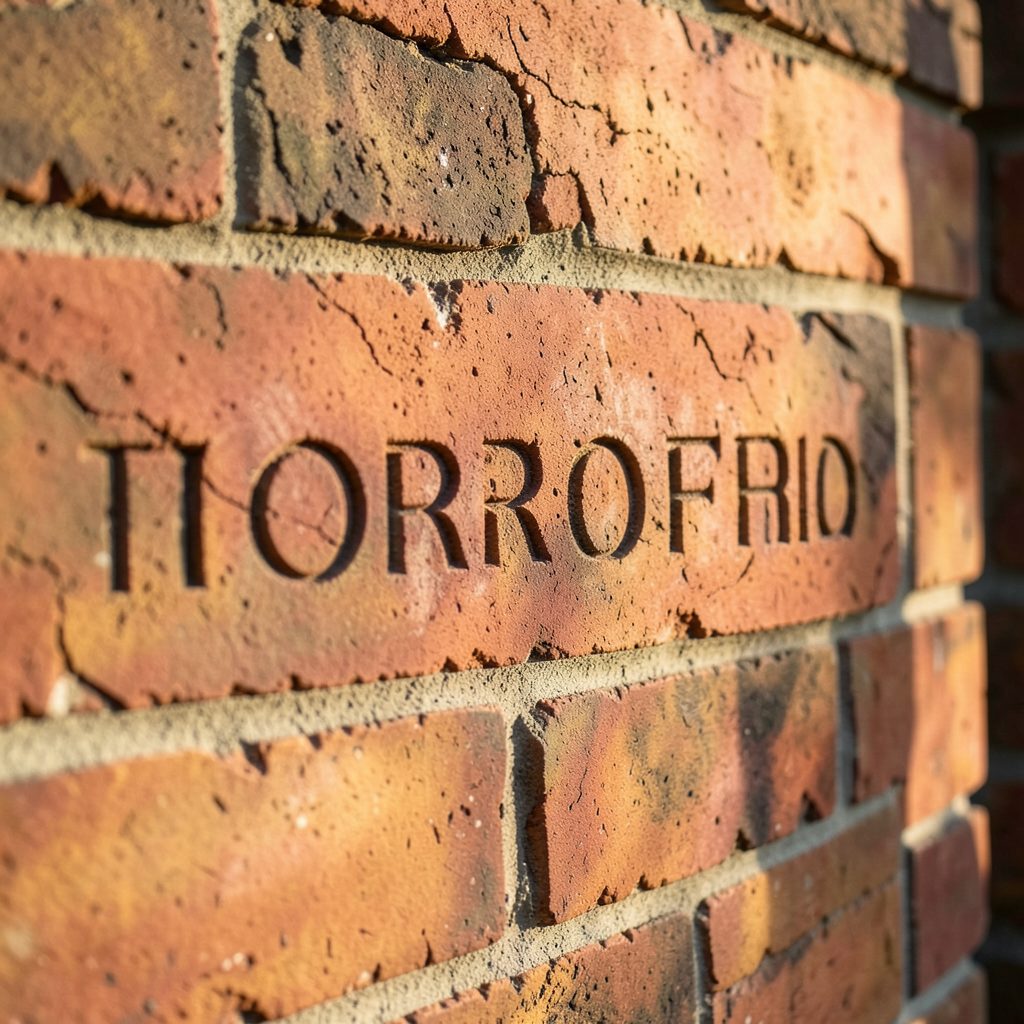
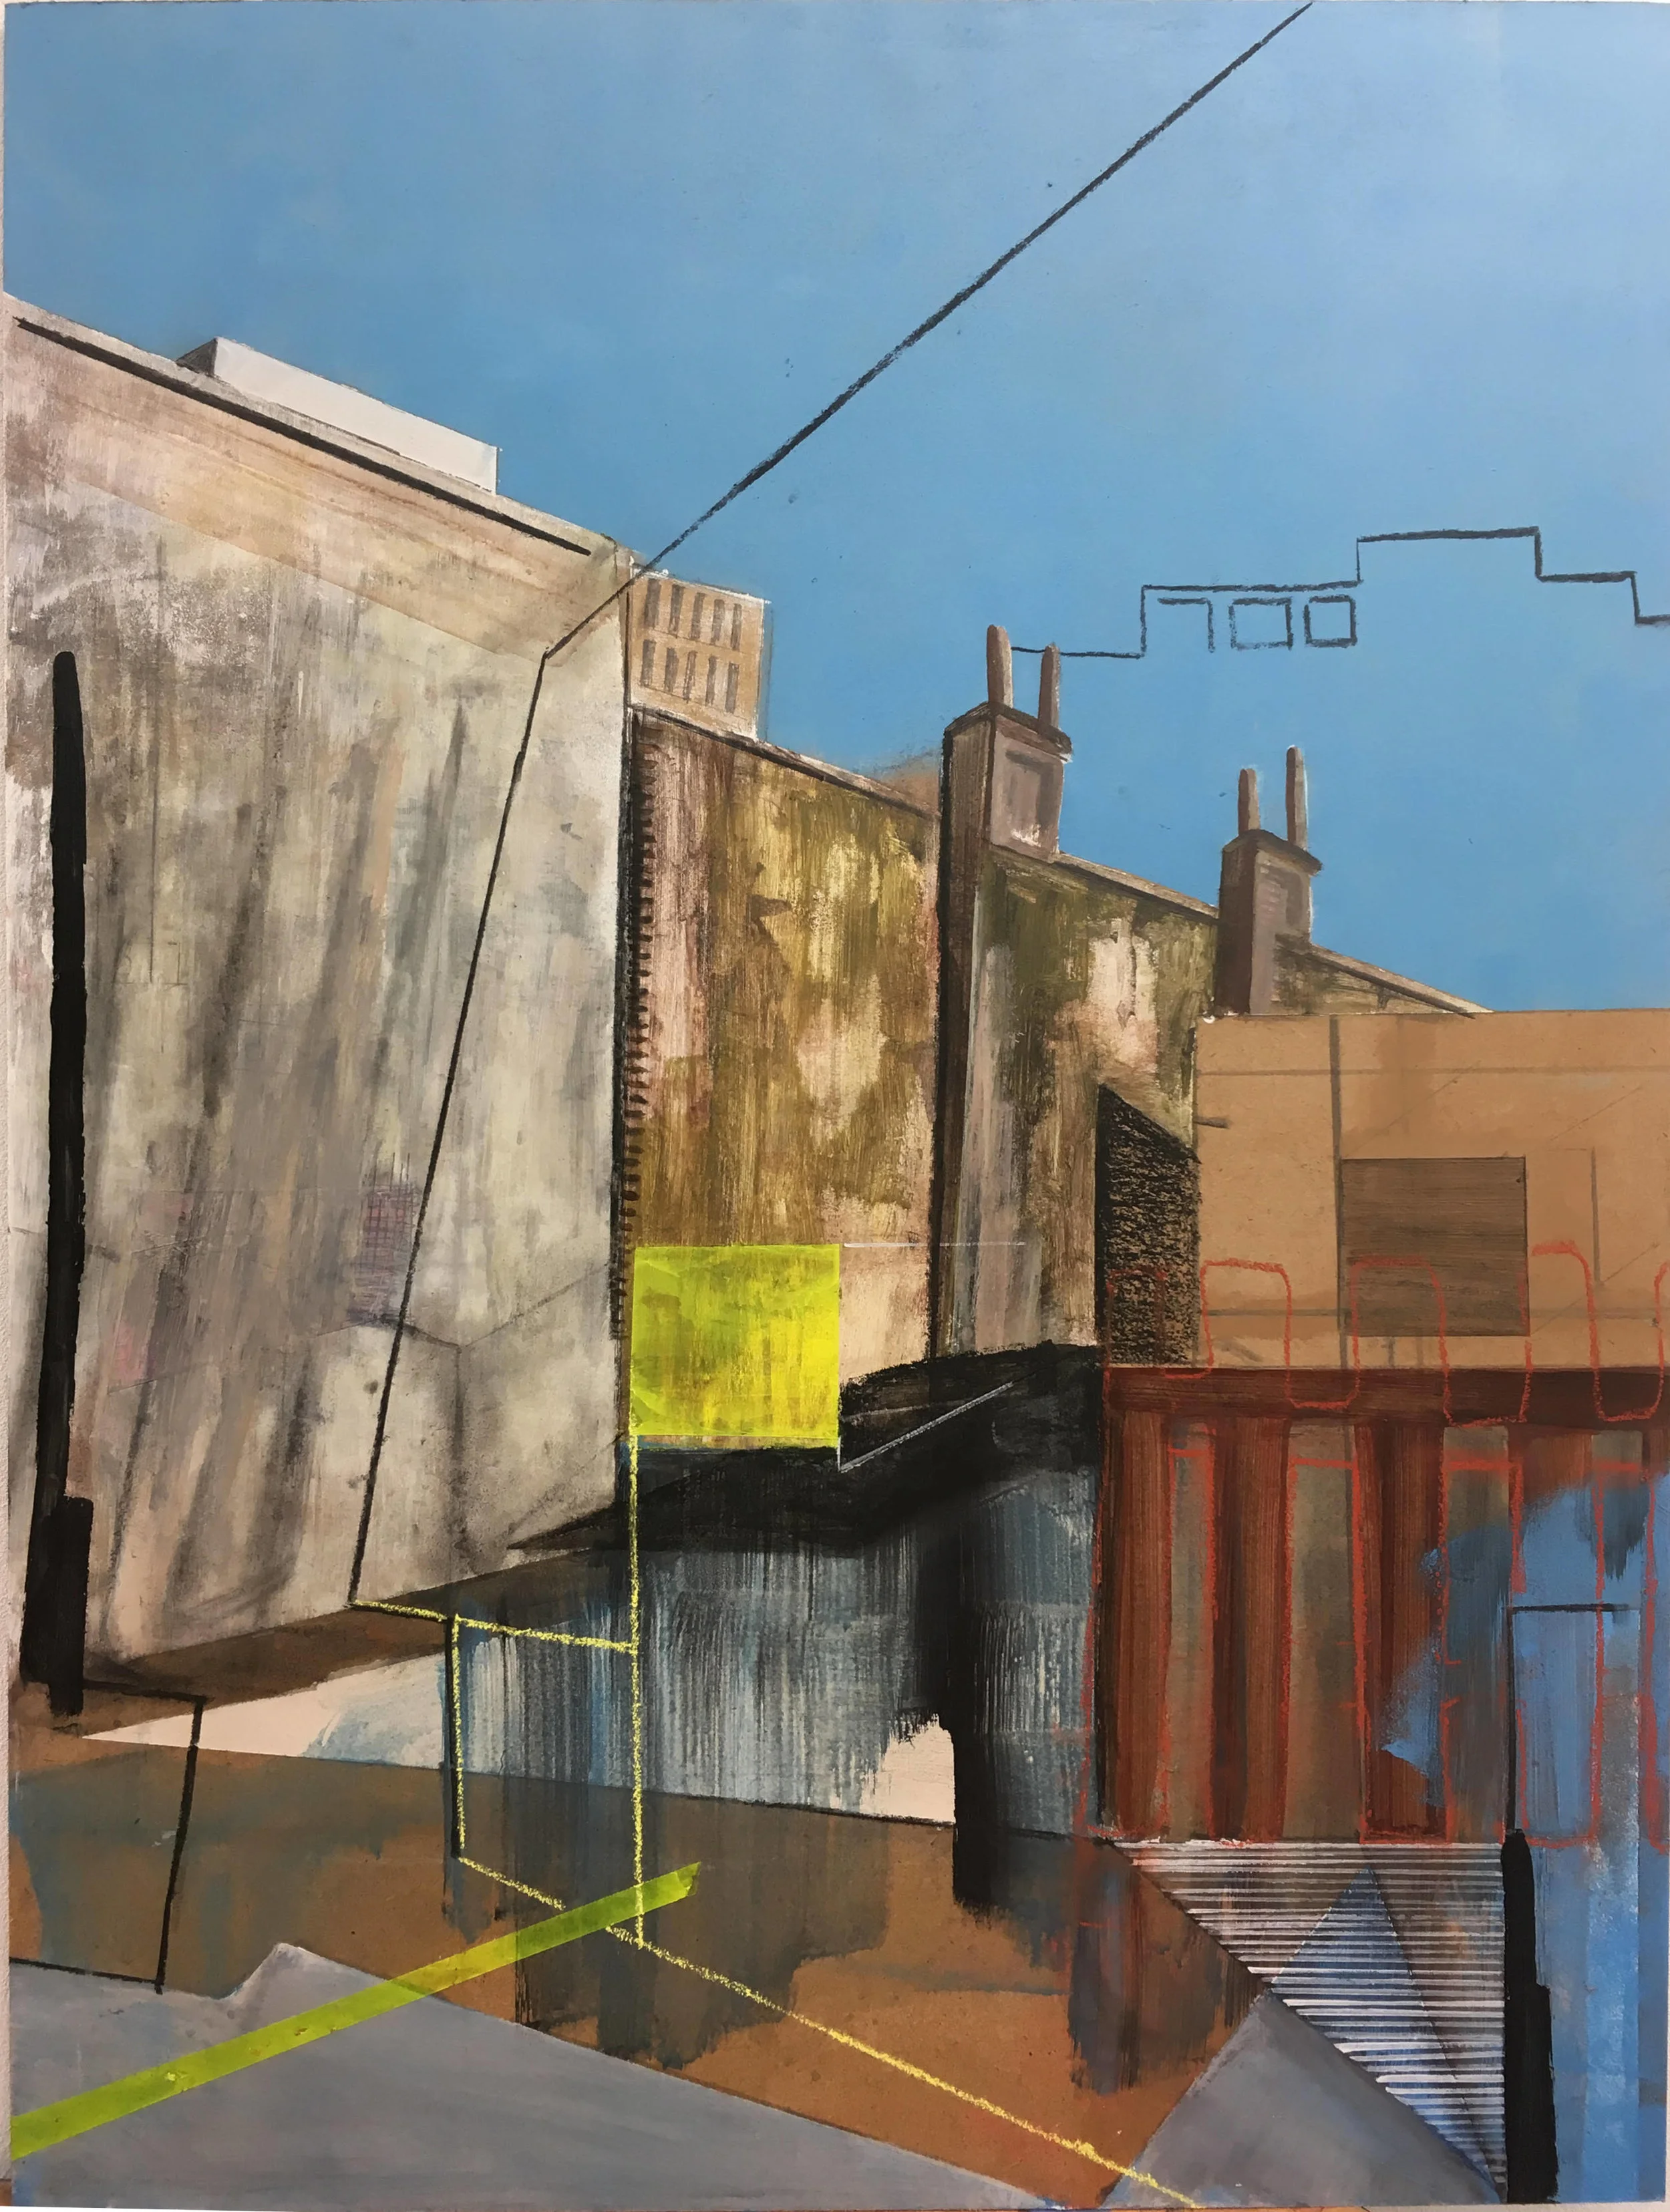
For an apartment with exposed masonry or an industrial conversion, consider a small work that acknowledges the building’s material character. Subtle brick engraving ideas can inspire a typographic or architectural artwork without turning the whole wall into a themed display.
Balancing Art With Furniture
A rail arrangement should support the room’s daily function. Above a dining table, choose frames with enough contrast to be visible at seated eye level, but avoid fragile glass in a busy circulation path. In a bedroom, calmer prints and fabric-covered frames can soften the height of the walls without competing with the bed.
Bathrooms require extra care. Steam, condensation and temperature changes can damage paper, untreated timber and some adhesives, so keep valuable works outside the wettest zone. A powder room with good ventilation is more suitable for framed art than a compact bathroom with no window or reliable exhaust fan.
Australian apartments often have open-plan living areas where a single display needs to work from several angles. A symmetrical group can define the dining zone, while an informal vertical stack may better suit a living room with a low sofa and tall bookcase.
Protecting The Building And The Collection
Before fixing a new rail, identify whether the apartment is individually heritage-listed or part of a heritage conservation area. Requirements differ between councils and states, and external or significant internal changes may need approval. In strata buildings, by-laws can also govern alterations to common property, walls and ceilings, so obtain written permission where required.
If the original rail is sound, use it rather than adding a second line. When installation is necessary, have a qualified tradesperson inspect the substrate and choose fixings suited to masonry, lath-and-plaster or modern plasterboard. Avoid attaching heavy pieces to decorative cornices unless their strength has been confirmed.
Dust frames and the rail gently with a soft brush, inspect cords during seasonal cleaning and check for corrosion in coastal cities such as Sydney, Wollongong or Darwin. With sensible spacing and suitable materials, the arrangement can protect both the artwork and the character of the apartment.
Bring the display together slowly, beginning with the room’s strongest architectural feature and adding pieces that support it. Explore Focus LDN’s gallery styling ideas, then subscribe to the email updates for practical inspiration on frames, artwork and stylish home living.