How to display art on a brick wall without drilling
Exposed brick brings texture, warmth, and architectural character to a room, but its uneven surface can make artwork difficult to mount. Standard nails are often unsuitable for rented homes, fragile masonry, or anyone who wants to preserve the wall’s original finish. Fortunately, a considered arrangement can look intentional without creating a single hole.
The best approach depends on the brick’s condition, the artwork’s weight, and whether you want a permanent-looking display or a flexible arrangement. Lightweight prints, framed canvases, and small photographs can use different support systems from large mirrors or heavy framed paintings.
A successful display also relies on composition. Brick already provides a strong visual pattern, so the art should bring balance rather than compete with every horizontal and vertical line in the masonry.
Read the brick before choosing a method
Begin by inspecting the wall closely. Smooth, painted, or sealed brick is more compatible with removable adhesive products than dusty, porous, or crumbling brick. Test any adhesive on a hidden area first, and avoid placing it over loose mortar, damaged paint, or visibly uneven surfaces.
Check the artwork’s total weight, including the frame and glazing. A small unglazed print may be suitable for an adhesive strip, while a glass-fronted frame needs a stronger support. If the wall is old or historically significant, choose a method that puts minimal pressure on both the brick and the mortar.
Clean the chosen area with a soft brush or dry cloth. Dust reduces adhesion, but soaking the brick can drive moisture into the surface. Allow any recently cleaned or painted area to dry completely before mounting anything.
Build the composition away from the wall
Arrange the artwork on the floor before deciding how it will appear on the brick. Use paper templates cut to the size of each frame and attach them temporarily with low-tack tape. This lets you adjust spacing without repeatedly moving the mounting hardware.
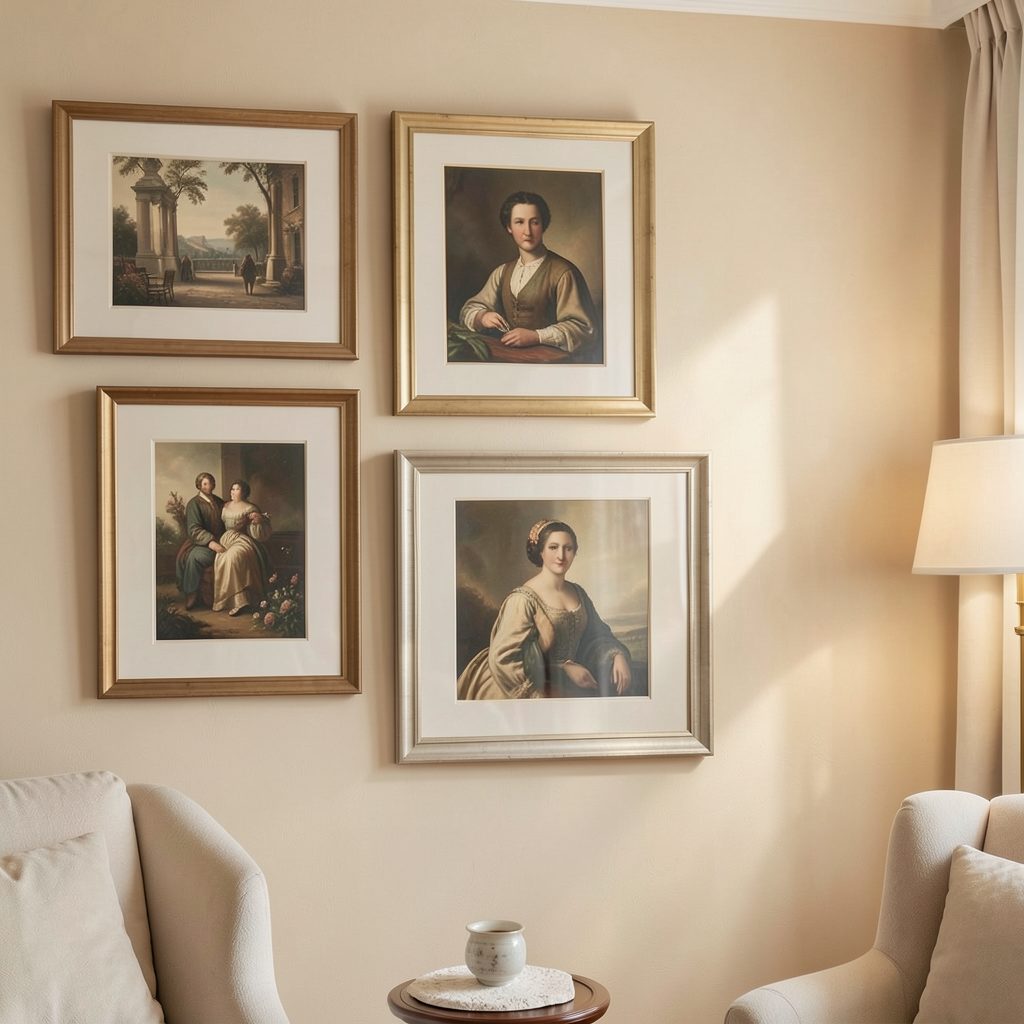
For a gallery wall, keep a consistent outer boundary while allowing the internal spacing to vary slightly. A 5–8 centimetre gap usually gives individual pieces enough breathing room. On a narrow brick wall, a vertical arrangement can emphasise height; above a sofa or console, a wider horizontal grouping often feels more grounded.
If you are developing a collection gradually, begin with a central anchor piece and add smaller works around it. Focus LDN’s gallery wall guide offers a useful framework for selecting artwork and building a coherent display rather than treating each frame as an isolated object.
Compare no-drill display methods
Different mounting options create different visual effects. Some are nearly invisible, while others become part of the design. The right choice should balance the artwork’s weight, the texture of the brick, and how often you expect to rearrange the room.
| Display method | Best suited to | Main advantage | Important limitation |
|---|---|---|---|
| Removable adhesive strips | Lightweight frames on smooth brick | Clean appearance and easy removal | Unreliable on dusty or porous surfaces |
| Brick clips | Small and medium frames with suitable brick joints | Grips the brick without drilling | Must match the brick height and edge profile |
| Picture ledge | Several frames, books, and small objects | Easy to restyle and layer | Requires a stable floor or furniture base |
| Leaning artwork | Large frames and canvases | No wall contact or hardware needed | Needs depth and protection from knocks |
| Adhesive hooks | Light canvases or narrow hanging loops | Simple single-point hanging | Weight ratings fall on rough surfaces |
| Tension-based floor supports | Larger displays in rental spaces | Can support a more substantial arrangement | Visible structure may not suit every interior |
Brick clips are particularly useful when the bricks have a defined, accessible edge. Select a clip designed for the exact brick height, and test it with a light frame before using it for valuable artwork. Do not force a clip onto uneven masonry, as pressure can chip the brick’s face.
A picture ledge is often the most versatile solution. Rest it on a console, dresser, or sturdy shelf rather than fixing it to the wall, then layer framed prints with a small vase or sculptural object. For a relaxed look, lean one oversized piece directly against the brick and secure its lower corners with discreet museum putty.
Make the frame work with exposed brick
Brick has a naturally tactile, irregular appearance, so frame choice can either soften it or reinforce its industrial quality. Pale oak and natural wood introduce warmth, while slim black frames create a sharper architectural outline. White frames can look striking against red brick but work best when repeated elsewhere in the room.
Avoid filling every section of brick with art. Leaving visible masonry around the display gives the wall room to breathe and makes each piece easier to appreciate. A neutral print can also prevent the composition from becoming visually busy; these ideas for using art with neutrals are especially useful in bedrooms and calm living spaces.
Consider the viewing height as well. The centre of the main artwork should generally sit near eye level, while a picture ledge above furniture should feel connected to the object below it. A display that is too high can make the furniture and artwork seem disconnected.
Protect the artwork and the surface
Leave a small gap between the frame and the brick whenever possible. This improves air circulation and reduces the chance of scuffing, especially on rough masonry. Felt pads on the back or lower corners can protect both the frame and the wall when artwork is leaning.
Keep paper artwork away from damp areas, direct sunlight, and active heat sources. Brick can hold moisture in older buildings, so look for condensation, salt marks, or a musty smell before displaying valuable prints. In a bathroom or kitchen, use sealed frames and avoid mounting unprotected paper close to steam.
Review adhesive mounts periodically. Changes in temperature and humidity can weaken their grip, and a frame that was secure in winter may become unstable during a warm spell. Replace tired strips rather than adding layers of new adhesive over old residue.
A practical no-drill setup
A small toolkit makes the installation cleaner and safer. Keep the materials simple, and prioritise reversibility when working in a rental or on original masonry.
- Soft brush and dry microfibre cloth for removing loose dust
- Paper templates and low-tack tape for testing the layout
- Brick clips sized to the individual brick profile
- Removable adhesive strips rated above the artwork’s full weight
- Felt pads or museum putty to stop leaning frames from shifting
Start with the lightest piece and observe it for a day before completing the arrangement. If the frame remains level and the support shows no sign of movement, continue with the rest of the composition. For expensive or heavy work, use a freestanding picture ledge or floor-supported system instead of relying on adhesive alone.
A no-drill display should feel deliberate, not temporary. Repeat frame finishes, align key edges, and let the brick remain visible as part of the composition. When the arrangement is ready, photograph it in daylight and keep a record of the spacing so it can be recreated after cleaning or moving.
Refresh the display seasonally by rotating prints, changing the order of smaller frames, or adding a new piece to the ledge. Explore Focus LDN for further artwork display ideas and subscribe to the email updates for practical inspiration that helps turn textured walls into considered, personal interiors.