How to create a postcard wall with clipboards and washi tape
A postcard wall made with clipboards and washi tape turns a blank surface into a personal travel journal, a miniature gallery and a record of places, people and projects worth remembering. The format feels relaxed rather than precious, yet careful spacing and a limited palette can make it look deliberate. It also suits apartment living because the arrangement can change whenever the room does.
Begin with a clear surface and a small collection. Each clipboard keeps a card visible, while patterned tape adds colour and a handmade quality. Because the boards are individual, you can rotate, replace or add pieces without rebuilding a formal gallery wall.
Australian homes add several practical considerations. Apartment dwellers in Sydney, Melbourne and Brisbane often use removable décor in compact entryways and study corners, and many renters move homes every few years. Coastal humidity and strong summer sun can weaken some tape and fade paper, making a test strip essential. Officeworks, independent art shops and Australian online sellers stock clipboards and decorative tape in Australian dollars. State residential tenancy laws differ, and consumer guarantees under the Australian Consumer Law protect purchases from faulty or misdescribed goods; check the lease before making permanent changes.
Choose the wall and plan the layout
Pick a wall that is visible from more than one angle but is not exposed to constant direct sun. A blank area beside a desk, above a console or at the end of a hallway can work well. Avoid a crowded wall where the cards will compete with larger framed artwork; if you already own art, the postcard display should support it rather than compete for attention.
Measure the available area and sketch the arrangement on paper before touching the wall. A regular grid suits equal-sized clipboards, while a loose salon-style layout gives smaller boards room to breathe. Use removable tape to mark the corners, keep a consistent gap of roughly 2 to 3 centimetres, and step back to check the balance from the doorway.
Curate a collection with visual rhythm
Use postcards as the starting point, then add concert tickets, handwritten notes, photographs, botanical prints and small sketches. Choosing a manageable group, such as nine to fifteen pieces, gives each item space to be read. Let two or three larger cards act as focal points and fill the surrounding spaces with smaller pieces.
Repeat two or three colours across the collection so the wall feels connected. Matte paper, faded travel photography and black-and-white images create a quiet backdrop for colourful tape. You can also submit your artwork if you would like the display to include original work rather than only collected ephemera.
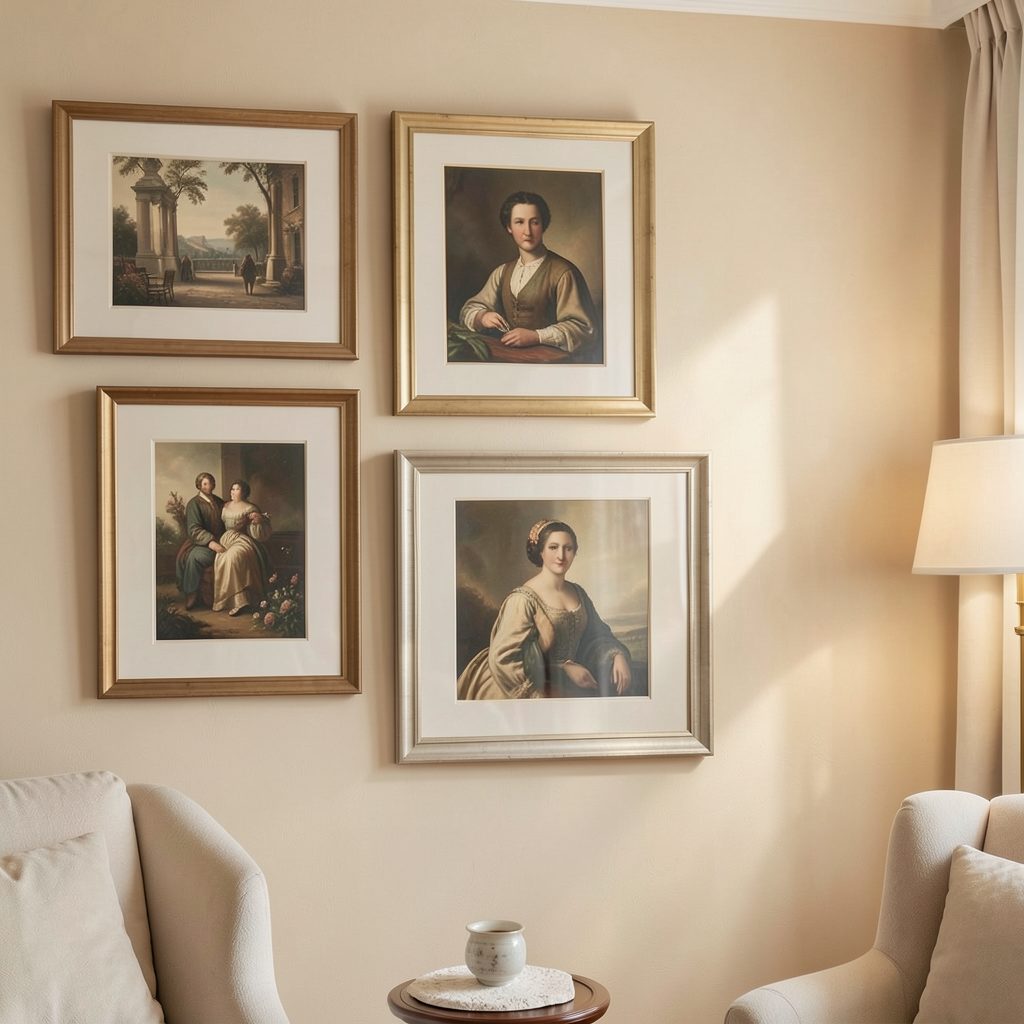
For a gallery-style result, skip heavy mouldings. Let the clipped edges and visible card mounts provide the structure, and reserve matching frames for one or two special pieces rather than the whole arrangement.
Gather clipboards and washi tape
Choose sturdy boards with clips that hold standard postcards without hiding the image. Mix formats sparingly, and check that each metal clip suits the card; oversized clips can make a small collection feel like a hardware display.
Choose your clipboards
- Timber clipboards for a warm, natural finish
- A6, A5 and A4 sizes to suit different card dimensions
- Recycled or painted boards with a strong backing
- Replaceable clips if you expect to change the display often
Select your washi tape
- Matte, paper-based tape with a clean release
- Two coordinating patterns from the same colour family
- Acid-free tape for valuable cards, where the manufacturer states it
- A straight-edged roll for neat borders and tabs
Use washi lightly to secure standard cards or create neat corner tabs. Do not rely on it to carry a heavy timber clipboard, and test a small strip on the wall first to check that it lifts cleanly in humid weather.
Mount the display with rental-friendly methods
For a removable installation, use quality picture-hanging strips or hooks rated for each board's weight, following the manufacturer's instructions. Test one clipboard first, and allow the adhesive its full settling time before adding the rest. Check that the hanging system is suitable for the wall type, particularly on painted masonry.
Many Australian renters change homes every few years, sometimes after a bond inspection or at lease end. State tenancy rules and lease conditions vary, so removable fittings are the safest option; written landlord approval is wise for anything fixed, drilled or painted. Photograph the bare wall before installation so any marks can be compared at the final inspection.
If you are combining this arrangement with larger pieces, thoughtful art placement can help you balance scale, sightlines and spacing across the room.
Style the wall to suit the room
Repeat one colour from the tape in the room's furnishings, but let the wall remain the focus. In a minimalist interior, use plain kraft boards and one narrow patterned border; in a relaxed space, introduce several postcard colours and clip styles. Leave generous negative space around the group, especially above furniture, so the arrangement does not feel crowded.
Light matters as much as colour. Australian sunlight can be intense, so keep valuable cards out of prolonged direct sun and away from damp bathrooms. A warm picture light can add atmosphere after dusk, but position it so it does not heat the paper. Pair the display with simple shelving or a narrow console so the postcards feel integrated rather than simply attached. A guide to personal artwork display can help you balance the small cards with larger framed works.
Keep the display evolving
A postcard wall works best when it records something rather than merely filling space. Add a card from a weekend in Melbourne, a local gallery opening, a family recipe or a sketch made at home, and remove pieces that no longer hold your attention. Seasonal swaps keep the colours and stories current without disturbing the whole arrangement.
Start this weekend by choosing one blank wall, cutting three paper templates and buying a pack of clipboards and two coordinating tapes. Build the first row on the floor, move it into position, then photograph the finished display as a reference for future changes. Subscribe to Focus LDN for practical decorating stories and email updates, then choose one card to add before you hang the final row.