How to create a dining bench gallery wall without head bumps
A gallery wall can give a dining nook the character of a small exhibition, especially when a long bench creates a natural horizontal anchor. The difficulty is that people lean back, slide along the seat and reach behind them while standing. Artwork that looks safely placed in a hallway may become an uncomfortable obstacle beside a breakfast table.
The most successful arrangement combines generous clearance, shallow frames and a clear visual centre. It should feel collected rather than crowded, with every piece secured firmly enough for daily family life, dinner parties and the occasional enthusiastic movement around the table.
Australian homes often have 2.4-metre ceilings, compact open-plan dining zones and hard surfaces that amplify movement. In Sydney or Melbourne apartments, where a bench may sit against a narrow circulation wall, a few extra centimetres can make the difference between an elegant display and constant shoulder contact.
Treat the wall as part of the room’s traffic plan before choosing art. Measure the bench, table, chair positions and walkway, then use paper templates to test the composition. This simple step is especially useful when ordering frames from Australian retailers, where custom sizes and return policies can vary.
Start with a safe hanging zone
Measure from the finished floor to the highest point of the bench back, including any cushion. The lower edge of the artwork should generally sit at least 200–250 mm above that point. If the bench has a tall upholstered back or diners regularly recline, increase the gap to around 300 mm.
The goal is to keep the art close enough to relate to the seating without placing it within the head zone. Avoid using the usual eye-level rule associated with a hallway or living-room wall. A seated person’s head occupies a different position, and the safest visual line is often higher than expected.
Keep the table edge and chair movement in mind as well. A framed piece should not project far enough to catch clothing or hair when someone stands. Thin timber, acrylic or metal frames are easier to live with than deep box frames, ornate mouldings and display ledges.
Plan the composition before drilling
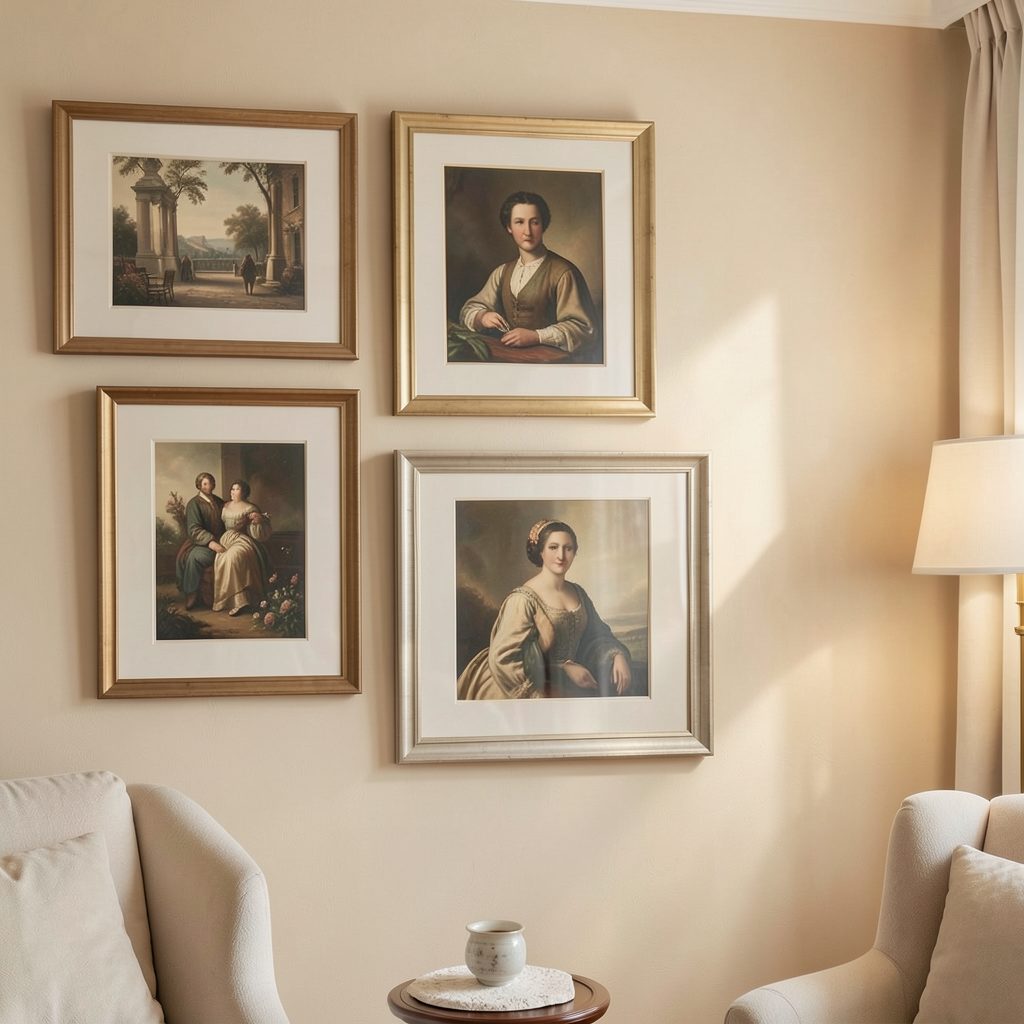
Create full-size templates from butcher’s paper, old wrapping paper or flattened cardboard. Mark each frame’s outer dimensions, then tape the shapes to the wall. Sit on the bench, move around the table and walk past the display from different directions.
Leave 50–80 mm between frames for a relaxed arrangement. A tighter gap can work with small prints, but a dining area benefits from breathing room because chairs, tableware and pendant lighting already add visual activity. Keep the outer edges of the group aligned with the bench rather than extending dramatically beyond it.
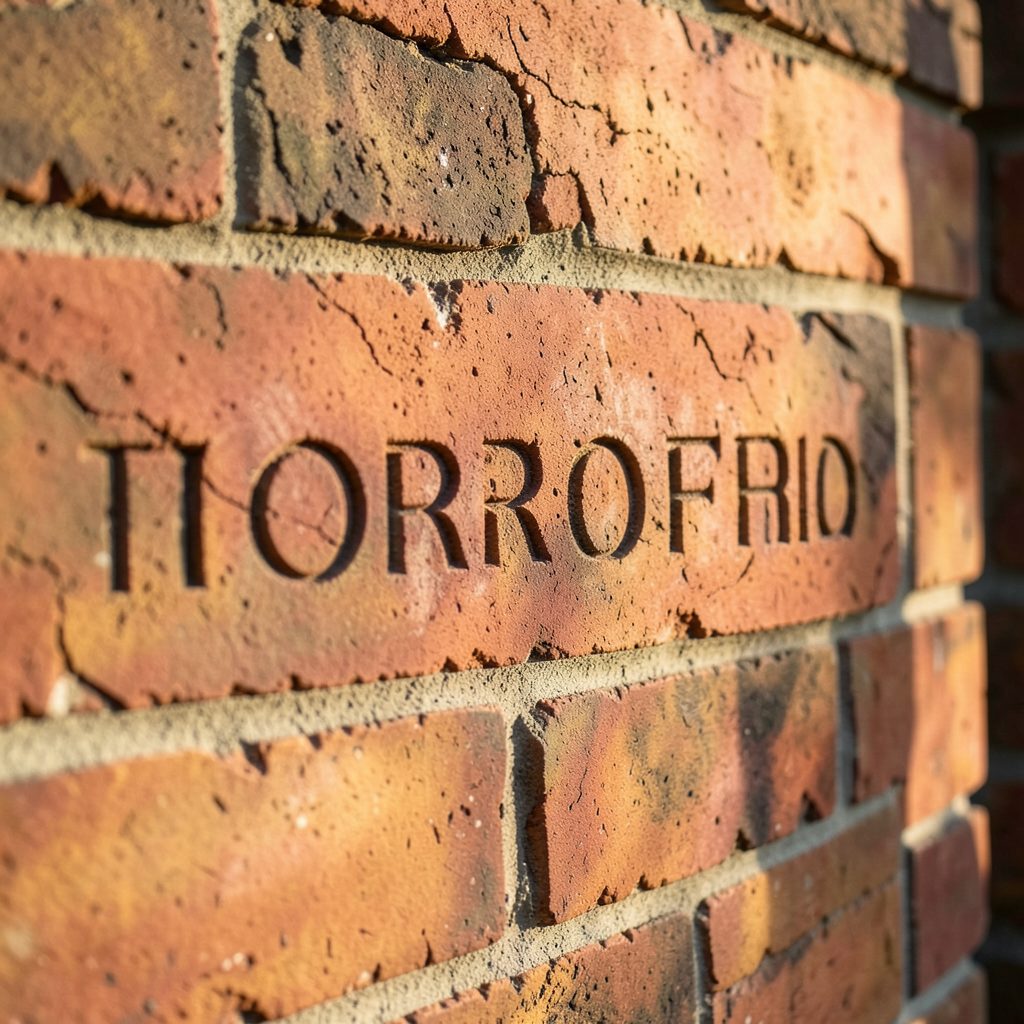
A horizontal centrepiece often provides stability, with smaller works arranged around it. For a narrow wall, try two rows with consistent spacing instead of a tall, irregular cluster. If you are drawn to architectural or text-based pieces, brick engraving ideas can inspire a restrained, tactile accent without filling the wall with competing colour.
Choose frames and fixings for daily use
Select frames with rounded or softened edges where possible. A slim profile reduces the chance of a painful bump, while acrylic glazing is lighter and safer than glass in busy dining areas. If glass is important for a valuable print, use a professional framer and make sure the frame is anchored securely.
For plasterboard, choose fixings rated for the weight of the completed frame, not just the artwork. Stud-mounted screws are preferable for heavier pieces. Masonry walls, common in some Brisbane, Adelaide and Perth homes, may require plugs suited to brick or concrete. Avoid relying on a single tiny hook for a large frame.
Anti-shift pads or discreet museum gel can help prevent frames from drifting when the wall is bumped. Use them carefully and check compatibility with painted surfaces. Wire hanging can allow a frame to tilt; a two-point fixing system keeps the bottom edge flatter and reduces movement.
Match the artwork to the dining room
A dining bench gallery wall does not need to be made entirely from fine art. Botanical prints, monochrome photography, small paintings, textile pieces and children’s drawings can sit together when they share a colour, frame finish or visual rhythm. Australian coastal photography, native flora studies and abstract works in ochre or eucalyptus tones suit many local interiors without becoming overly themed.
Consider how the artwork will look under warm pendant light at night. Glossy glass may create reflections, while matte paper and low-sheen acrylic tend to remain easier to view. In a Melbourne terrace with limited daylight, a pale composition can brighten the wall; in a sunny Queensland room, UV-protective glazing helps reduce fading.
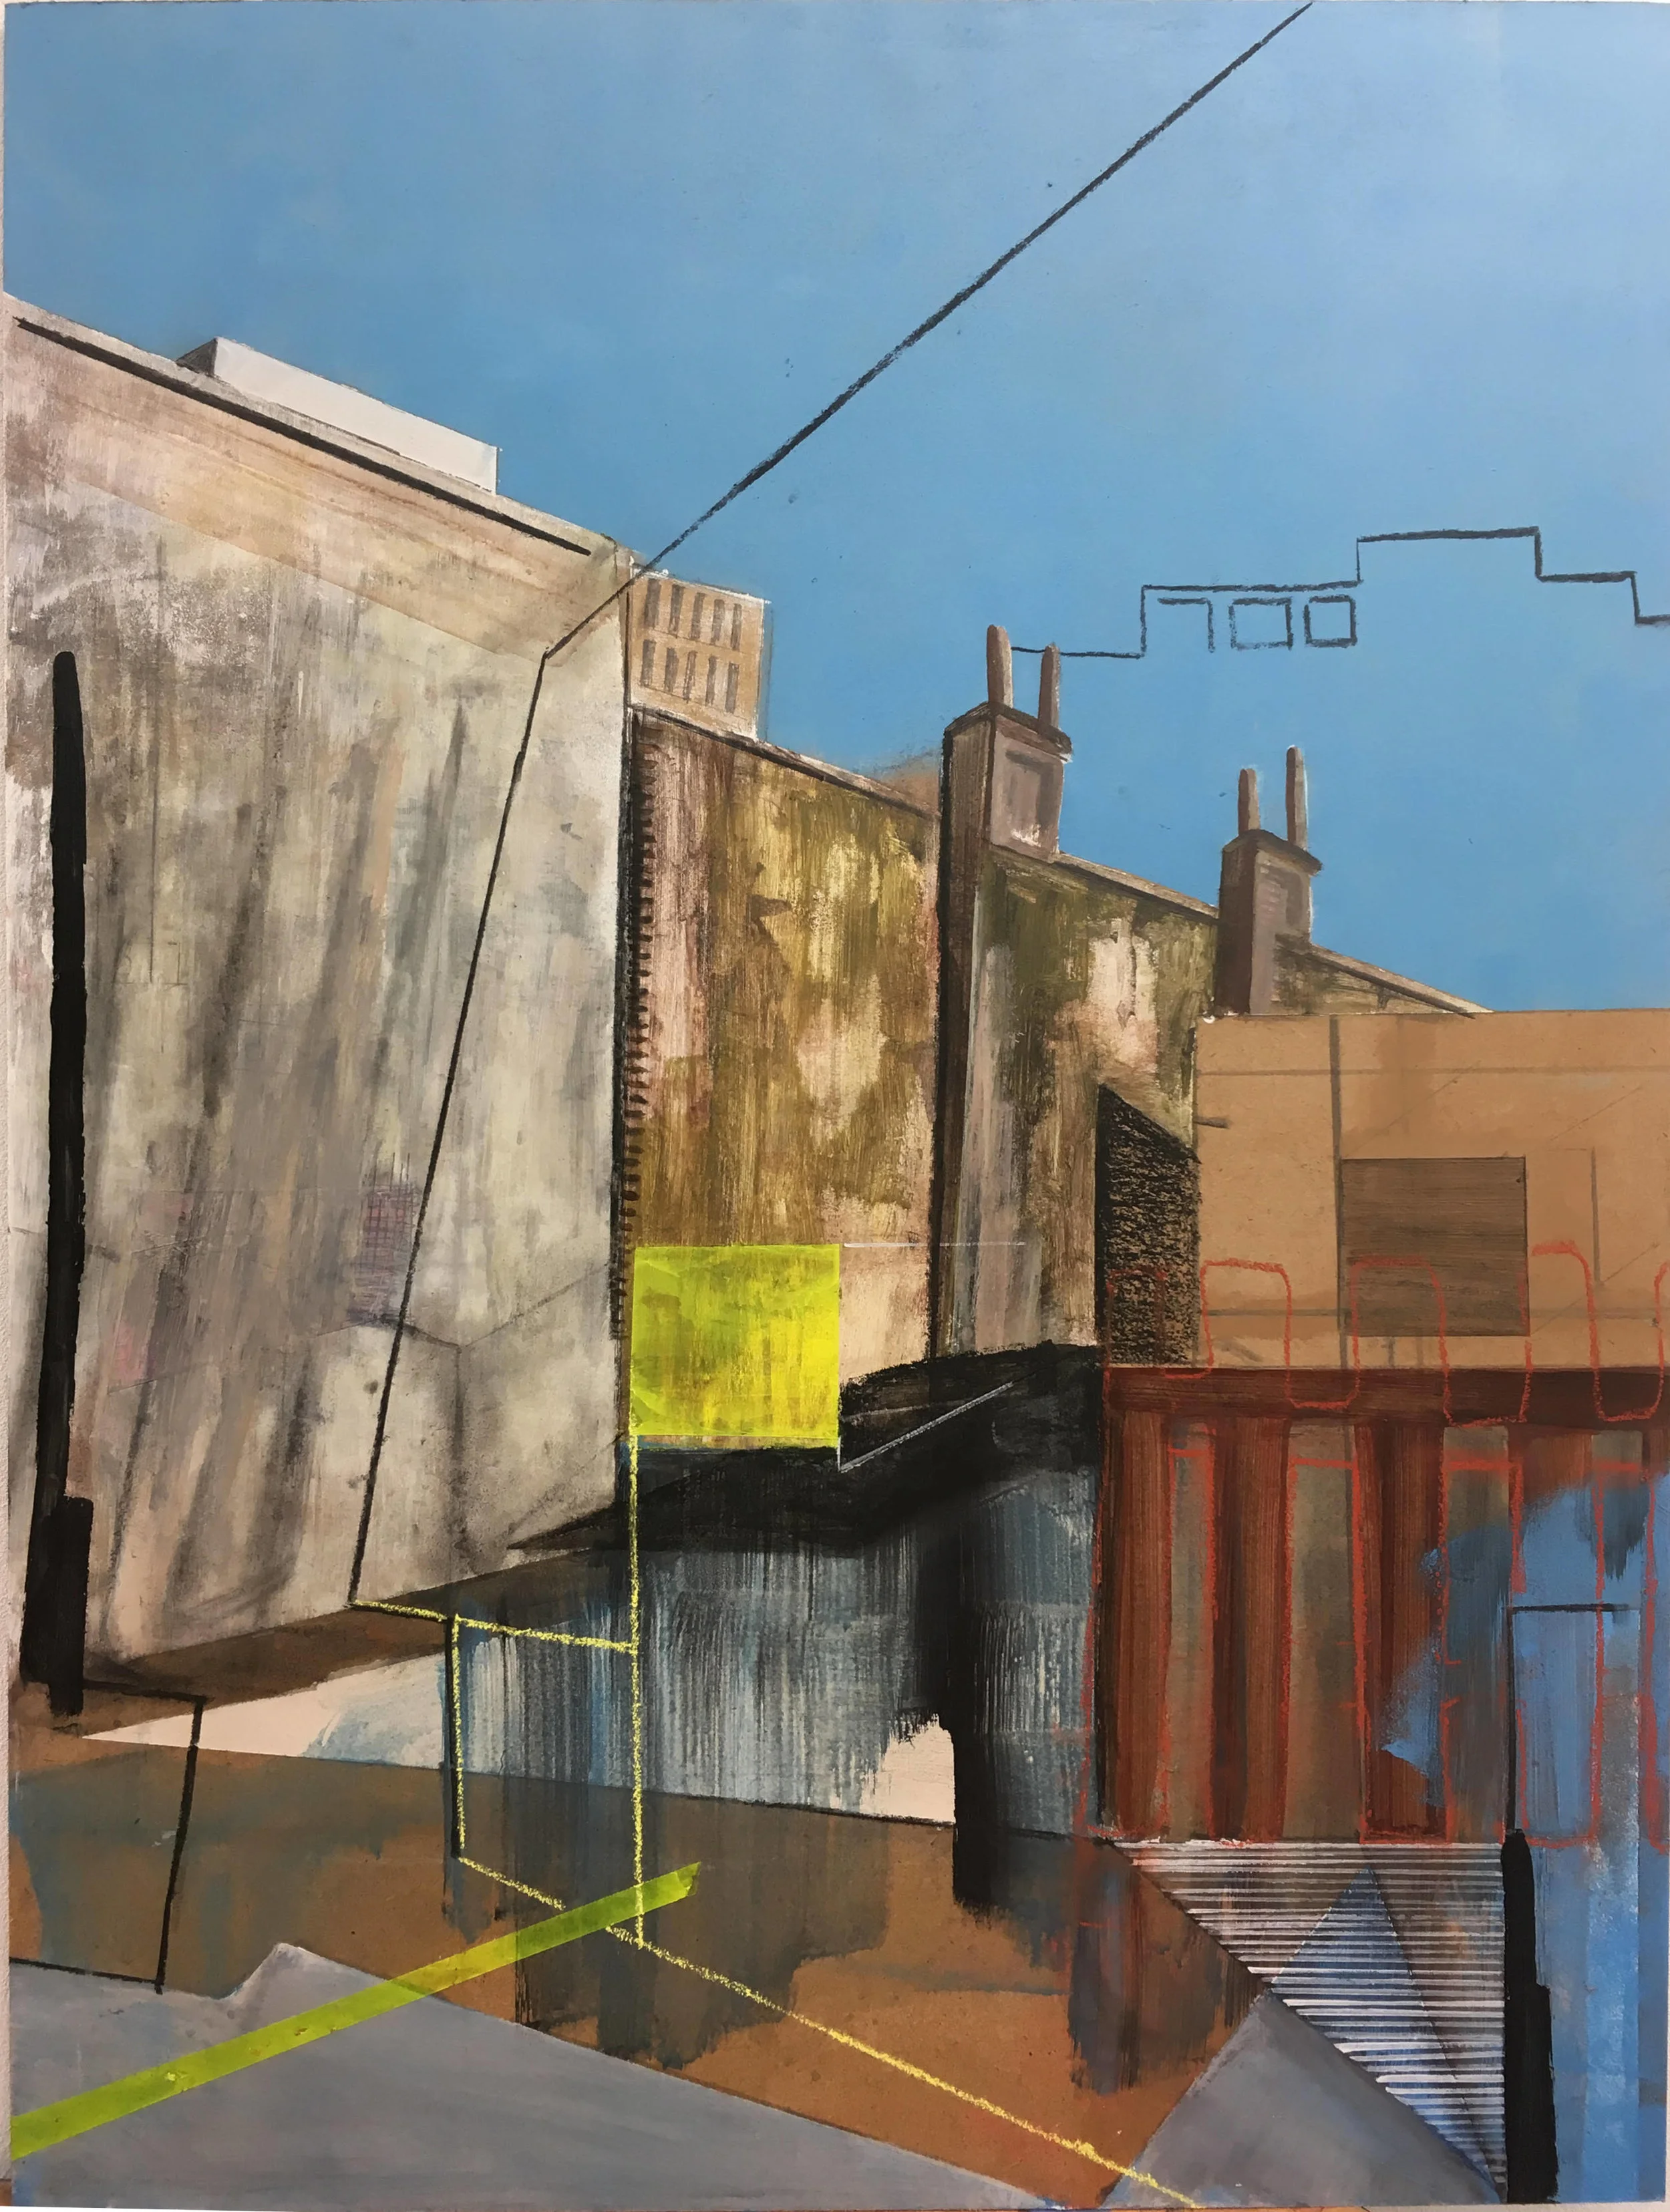
The surrounding wall finish matters too. White art can disappear against cool white paint, while dark frames may feel heavy in a small apartment. For wider inspiration on selecting and arranging pieces, browse this guide to gallery art before settling on a final mix.
Use proportion and clearance as design tools
The artwork group should usually be shorter than the bench or close to its width. A display that is far wider than the seating can make the bench seem visually detached, while a tiny arrangement may look accidental. As a starting point, aim for the artwork to span roughly two-thirds to four-fifths of the bench length.
| Dining wall situation | Suggested lower clearance | Suitable display approach | Main precaution |
|---|---|---|---|
| Low, backless bench | 250–300 mm above seat | Two or three slim frames | Account for people leaning against the wall |
| Upholstered bench back | 200–300 mm above back | One wide work or compact grid | Measure cushions at their fullest depth |
| Narrow apartment walkway | 300 mm or more | Flat frames in a horizontal row | Keep projection shallow |
| Tall banquette or booth | 250–350 mm above back | Large centred artwork | Test seated head position with templates |
| Family dining area | 250 mm or more | Acrylic-glazed, securely fixed frames | Avoid sharp corners and loose ledges |
Clearance is also a useful compositional tool. Raising the artwork slightly can make a low bench appear more substantial and leave room for decorative cushions without crowding the display. If the wall feels empty above the group, increase the scale of the art rather than lowering it into the seating zone.
Check the relationship with the pendant light. A lamp centred over the table should not visually collide with the artwork, and its lowest point should remain high enough for people to stand comfortably. In many Australian dining rooms, 750–900 mm above the tabletop works well for a pendant, though the exact height depends on the fixture and the occupants.
A finished gallery wall should look intentional from across the room and feel unobtrusive up close. Secure each frame, remove any sharp protrusions, and recheck the lower edge after the bench cushions have settled. Once the layout is installed, subscribe to Focus LDN for more considered ideas on artwork display, bedroom styling and practical home decorating.