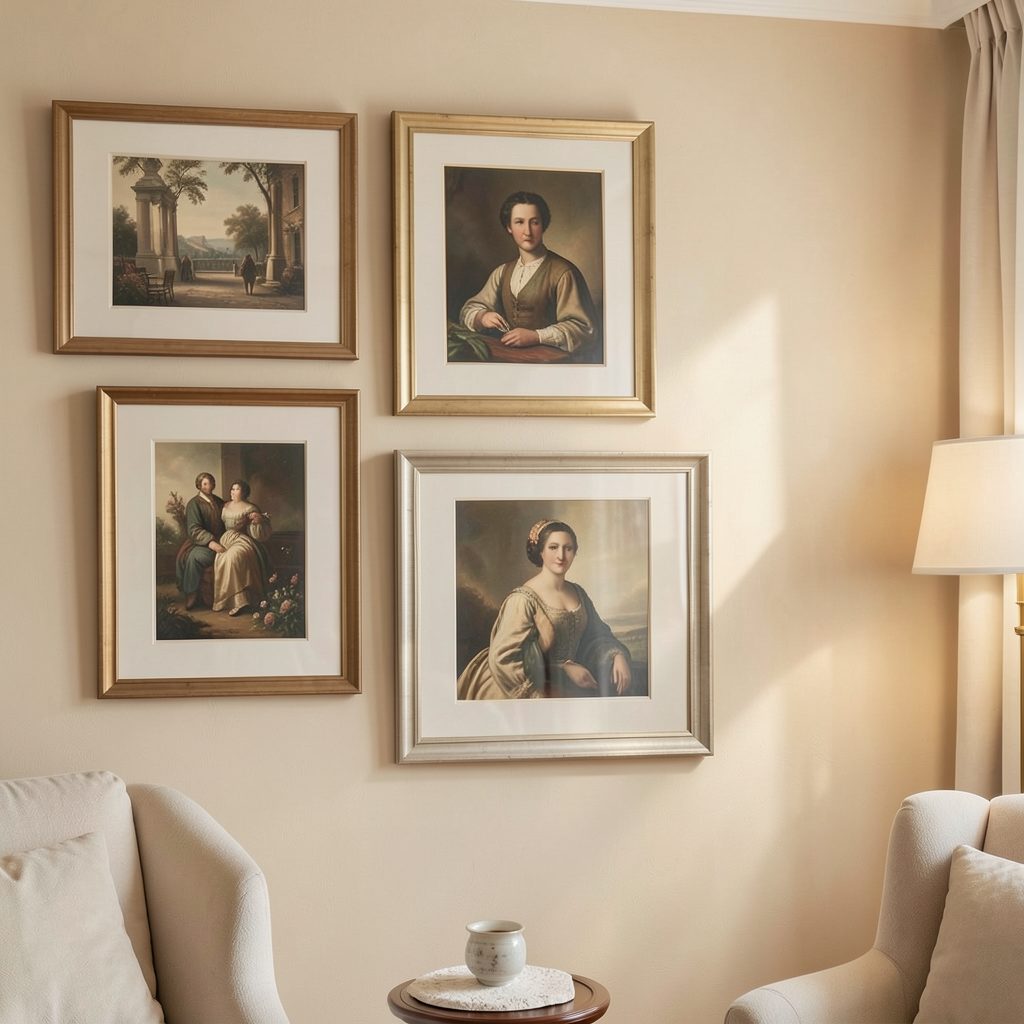
How to Build a Grid Gallery Wall with Matching Frames and Mats
A grid gallery wall brings order to a collection of photographs, prints or small artworks. Matching frames and evenly sized mats create a calm, architectural look, making the display feel intentional rather than crowded. The style suits minimalist interiors particularly well, from a bright Melbourne apartment to a character-filled terrace in Sydney.
The key is precision. A successful arrangement depends on consistent spacing, a considered colour palette and hardware suited to the wall. With a little planning before you pick up a hammer, you can create a polished artwork display that feels balanced and easy to update.
Choose The Right Wall And Collection
Start by identifying a wall with enough breathing space around the finished arrangement. Above a sideboard, sofa or bed, leave a visual margin so the gallery does not appear pressed against nearby furniture. In an Australian apartment, where open-plan living areas are common, a compact grid can define a zone without making the room feel divided.
Choose artworks that share a visual relationship. They might all be black-and-white photographs, botanical studies, abstract prints or family images edited into a restrained palette. The pieces do not need to match exactly, but they should have a common thread in colour, subject or mood.
Measure the available wall width and height before ordering frames. A grid of six 30 x 40 cm frames needs less space than six 40 x 50 cm frames, while the gap between each piece can add another 10 to 20 cm to the overall span.
Establish A Consistent Frame Format
Matching frames are the foundation of a grid arrangement. Black timber frames suit monochrome artwork and contemporary rooms, while pale oak or ash can soften a white-walled interior. White frames tend to recede, which is useful when the artwork itself contains strong colour.
For a refined result, use one frame profile throughout the display. If you are shopping in the Australian market, compare frame dimensions carefully across retailers, as listed sizes may refer to the artwork, mat opening or outer frame. Standard sizes such as 30 x 40 cm and 40 x 50 cm are generally easier to replace than unusual custom formats.
Acrylic glazing can be practical in a rental or family home because it is lighter and less likely to shatter. Glass offers a more substantial finish but can create reflections near large windows. Test one framed piece against the wall at different times of day before committing to the full set.
Use Mats To Create Visual Calm
Mats give each artwork room to breathe and make different images feel like part of one collection. A warm white mat is usually more forgiving than a stark blue-white, particularly in rooms with timber floors, cream upholstery or warm Australian sunlight.
Keep the mat colour consistent across the wall unless you are deliberately creating a more eclectic effect. The opening should frame the artwork without cutting off important details, and the border should be wide enough to create a clear pause between image and frame.
For a minimalist grid, a generous mat can make small prints feel more considered. This approach works especially well in bedrooms and bathrooms, where a quiet composition supports the relaxed atmosphere. If you are displaying art in a moisture-prone room, explore these practical ideas for bathroom artwork before selecting paper prints or untreated timber.
Plan The Grid Before Hanging
Lay the frames on the floor and arrange them in rows before making any holes. Begin with a rectangle or square, then experiment with swapping artworks while keeping the frame positions fixed. Photograph the arrangement from standing height; the image often reveals an imbalance that is easy to miss when looking down.
A gap of 5 to 8 cm between frames usually feels orderly without becoming cramped. Smaller gaps produce a stronger, almost salon-style block, while wider spacing gives the display a lighter appearance. Keep horizontal and vertical distances identical for a true grid.
Make a paper template for each frame using newspaper or kraft paper. Mark the centre point and tape the templates to the wall with low-tack painter’s tape. This method is especially useful in Australian rentals, where planning carefully helps minimise unnecessary wall damage and avoids discovering that the arrangement sits too close to a cornice or air-conditioning unit.
Hang Frames Securely And Evenly
Use picture hooks or wall anchors appropriate to the wall construction. Plasterboard, brick and masonry each require different fixings, and the weight of framed glass can be greater than expected. Check the hardware rating and account for the frame, glazing and artwork together.
Measure from a fixed reference point rather than estimating each position independently. A laser level is ideal, but a standard spirit level, measuring tape and a long straightedge can also produce accurate results. Mark every hook position before drilling, then check the row and column alignment once the first few frames are in place.
Consider the room’s natural conditions. Strong western sun in a Perth or Adelaide home can fade paper and photographs, while coastal air in Brisbane or Sydney may affect unsealed timber and paper over time. UV-filtering glazing, indirect light and occasional inspection will help protect the collection.
Refine The Display With Small Details
A grid wall should feel connected to the rest of the room, so repeat one or two tones from the artwork in cushions, ceramics or a nearby rug. Keep the furniture below relatively simple; too many competing patterns can weaken the clean geometry of the frames.
If the display includes artist information or a small exhibition-style note, keep the typography restrained and place it nearby rather than attaching labels to every frame. These ideas for gallery labels can help you add context without disrupting the visual rhythm.
Use the following checks before finalising the arrangement:
- Confirm that every frame has the same outer dimensions and profile.
- Keep the gap between frames consistent across all rows and columns.
- Choose mats with matching colour, thickness and opening proportions.
- Check that artwork is protected from direct sunlight, dampness and heat sources.
- Use wall fixings rated for the complete weight of each framed piece.
- View the arrangement from the doorway, sofa and main walkway.
- Keep a record of frame sizes and artwork titles for future replacements.
Once everything is level, dust the glazing and step back from the wall before making any final changes. A well-planned grid gallery wall can anchor a room for years, while individual prints can be changed seasonally or as your collection grows. Browse Focus LDN for more artwork display ideas and subscribe for practical home decorating inspiration delivered to your inbox.