How to arrange art on a wall with an awkward outlet or switch
An outlet, light switch, thermostat, or cable plate can interrupt an otherwise promising wall. The instinct may be to hide it behind a frame, but that often makes the artwork difficult to access and creates an awkward gap. A better approach is to treat the fixed feature as part of the composition.
The goal is visual balance rather than perfect symmetry. Artwork can surround a switch, align with its edges, or create a deliberate pause around an outlet. Once the practical details are measured, the interruption becomes a useful point of reference for building a gallery wall.
Before choosing frames, consider how the wall is used throughout the day. A frequently pressed switch needs clear access, while an occasional outlet may only require enough room for a plug and cable. This distinction will guide the layout, frame depth, and hanging method.
Read the wall before you hang
Begin by measuring the outlet or switch, including any surrounding plate. Mark its full footprint with painter’s tape, then add a practical clearance zone. Leave extra space where a hand, plug, or cable needs to move freely. This taped outline gives you a realistic boundary instead of relying on a quick visual estimate.
Check the height of nearby furniture, too. Art above a console, desk, or bedside table should relate to the furniture while avoiding the controls below or beside it. A composition that works on an empty wall may feel cramped once lamps, vases, or books are returned to the room.
Look for the wall’s natural lines. Door frames, shelves, skirting boards, and architectural corners can help anchor the arrangement. Aligning the outer edge of a frame with one of these features often makes an irregular gallery wall feel intentional.
Choose a layout that works around it
A small switch does not always need to sit outside the artwork. In a compact arrangement, it can occupy the negative space between two pieces, especially when the surrounding frames share a similar color or visual weight. Keep the gap generous enough that the control remains easy to reach.
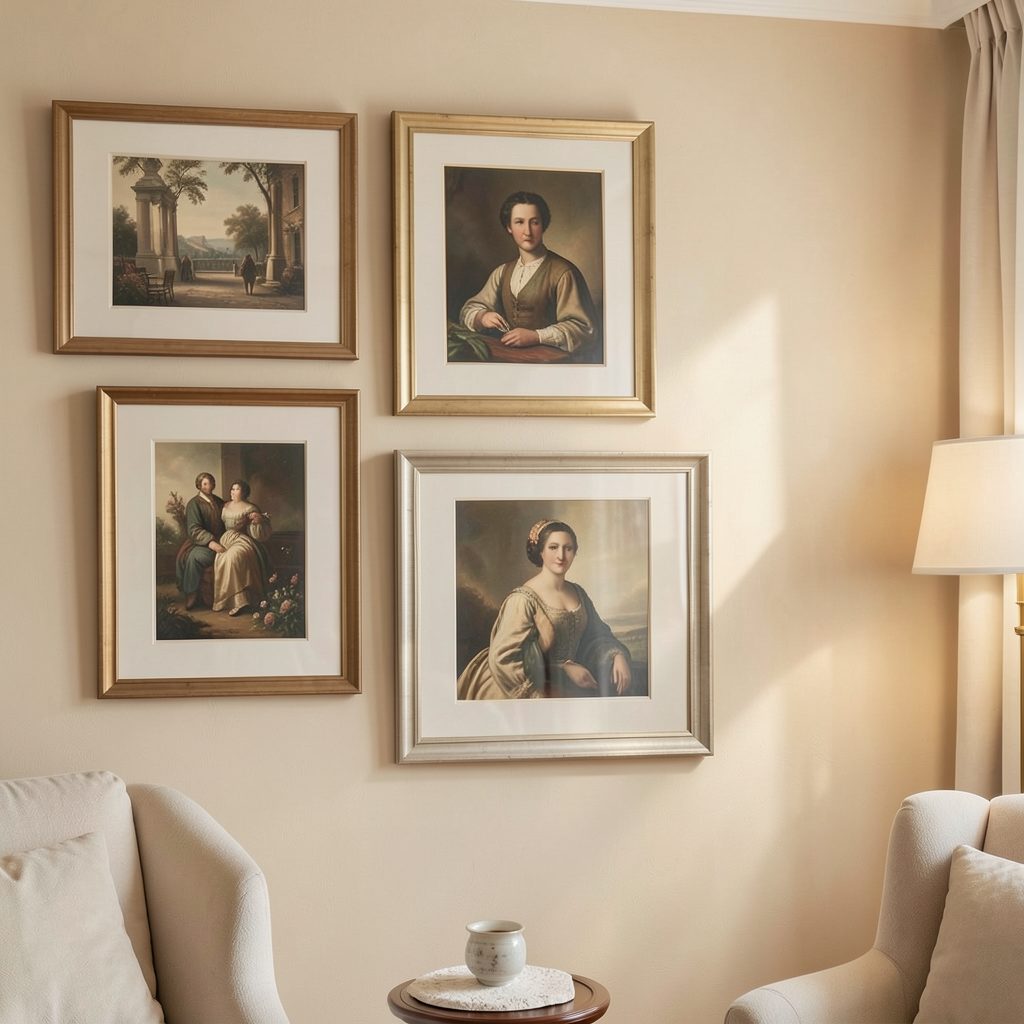
For larger obstacles, use a three-sided composition. Place artwork above and to both sides of the outlet or switch, leaving an open pocket around it. This creates a soft frame without pretending the feature is invisible. Asymmetrical groupings are particularly effective because they allow the art to follow the architecture rather than forcing a rigid grid.
Another option is a vertical column beside the obstruction. Stack two or three smaller prints along one side and place a larger work on the other, balancing their combined height. This arrangement suits narrow walls and can make a switch appear like a measured dividing point.
Make the interruption look intentional
Repetition helps integrate a practical feature into the display. Repeat a color from the outlet plate in one frame, print, or decorative object. Black hardware can relate to dark frame lines, while a white switch can recede against a pale mat and light wall.
If the plate is visually distracting, consider whether it can be replaced with a cleaner version in the same finish as the wall. This should be handled safely and according to local electrical requirements. Never cover a switch or outlet with a permanently fixed frame, and avoid placing artwork where heat, moisture, or pressure could create a hazard.
A picture ledge can offer flexibility around an awkward feature. Lean several works rather than drilling every frame into place, then leave a visible gap where access is required. For rented homes, these renter-friendly hanging systems can make it easier to adjust the arrangement without committing to multiple holes.
Balance spacing, scale, and frame weight
Spacing should be measured from the edges of the artwork, not from the center of the wall. A gap of around 5 to 10 centimeters often works between frames, though smaller pieces may need tighter spacing to read as a group. Increase the distance near a switch if the control needs more breathing room.
A useful way to judge balance is to compare visual mass. One large, dark frame may balance two or three smaller pale prints. If the outlet sits near the lower half of the display, a heavier piece on the opposite side can prevent the composition from feeling pulled toward the hardware.
| Wall feature | Arrangement that often works | Practical detail |
|---|---|---|
| Small light switch | Art around three sides or a staggered vertical group | Keep the switch easy to press |
| Double outlet | Large artwork above with smaller pieces to either side | Leave room for plugs and cables |
| Outlet near furniture | Picture ledge or side-by-side frames | Check clearance behind objects |
| Thermostat or control panel | Larger asymmetrical composition around it | Preserve airflow and visibility |
| Cable plate | Grouped artwork beside or above the plate | Avoid pinching or bending cables |
Use paper templates before lifting a hammer. Cut pieces to the size of each frame, label their positions, and tape them to the wall. Step back from several angles and check the relationship with the furniture, doorway, and light source. Moving paper is faster than repairing misplaced holes.
Select hanging methods with access in mind
Heavy frames should be secured according to their weight and the wall material. Two fixing points can prevent a frame from twisting, while a hanging rail or picture ledge makes future edits easier. If the artwork sits near a switch, choose a method that allows the frame to be removed without disturbing the control plate.
Frame depth matters as well. Deep shadow boxes and canvases cast stronger shadows and may make a small outlet look more prominent. Slim frames and light-colored mats usually create a quieter transition, especially in minimalist bedrooms or bathrooms.
In rooms exposed to humidity, keep paper artwork away from direct splash zones and use suitable glazing and backing. A bathroom gallery wall needs more care than a dry hallway, particularly when artwork is positioned near an outlet or ventilation control.
Build a composition that feels considered
Use this quick check before making the final holes:
- Mark the full size of every switch, outlet, and control plate with painter’s tape.
- Leave enough clearance for hands, plugs, cables, and removable frames.
- Balance the visual weight of dark, large, or highly colorful artwork.
- Test the arrangement with paper templates in natural and evening light.
- Photograph the wall from the room entrance to check its overall rhythm.
The most successful layouts usually acknowledge the room’s practical details instead of disguising them. A switch can become a boundary, an outlet can sit within a pocket of negative space, and a cable plate can guide the direction of a staggered display.
Let the wall guide the final edit
Stand back after placing the artwork and remove one piece if the grouping feels crowded. Empty space is valuable around functional features, and a slightly smaller arrangement often looks more refined than a wall packed to its edges. The aim is a composition that feels calm when viewed from across the room and useful up close.
For further visual direction, browsing gallery wall inspiration can help reveal how different frame styles, margins, and artwork scales work together. Then return to your own wall and adapt the idea to its switches, outlets, furniture, and natural light.
Gather painter’s tape, paper templates, a level, and the right fixings, then map the wall before hanging anything permanent. With a measured layout and a little visual restraint, an awkward outlet or switch can become part of a polished, personal display.