How to Arrange Art on a Wall with a Slanted Ceiling
A slanted ceiling can make a room feel architectural and distinctive, but it changes the usual rules for hanging art. A straight grid may look awkward beneath a rising roofline, while artwork placed too cautiously can leave the wall feeling unfinished. The key is to respond to the angle rather than compete with it.
Whether you are styling a Melbourne terrace, a compact Sydney apartment or a Queensland home with higher humidity, the arrangement should feel intentional from every viewpoint. Consider the ceiling pitch, furniture placement, viewing height and the visual weight of each frame before putting a single hook into the plaster.
| Wall condition | Arrangement that usually works | Framing and spacing |
|---|---|---|
| Gentle slope above furniture | Horizontal salon row or staggered cluster | 5–8 cm between frames |
| Strong diagonal ceiling line | Ascending arrangement following the pitch | Keep outer edges parallel to the slope |
| Low side of the wall | One large work or vertically stacked pair | Use slim frames and generous breathing room |
| Wide, irregular wall | Anchored gallery wall with a clear centre | Keep the lowest works safely above furniture |
Read The Architecture First
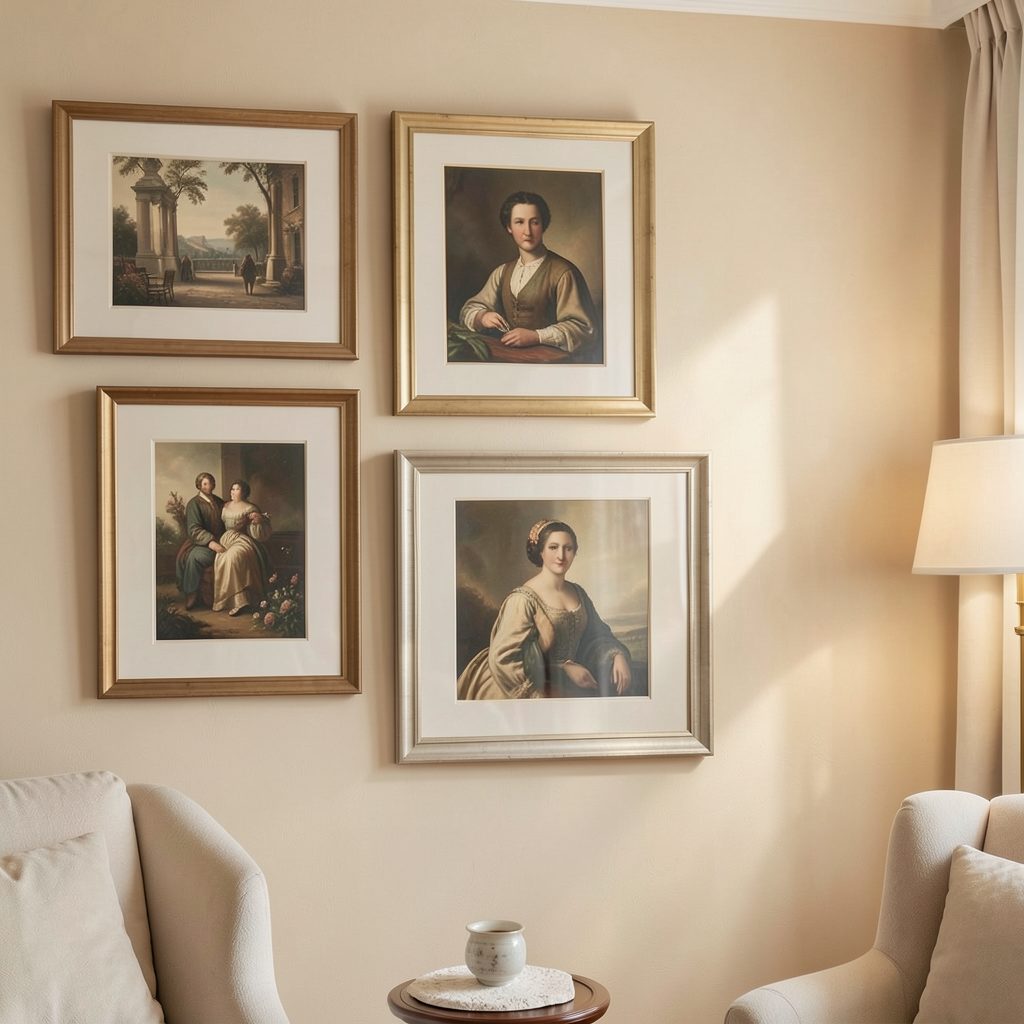
Stand at the doorway, beside the bed or sofa, and inspect how the ceiling line enters your field of vision. The most successful gallery walls usually acknowledge this line. If the roof rises from left to right, a sequence of artworks can gently rise with it, creating a sense of movement that feels connected to the room.
Avoid forcing every frame into a rigid rectangle if the architecture is strongly angled. A loose arrangement can be more effective, particularly in older Australian homes where ceilings, cornices and walls are rarely perfectly level. Use painter’s tape to mark the proposed edges, then live with the shape for a day before hanging anything.
The furniture below the wall still provides the main anchor. A gallery above a sofa should relate to the sofa’s width, while art above a console should sit close enough to feel connected without crowding lamps, vases or timber objects.
Choose A Shape That Follows The Slope
For a subtle pitch, begin with a central artwork and build outward in a soft staircase. The bottom edges can remain relatively even while the top edges rise, or the whole group can track the diagonal. The right choice depends on whether you want the ceiling to recede quietly or become part of the room’s design language.
A pronounced slope suits a vertical composition on the low side and larger pieces towards the high side. This creates visual balance without pretending the wall is flat. Three related works can be especially effective; use the principles in the art of three to keep the grouping cohesive without making it overly symmetrical.
For renters, removable hanging systems may be preferable to multiple wall anchors, although check the product’s weight rating and your lease conditions. In a strata apartment, also consider whether drilling into certain walls requires approval. A well-planned paper template saves both patching and frustration.
Plan The Layout Before Hanging
Create paper templates for every frame and label each one with its artwork, orientation and approximate weight. Place them on the wall with low-tack painter’s tape, then assess the arrangement from the room’s normal entry points. This is particularly useful when sunlight moves across the wall during the day.
Keep these measurements in mind:
- Leave about 5–8 cm between neighbouring frames.
- Position the centre of the overall grouping around eye level.
- Keep the lowest frame 15–25 cm above a sofa or console.
- Leave extra clearance beside doors, switches and sloping corners.
Check the display from these viewpoints:
- The main entrance to the room.
- The closest seat or bedside position.
- The opposite side of the space.
- Any corridor or stair landing that looks towards the wall.
Do not chase perfect measurements if the arrangement feels stiff. Slight variation in spacing can make a collection feel collected over time, while identical gaps create a cleaner minimalist effect. Australian interiors often benefit from a little informality, especially where natural timber, linen and handmade ceramics are already part of the scheme.
Balance Frames, Colour And Scale
A slanted ceiling can make small works disappear, so include at least one piece with enough scale to anchor the collection. A large abstract, photograph or textile work can sit under the highest section, with smaller pieces stepping down towards the low side. Keep the palette connected through one or two repeated colours rather than matching every image.
Frame finishes also affect perceived weight. Black frames sharpen a modern white interior, pale oak suits coastal or Scandinavian rooms, and brushed metal can link art to kitchen or bathroom fittings. In Brisbane or other humid areas, allow paper works to breathe and avoid placing valuable originals against damp external walls. Museum glass or acrylic glazing can also reduce glare in bright north-facing rooms.
A limited palette is useful when the ceiling itself is visually busy. If the room has exposed beams, strong cornices or patterned wallpaper, let the art provide quieter shapes. For a calmer bedroom, using art in small spaces can help you select fewer, better-proportioned works instead of filling every available patch.
Make The Display Feel Finished
Lighting deserves attention because a sloped ceiling can create uneven shadows across the frames. Adjustable picture lights, track heads or directional wall washers allow you to highlight the collection without reflecting directly off glass. Test the lighting at night as well as in daylight, particularly in rooms with large Australian windows.
Keep the surrounding styling restrained. A sculptural plant, low bench or a few books can reinforce the wall without competing with it. In a bedroom, repeat a tone from the artwork in bedding or a throw; in a hallway, connect the frames to the floor runner or nearby timber joinery. These small echoes make the arrangement feel deliberate.
Before finalising the display, check that every hook is suited to the wall material and frame weight. Plasterboard, brick and concrete each require different fixings, and heavy work may need two hanging points for stability. For a polished room-wide approach, explore these styling principles alongside the artwork plan.
Try the taped layout, adjust the slope-led rhythm and hang the pieces with confidence. A considered wall can turn an awkward ceiling into the strongest architectural feature in the room, so begin with your favourite artwork and build the collection around it.