Decorating a Studio Apartment with Zoned Gallery Walls
A studio apartment has to perform several jobs at once. It may be a bedroom, living room, dining area, office, and entryway compressed into a single open floor plan. Artwork can help define these functions without adding walls, bulky furniture, or visual clutter.
The key is to treat each gallery wall as a subtle room divider. A carefully arranged collection can anchor the sofa, frame a sleeping nook, or give a dining corner its own personality while keeping the whole apartment visually connected.
Zoned gallery walls work best when they are planned around furniture, sightlines, and scale. The goal is not to fill every available surface, but to create clear visual moments that make a small home feel intentional.
Start with the studio’s natural zones
Before choosing artwork, identify the areas that already exist in the room. A sofa usually marks the lounge, a bed defines the sleeping area, and a small table or counter suggests dining or work. Walk through the apartment and notice where the eye naturally pauses.
Use those pauses as the foundations for your wall decor. A wide arrangement above the sofa can establish the living zone, while a vertical grouping beside the bed can create a softer, more private feeling. If the entry opens directly into the main room, a compact arrangement near the door can function as an arrival point.
Try to keep each display connected to the furniture beneath it. Artwork floating between zones can make the room appear disorganized, while a collection aligned with a sofa, console, or desk gives the layout visual structure.
Give every gallery wall a distinct role
Each arrangement should have its own mood, even when the apartment follows one overall style. The living area might use bold photography or graphic prints, while the sleeping nook benefits from quieter botanical studies, line drawings, or muted abstract art.
A dining or work corner can support a more energetic arrangement with small illustrations, typography, or collected postcards. Repeating one color across all areas will maintain cohesion, but varying the subject matter prevents the studio from looking like one oversized display.
Consider the viewing distance in each zone. Large, simple pieces work well where people sit several feet away, while smaller works can be appreciated beside a bed or in a narrow passage. An in-house gallery guide can also help when you want a collection to feel curated rather than randomly assembled.
Plan scale, spacing, and sightlines
Measure the furniture before making holes in the wall. A gallery wall above a sofa generally looks balanced when it spans roughly two-thirds to three-quarters of the sofa’s width. Above a narrow desk or bedside table, reduce the arrangement so it does not overwhelm the surface.
Spacing should reflect the scale of the work. Keep larger frames slightly farther apart and allow smaller pieces to sit closer together. A common starting point is 5–8 centimetres between frames, adjusted according to the composition and the wall’s size.
Protect important sightlines as well. A display should not block a window, compete with a mirror, or make the room feel crowded from the entrance. In a studio, the arrangement must look considered from several angles because every zone is visible at once.
| Studio zone | Suitable artwork | Arrangement shape | Frame direction |
|---|---|---|---|
| Lounge | Photography, abstracts, bold prints | Wide and balanced | Mixed or horizontal |
| Sleeping nook | Botanical art, soft sketches, calm monochrome work | Vertical or compact | Slim, quiet finishes |
| Dining area | Small illustrations, typography, collected cards | Grid or salon cluster | Consistent color |
| Work corner | Architectural prints, diagrams, inspirational art | Narrow vertical stack | Simple and functional |
| Entry zone | One statement piece or three small works | Linear or centered | Durable, easy-clean frames |
Use frames to separate without closing in
Frames are one of the simplest ways to create visual boundaries. A dark wood or black frame can ground a lounge area, while pale oak or white frames keep a sleeping corner light and calm. The contrast does not need to be dramatic; even a modest shift in finish can signal that the function of the space has changed.
If the apartment is small, avoid giving every zone a completely different frame style. Instead, repeat one element, such as a shared mat color, similar frame thickness, or the same metallic accent. This creates rhythm across the room and keeps the gallery walls from competing.
For renters, removable picture strips, picture ledges, and leaning arrangements offer flexibility. A ledge above a desk can hold layered prints without permanent installation, while a large work leaning on a console can anchor a zone with minimal effort.
Create cohesion across an open floor plan
A studio feels larger when the eye can travel smoothly from one area to another. Repeat colors found in rugs, cushions, curtains, or bedding within the artwork. If the room includes terracotta accessories, for example, let that shade appear in a few prints rather than choosing unrelated colors for every wall.
A shared visual theme can help as well. Try a collection based on architectural forms, coastal images, vintage travel posters, or black-and-white photography. The subject does not have to match exactly; consistency in tone, palette, or texture is usually enough.
Leave some wall space between displays. Gallery walls need breathing room to read as separate zones. When two collections sit too close together, their boundaries disappear and the studio can feel busier than it is.
Refresh the displays without rebuilding them
One advantage of a zoned art arrangement is that it can change with the seasons or with your routine. Keep the frames and overall layout stable, then replace a few prints, postcards, or smaller works. This gives the room a fresh atmosphere without requiring a complete redesign.
A pale, botanical collection can make a bedroom corner feel airy in spring, while richer photography or textured paper can add warmth in autumn. For a practical approach to this kind of update, learn how to rotate art seasonally while preserving the balance of each arrangement.
Use removable labels on the backs of frames to record their zone and position. Store unused artwork flat, away from direct sunlight and moisture, so the rotation process remains simple and your prints stay in good condition.
Make the arrangement feel collected
A polished gallery wall rarely looks as though every piece was purchased at the same time. Mix original artwork with affordable prints, personal photographs, postcards, and small found pieces. The variation gives the apartment character while the repeated frame details keep it refined.
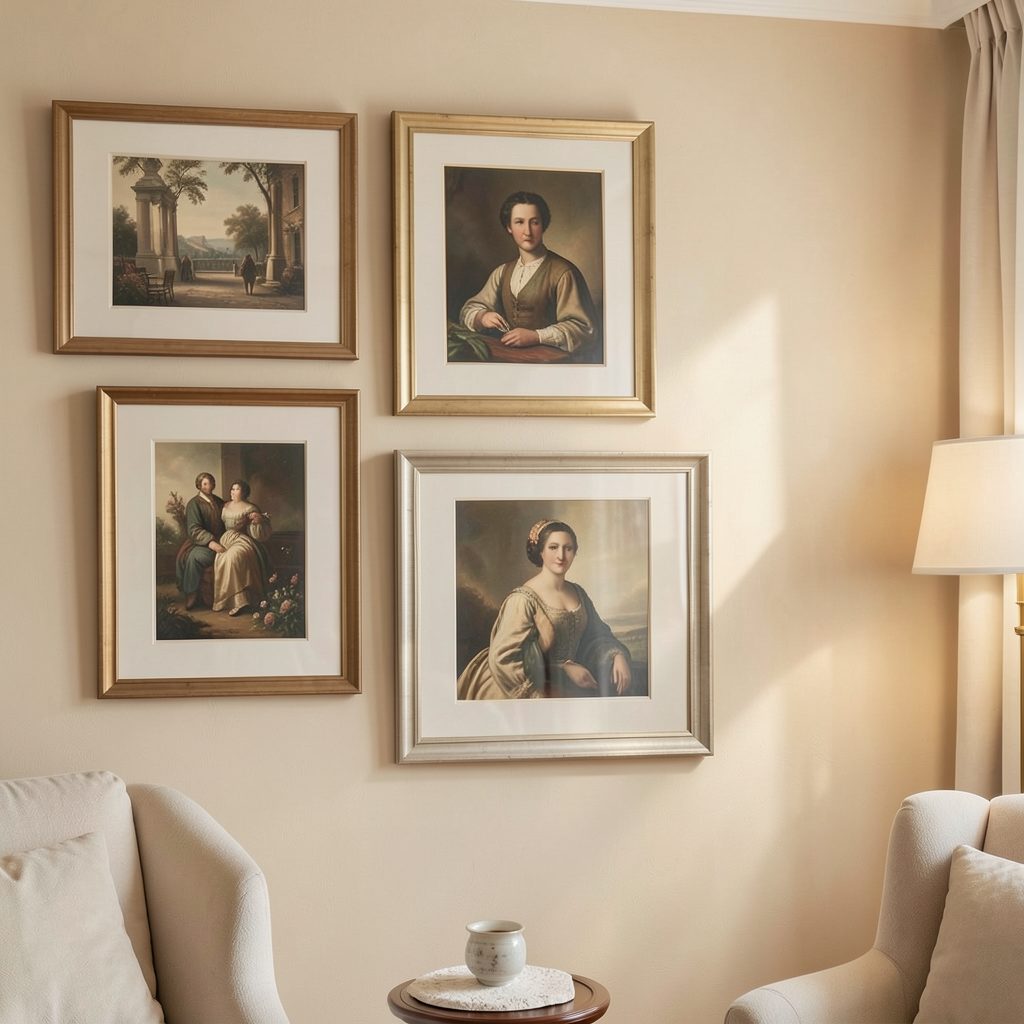
Before hanging anything, place the pieces on the floor and photograph a few possible layouts. Look for a strong anchor image, an even distribution of visual weight, and a shape that relates to the furniture below. Small changes in spacing can make the difference between a relaxed salon wall and a crowded cluster.
Keep the strongest display in the area you use most. A studio does not need equally elaborate gallery walls everywhere. One expressive arrangement above the sofa, paired with two quieter displays elsewhere, often feels more sophisticated than filling every wall with art.
- Begin with the furniture layout, then design each display around its zone.
- Choose one unifying color, material, or subject to connect the apartment.
- Combine large anchor pieces with smaller works for a natural rhythm.
- Test arrangements on the floor before hanging them.
- Leave clear breathing space between separate gallery walls.
With thoughtful zoning, artwork can provide the definition that a studio apartment lacks in its architecture. Plan each collection around a function, vary the mood from area to area, and repeat enough details to make the whole home feel connected. Start with the wall beside your main seating area, build a composition that reflects your style, and let the rest of the apartment follow its visual lead.