Best Art Placement for a Room with Sloped Ceilings
A sloped ceiling can make a room feel architectural, intimate, and full of character. It can also make artwork harder to place. Standard hanging rules often assume a flat wall and a consistent eye level, while an attic bedroom, loft, or converted upper-floor room may have changing wall heights and awkward corners.
The most successful approach treats the ceiling line as part of the composition. Rather than forcing every picture into one rigid row, use the available vertical space to create balance, define zones, and lead the eye through the room. Artwork should feel connected to the architecture without becoming lost within it.
Scale, viewing distance, frame depth, and natural light all matter. A small print may disappear beneath a high gable, while a large canvas can overwhelm a narrow knee wall. With a few deliberate choices, even an irregular room can support a polished gallery-style interior.
Read the architecture before hanging
Begin by identifying the room’s strongest structural features. These may include a central gable, exposed beams, a chimney breast, a low knee wall, or a section where the ceiling rises sharply. These details should guide your art placement rather than be treated as obstacles.
A tall wall beneath the highest point of the ceiling is usually the best location for a major piece. A vertical painting, textile, or stacked pair of prints can emphasize the room’s height. On a low wall, choose compact horizontal artwork, shallow shelves, or a restrained row of small frames.
Leave breathing room around beams, trim, and sloping edges. Artwork placed too close to an angled ceiling can look trapped, particularly when the frame follows a different direction from the architecture. A small gap of several inches helps each element remain legible.
Build a visual anchor
Every room benefits from one dominant artwork arrangement. In a sloped-ceiling space, this might be a large framed print above a bed, a sculptural piece on the tallest wall, or a carefully balanced group over a console. Establish this anchor before adding smaller works.
The center of the main artwork should generally sit around eye level when viewed from the room’s primary standing position. In a bedroom, the arrangement can sit slightly lower above the headboard so it relates to the furniture instead of floating beneath the roofline. In a sitting area, align the artwork with the seating zone and nearby furnishings.
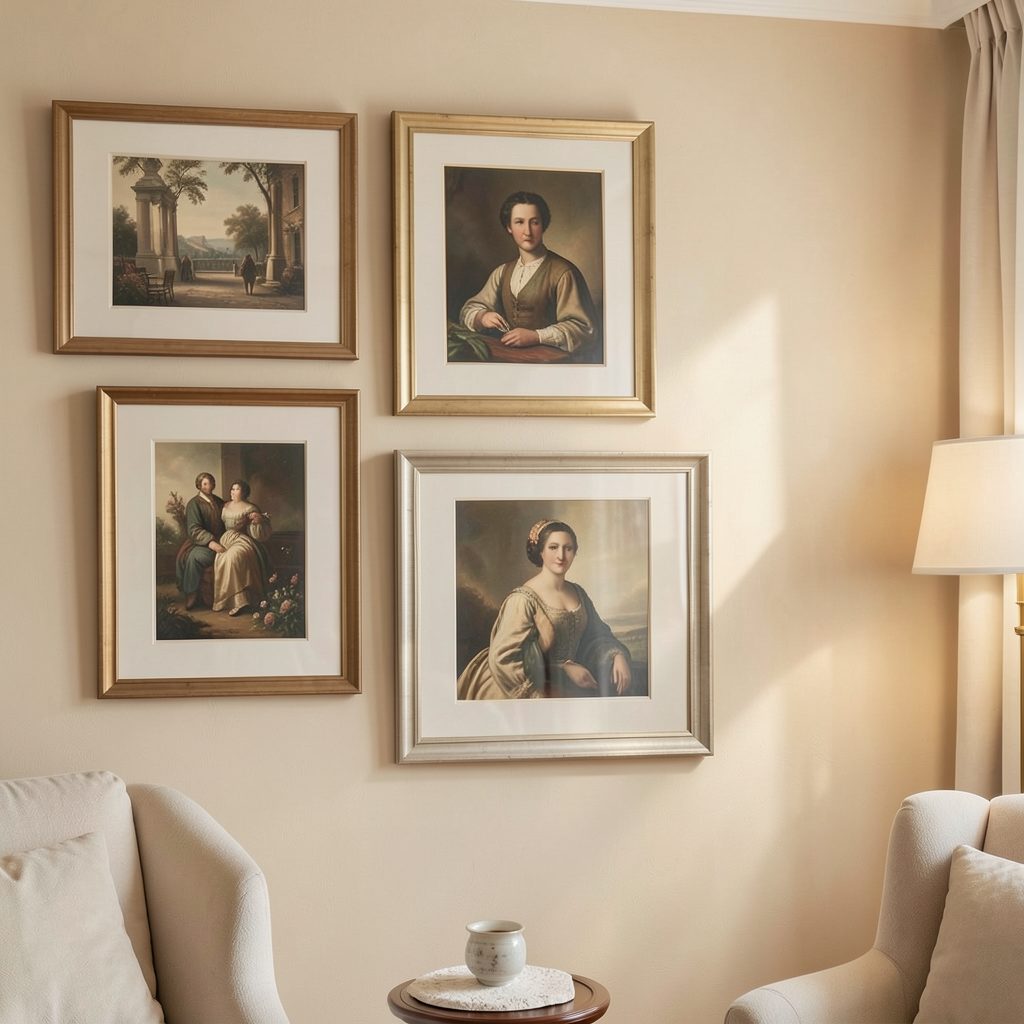
A symmetrical arrangement works well when the architecture is already irregular. Matching frames or a centered composition can give the room visual calm. If the ceiling is relatively simple, an asymmetric cluster can add movement and make use of varying wall heights.
Use the slope as a guide
A gallery wall does not need to form a perfect rectangle. Follow the direction of the ceiling with a gentle diagonal arrangement, or create a stepped composition that echoes the rising roof. Keep the gaps between frames consistent so the display feels intentional rather than scattered.
For a slanted wall, lightweight works are often easier to position and adjust. Paper prints, photographs, and slim canvases can form a flexible collection, while oversized frames may project awkwardly into the room. Use secure fixings and avoid placing valuable pieces where they could be brushed by passing occupants.
If a television occupies the most practical wall, treat it as part of the arrangement rather than leaving it isolated. A balanced art display can soften the screen’s presence; Focus LDN’s guide to planning a gallery wall around a television offers useful direction for creating a unified composition.
Choose frames that support the room
Frame choice can either clarify or exaggerate the unusual geometry. Slim black frames create definition and suit minimalist interiors, while pale oak or ash frames bring warmth to a loft bedroom with exposed timber. A mix of frame styles can work, but repeat one element—such as color, matting, or finish—to maintain cohesion.
Mat boards are particularly valuable in rooms with sloped ceilings. They give smaller artwork more visual weight and prevent prints from appearing cramped. White or warm-neutral mats are versatile, although a muted color taken from the room can make a collection feel more considered.
Avoid placing thick, deep frames on a narrow knee wall where they may dominate the passage. Floating shelves can provide a lower-commitment display solution, allowing layered artwork to be changed without repeatedly drilling into an angled surface.
Balance height, furniture, and light
Artwork should relate to what sits below it. Above a bed, sofa, desk, or sideboard, leave enough space for the furniture to read as one arrangement. A large blank gap can make the artwork feel disconnected, while an overly tight placement may look crowded.
Low furniture beneath a high ceiling often needs a taller artwork arrangement to bridge the distance. Conversely, a low ceiling slope calls for shorter pieces arranged horizontally. Stand back from the opposite side of the room and assess the whole wall, rather than judging the hanging height from close range.
Light is equally important. Skylights and roof windows can create dramatic illumination but may expose paper, pigments, and textiles to fading. Before placing original work near strong daylight, review these recommendations on protecting art from sunlight, then consider UV-filtering glazing, blinds, or a position outside the brightest beam.
Placement options for different wall shapes
The right arrangement depends on whether the room has a tall gable, a low side wall, or a mixture of both. Use this guide as a starting point, then adjust for furniture, door swings, and the distance from which the artwork will be viewed.
| Wall or ceiling condition | Effective arrangement | Suitable artwork | Key consideration |
|---|---|---|---|
| Tall central gable | One large vertical piece or stacked pair | Portrait, textile, architectural print | Emphasize height without touching the peak |
| Low knee wall | Short horizontal row or picture ledge | Small prints, photographs, sketches | Keep frames shallow and accessible |
| Long wall beneath a slope | Stepped gallery wall following the angle | Mixed-size framed works | Repeat spacing to keep the line controlled |
| Bed beneath a sloping ceiling | Centered low arrangement above the headboard | Calm abstract, landscape, paired prints | Prioritize secure fixing and comfortable scale |
| Bright wall beside a skylight | One protected focal work | Framed original, textile, print | Reduce direct UV exposure |
| Wall shared with a television | Cluster that visually includes the screen | Prints in coordinated frames | Keep the screen from becoming an isolated rectangle |
Curate a calm collection
The artwork itself should support the mood of the room. Bedrooms often benefit from soft landscapes, restrained abstracts, botanical studies, or monochrome photography. A home office can accommodate more graphic work, while a living room may suit a layered collection with varied scale and color.
In a compact attic, too many unrelated pieces can make the ceiling feel busier. Select a limited palette and repeat tones found in the rug, upholstery, or bedding. This creates continuity without requiring every frame to match.
If the space inspires a wider collecting habit, start an art gallery by choosing a theme, artist, medium, or color family that can grow over time. A developing collection often feels more personal than a display assembled solely to fill empty wall space.
A practical editing process
Lay paper templates on the wall before making holes. Mark each frame’s outer dimensions, then view the arrangement from the doorway, the main seating position, and the room’s center. This simple test reveals whether the display is too high, too dense, or visually pulled toward one side.
Edit with the ceiling in mind. Remove any piece that competes with a beam, interrupts a strong architectural line, or makes a low passage feel narrower. The most successful display may use fewer artworks than expected, provided each one has enough space to register.
Finish by checking practical details: secure fixings, glare from glazing, access to switches, and clearance around doors or beds. A beautiful composition should also remain safe, comfortable, and easy to live with.
Make the first arrangement with temporary templates, then refine it over a few days as you experience the room in changing light. Once the balance feels right, hang the final pieces and photograph the result for future reference. Subscribe to Focus LDN for more thoughtful ideas on gallery walls, artwork display, and stylish home living.